Viewing Pictures From External Sources
Once you have connected up your various audio and video systems, you can view the different sources by selecting the appropriate input.
1Check that all the necessary connections have been made
(refer to pages 6 and 7 for further details).
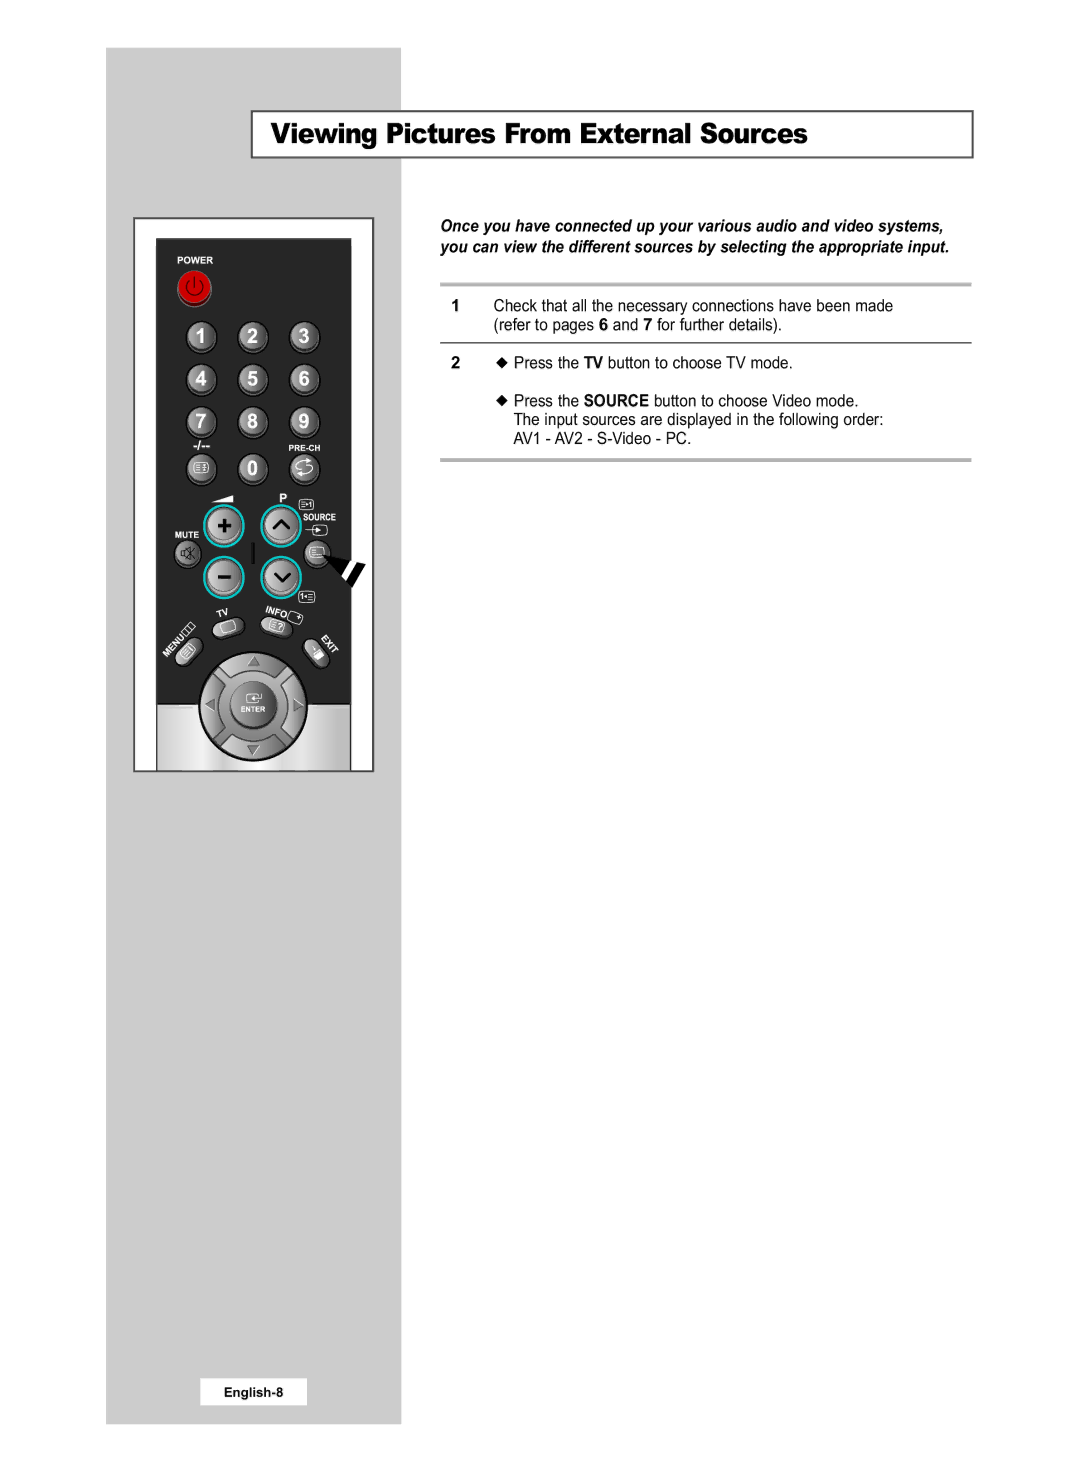
2![]() Press the TV button to choose TV mode.
Press the TV button to choose TV mode.
![]() Press the SOURCE button to choose Video mode.
Press the SOURCE button to choose Video mode.
The input sources are displayed in the following order:
AV1 - AV2 -