AFTER SALES SERVICE
Do not hesitate to contact your retailer or service agent if a
faulty condition may be present
LCD TV
LCD TV
Owner’s Instructions
LE15E31S
ON-SCREEN MENUS PC DISPLAY TELETEXT
Precautions When Displaying a Still Image
A still image may cause permanent damage to the TV screen
Page
Contents
Symbols
Contents
SETTING THE TIME
USING THE VARIOUS FUNCTIONS
POWER
SPEAKERS REMOTE CONTROL SENSOR POWER INDICATOR
Viewing the Control Panel
SOURCE
Viewing the Connection Panel
Power Input
Option
English-5
Viewing the Connection Panel
Connecting a Set-Top Box, VCR or DVD
Connecting a Computer
Connecting External A/V Devices
Connecting Headphones
Kensington Slot
Viewing the Connection Panel
Viewing Pictures From External Sources
Purchase your set
Inserting the Batteries in the Remote Control
Find that the remote control is no longer operating correctly
Picture effect selection
Viewing the Remote ControlAll Functions Except Teletext
The performance of the remote control may be affected by bright light
Viewing the Remote ControlTeletext Functions
The mains lead is attached to the rear of your set
Switching On and Off
Placing in Standby Mode
Becoming Familiar with the Remote Control
The remote control is used mainly to
Change channels and adjust the volume
Set up your set using the on-screen menu system
The following settings are available
Plug & Play
Belgium - Germany - Spain - France - Italy
Netherlands - Switzerland - Sweden - United
English-15
If you want to reset this feature
Plug & Play
Selecting TV Mode or an Input Source
English-16
Editing an Input Source Name
AV1 - AV2 - S-Video - PC
Choosing Your Language
English-18
Storing Channels Automatically
English-19
When storing channels manually, you can choose
Storing Channels Manually
AUTO - PAL - SECAM - NTSC4.43
BG - DK - I - L
Storing Channels Manually
English-21
Editing the Channels
English-22
Sorting the Stored Channels
You can exchange the numbers of two channels, in order to
Giving Channels Names
Then
Changing the Picture Standard
Dynamic - Standard - Movie - Custom
Adjusting the Custom Picture
or Tint-NTSC only to be adjusted by pressing the or button
button to reach the required setting
Select the option Contrast , Brightness, Sharpness , Colour
Adjusting the Screen Background Colour
Cool 2 - Cool 1 - Normal - Warm 1 - Warm
Changing the Sound Standard
Standard - Speech
Selecting Auto Volume Control
Reduces the differences in volume level between broadcasters
Setting the Clock
English-30
Switching Off Automatically
Off, 30, 60, 90, 120, 150, 180 minutes
Switching the Television On and Off Automatically
You can set the On/Off timers so that the set will
Volume level
Press the
Setting the Blue Screen Mode
INFO button on the remote control
Displaying Information
The information displayed varies according to the selected source
Information provided includes
Teletext Feature
This information is divided into numbered pages see diagram
Press the TV
Displaying the Teletext Information
You can display Teletext information at any time on your set
Using the various display options
Selecting a Page by Number
To display
Press the
Using FLOF to Select a Page
Storing Teletext Pages
Setting Up Your PC Software Based on Windows XP
1024 x 768 pixels
Coarse and Fine Tuning of the Image
English-39
Changing the Image Position
English-40
Result The message “Image Reset has completed.” is displayed
Initializing the Image Settings
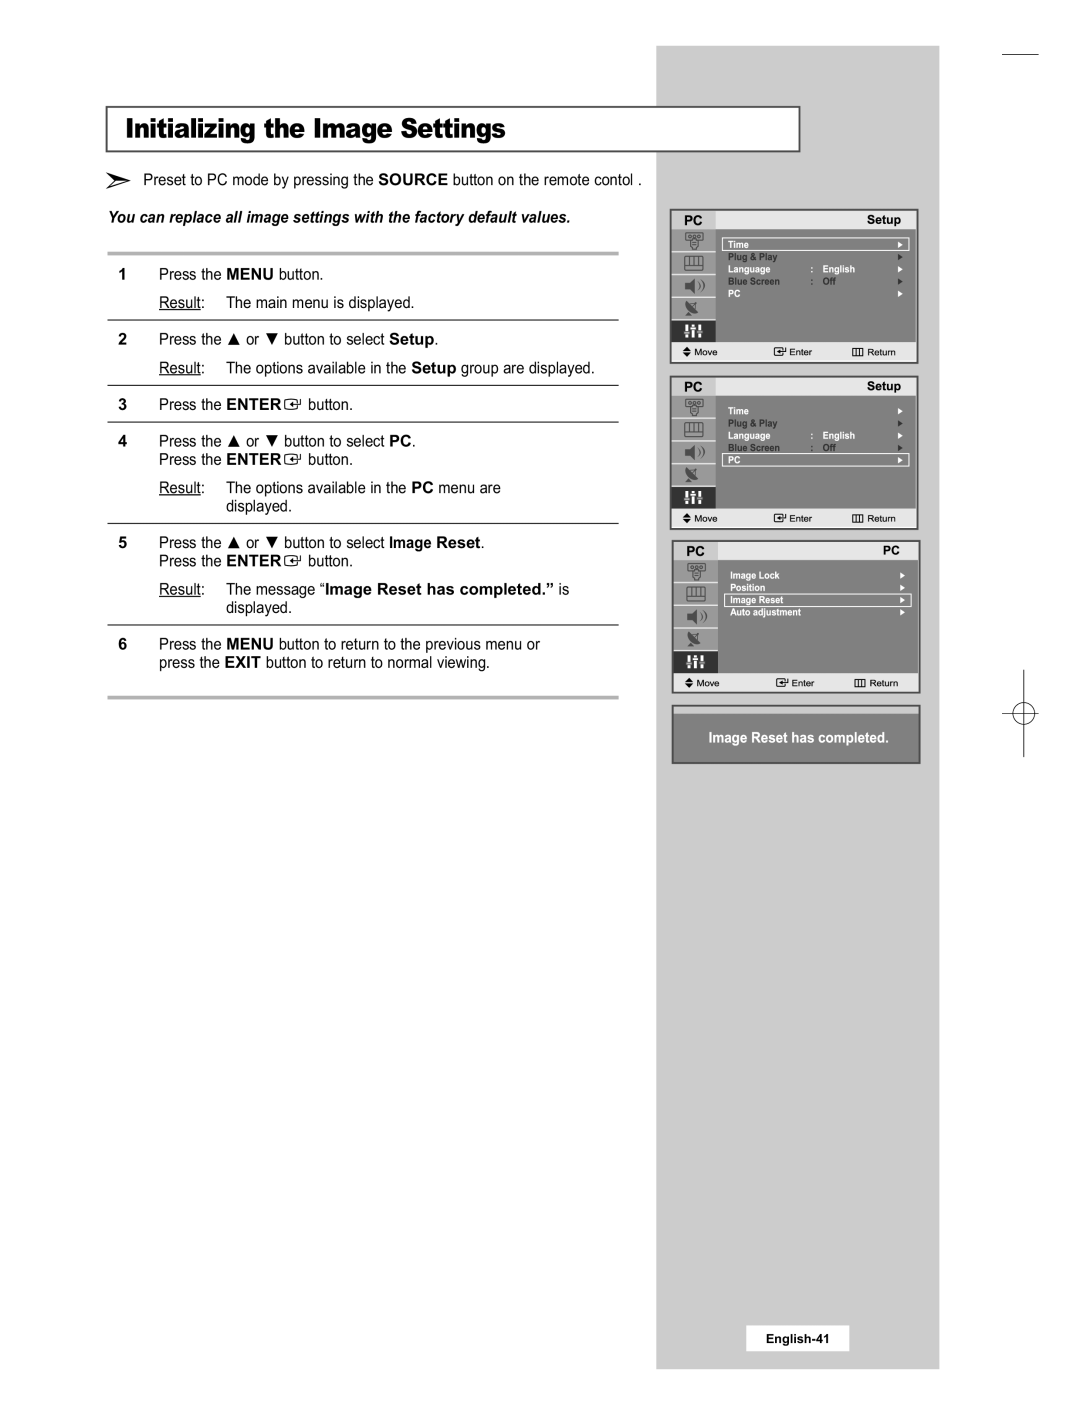
You can replace all image settings with the factory default values
Adjusting the PC Screen Automatically
English-42
Picture Mode
Entertain - Internet - Text - Custom
Adjusting the Custom Picture
English-43
English-44
Cool - Normal - Warm - Custorm
Adjusting the Screen Background Colour
Customizing the Colour
English-45
Troubleshooting Before Contacting Service Personnel
Clean the upper edge of the remote control transmission window
Adjust the Coarse or Fine function. refer to page
Check that the mains lead has been connected to a wall socket
Troubleshooting Before Contacting Service Personnel
Power Saver
Check that the display resolution and frequency from your
On your computer check Control Panel, Display, Settings
Technical and Environmental Specifications
LE15E31S
Display Modes
Horizontal
Vertical
Pixel
Using Your TV in Another Country
Retractable Stand
Using the Anti-Theft Kensington Lock
Installing the Wall Mount Kit Sold separately
1 Connect the hinge to the wall mount bracket
2 Secure the bracket to the wall Use a holes to attach the VESA mount
Use b holes to attach the Wall mount
Remove the base from the TV set
Mount the TV on the wall mount bracket
Installing the Wall Mount Kit Sold separately
English-53
Memo
AFTER SALES SERVICE
ELECTRONICS