
LH22DBDPTGC/CH, LH22DBDPTGC/EN specifications
Samsung has long been a pioneer in the display technology sector, and the LH22DBDPTGC/EN and LH22DBDPTGC/CH digital signage displays are testament to this legacy. Designed for diverse environments, these models offer a perfect blend of functionality and aesthetics, making them ideal for retail, airports, corporate environments, and more.The LH22DBDPTGC series is notable for its 22-inch screen size, which provides an optimal balance between visibility and compactness. This makes it particularly suitable for applications where space is limited yet impactful communication is necessary. The sleek design allows it to seamlessly integrate into any setting, enhancing overall décor while delivering high-quality visual experiences.
One of the standout features of these displays is their Full HD resolution, which delivers stunning clarity and detail. The high brightness levels ensure that content remains vibrant and visible even in brightly lit environments, making it an excellent choice for window displays and locations with high foot traffic. The anti-glare surface reduces reflections, further improving visibility and legibility.
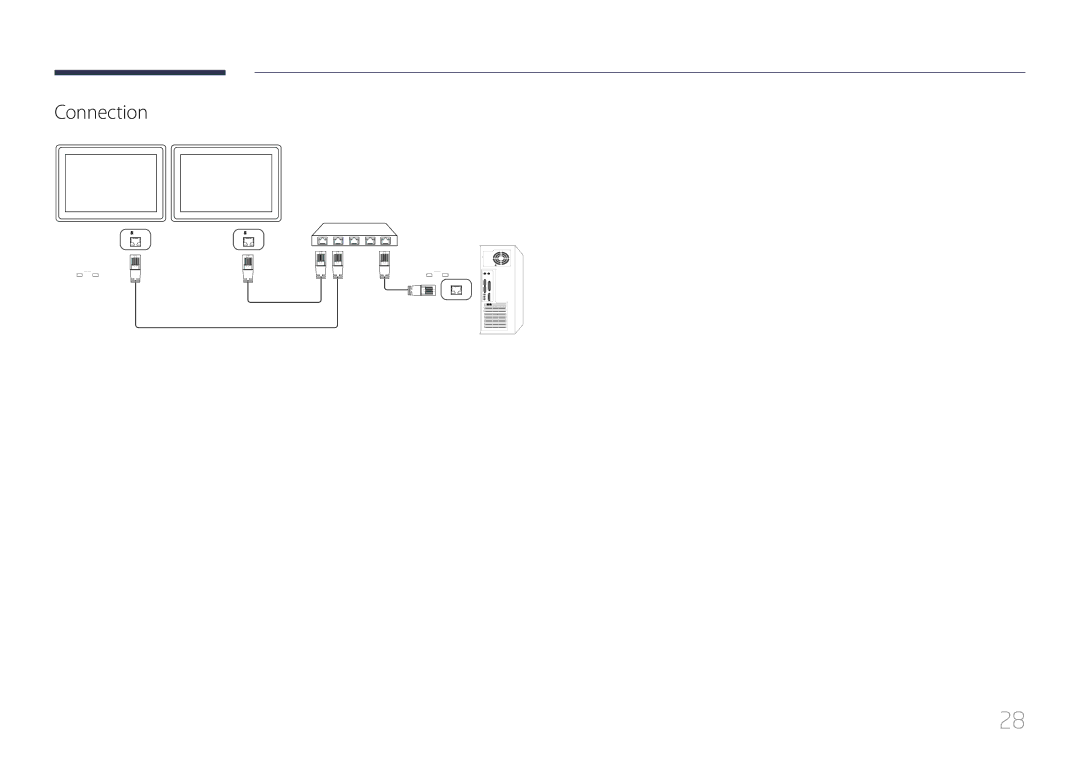
In terms of technology, the LH22DBDPTGC models leverage a robust set of connectivity options. From HDMI to DisplayPort, these displays can easily connect to a variety of devices, enabling dynamic content playback. Furthermore, their ability to support multiple formats allows for flexible content management, catering to different marketing strategies and audience engagement demands.
Durability is another critical characteristic of the LH22DBDPTGC series. These displays are built to withstand the rigors of continuous use, featuring a fanless design that enhances reliability while minimizing noise. This is particularly advantageous in quieter environments where distractions must be kept to a minimum.
Samsung also emphasizes energy efficiency with these models, incorporating features that not only reduce power consumption but also contribute to cost savings over time. This eco-friendly approach ensures that businesses can enhance their communication strategies without significantly impacting their operational budgets.
In conclusion, the Samsung LH22DBDPTGC/EN and LH22DBDPTGC/CH digital signage displays are exemplary products that blend technology, durability, and aesthetics. With their compact size, high-resolution capabilities, and robust connectivity options, they cater to diverse display needs across various industries, making them a vital tool for effective visual communication.