LS17MJLKS/EDC specifications
The Samsung LS17MJLKS/EDC is a standout in the realm of computer displays, designed specifically for both professional and casual users seeking a reliable and high-performance monitor. This model boasts a 17-inch screen size that strikes a balance between functionality and compactness, making it an ideal choice for various environments, including offices, homes, and educational institutions.One of the main features of the LS17MJLKS/EDC is its impressive display quality. With a resolution of 1280 x 1024 pixels, this monitor delivers sharp and clear visuals, ensuring that images and text are rendered with great detail. The display technology employed in this model is TFT-LCD, which provides vibrant colors and wide viewing angles, making it easy to view the screen from different positions without significant color distortion.
The LS17MJLKS/EDC incorporates Advanced Color Management technology, enabling users to enjoy accurate and consistent color representation. This feature is particularly advantageous for graphic designers and photographers who rely on precise color fidelity in their work. The monitor also includes Samsung's Magic Bright technology, allowing users to optimize brightness settings based on their viewing environment, enhancing comfort and reducing eye strain.
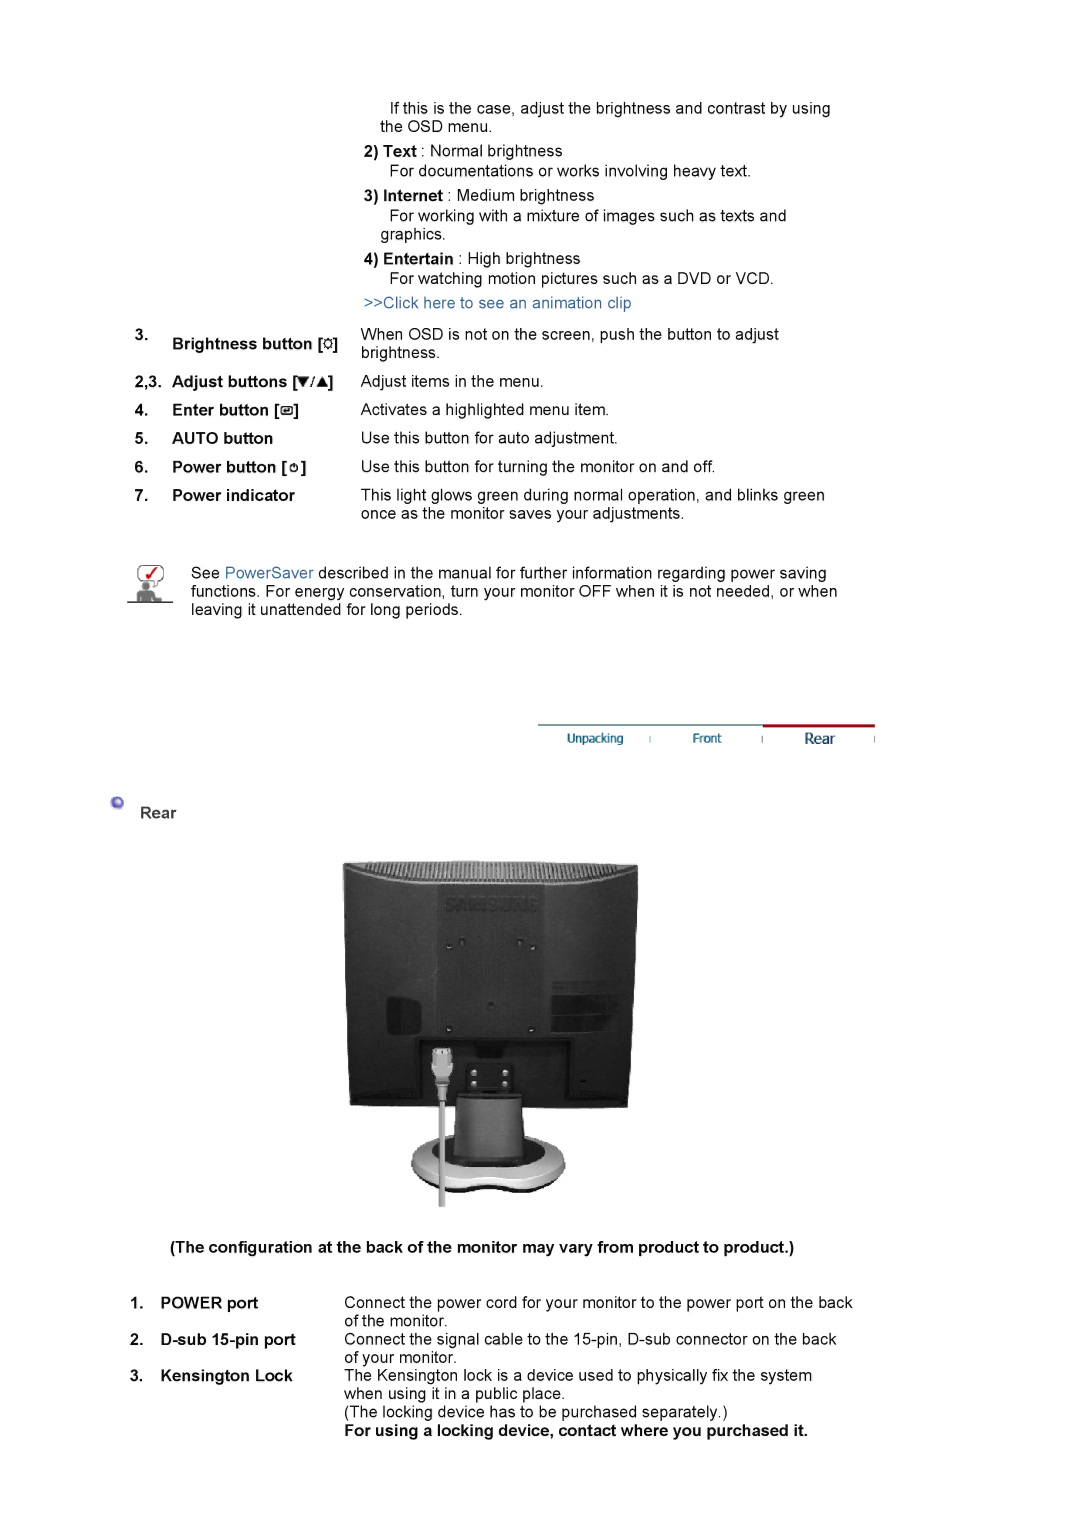
In terms of connectivity, this model is equipped with multiple input options, including VGA and DVI ports. This versatility ensures compatibility with a wide range of devices, whether a traditional PC or a modern laptop. The monitor’s flexibility extends to ergonomic features as well, with adjustable tilt settings providing users with the ability to find their optimal viewing angle, further promoting comfort during extended use.
The Samsung LS17MJLKS/EDC is designed with energy efficiency in mind. It is compliant with Energy Star standards, which means it utilizes power-saving technologies to reduce energy consumption without compromising on performance. This characteristic not only benefits the environment but also helps users save on electricity bills.
Overall, the Samsung LS17MJLKS/EDC is a well-rounded monitor that meets the demands of various users. With its compact size, exceptional display quality, advanced technological features, and energy-efficient design, this monitor serves as a reliable option for anyone in need of a dependable display solution.

