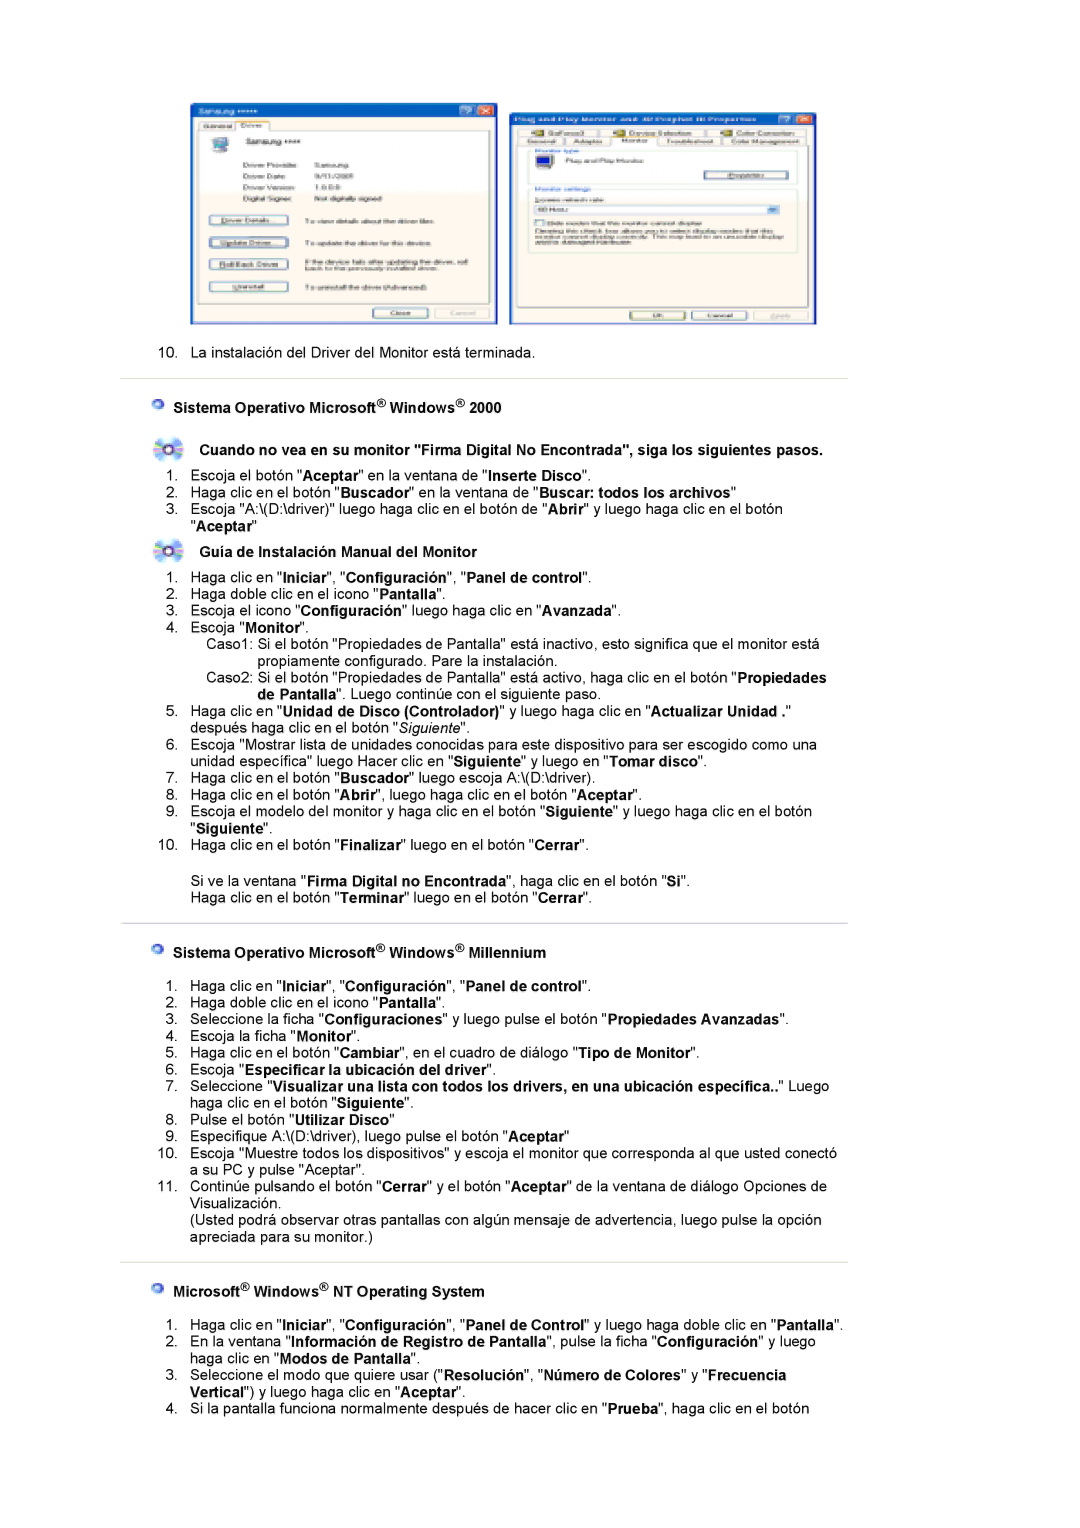
10. La instalación del Driver del Monitor está terminada.

Sistema Operativo Microsoft® Windows® 2000

Cuando no vea en su monitor "Firma Digital No Encontrada", siga los siguientes pasos.

1.Escoja el botón "Aceptar" en la ventana de "Inserte Disco".

2.Haga clic en el botón "Buscador" en la ventana de "Buscar: todos los archivos"

3.Escoja "A:\(D:\driver)" luego haga clic en el botón de "Abrir" y luego haga clic en el botón "Aceptar"

Guía de Instalación Manual del Monitor

1.Haga clic en "Iniciar", "Configuración", "Panel de control".

2.Haga doble clic en el icono "Pantalla".

3.Escoja el icono "Configuración" luego haga clic en "Avanzada".

4.Escoja "Monitor".

Caso1: Si el botón "Propiedades de Pantalla" está inactivo, esto significa que el monitor está propiamente configurado. Pare la instalación.

Caso2: Si el botón "Propiedades de Pantalla" está activo, haga clic en el botón "Propiedades de Pantalla". Luego continúe con el siguiente paso.

5.Haga clic en "Unidad de Disco (Controlador)" y luego haga clic en "Actualizar Unidad ." después haga clic en el botón "Siguiente".

6.Escoja "Mostrar lista de unidades conocidas para este dispositivo para ser escogido como una unidad específica" luego Hacer clic en "Siguiente" y luego en "Tomar disco".

7.Haga clic en el botón "Buscador" luego escoja A:\(D:\driver).

8.Haga clic en el botón "Abrir", luego haga clic en el botón "Aceptar".

9.Escoja el modelo del monitor y haga clic en el botón "Siguiente" y luego haga clic en el botón "Siguiente".

10.Haga clic en el botón "Finalizar" luego en el botón "Cerrar".

Si ve la ventana "Firma Digital no Encontrada", haga clic en el botón "Si". Haga clic en el botón "Terminar" luego en el botón "Cerrar".

Sistema Operativo Microsoft® Windows® Millennium

1.Haga clic en "Iniciar", "Configuración", "Panel de control".

2.Haga doble clic en el icono "Pantalla".

3.Seleccione la ficha "Configuraciones" y luego pulse el botón "Propiedades Avanzadas".

4.Escoja la ficha "Monitor".

5.Haga clic en el botón "Cambiar", en el cuadro de diálogo "Tipo de Monitor".

6.Escoja "Especificar la ubicación del driver".

7.Seleccione "Visualizar una lista con todos los drivers, en una ubicación específica.." Luego haga clic en el botón "Siguiente".

8.Pulse el botón "Utilizar Disco"

9.Especifique A:\(D:\driver), luego pulse el botón "Aceptar"

10.Escoja "Muestre todos los dispositivos" y escoja el monitor que corresponda al que usted conectó a su PC y pulse "Aceptar".

11.Continúe pulsando el botón "Cerrar" y el botón "Aceptar" de la ventana de diálogo Opciones de Visualización.

(Usted podrá observar otras pantallas con algún mensaje de advertencia, luego pulse la opción apreciada para su monitor.)

Microsoft® Windows® NT Operating System

1.Haga clic en "Iniciar", "Configuración", "Panel de Control" y luego haga doble clic en "Pantalla".

2.En la ventana "Información de Registro de Pantalla", pulse la ficha "Configuración" y luego haga clic en "Modos de Pantalla".

3.Seleccione el modo que quiere usar ("Resolución", "Número de Colores" y "Frecuencia Vertical") y luego haga clic en "Aceptar".

4.Si la pantalla funciona normalmente después de hacer clic en "Prueba", haga clic en el botón

Page 29
Image 29
Samsung LS19DOWSS/EDC, LS19DOCSS/EDC, LS19DOWSSZ/EDC manual Microsoft Windows NT Operating System

LS19DOWSS/EDC, LS19DOWSSZ/EDC, LS19DOCSS/EDC specifications

The Samsung LS19DOWSSZ/EDC, LS19DOCSS/EDC, and LS19DOWSS/EDC are part of Samsung's series of high-performance monitors designed for both professional and personal use. Offering a blend of stylish aesthetics, advanced technology, and user-friendly features, these models cater to various needs, whether for office work, graphic design, or casual multimedia consumption.

One of the standout features of these monitors is their impressive display quality. Sporting a 19-inch screen with a resolution of 1280 x 1024 pixels, they provide sharp and vibrant images with excellent color reproduction. The monitors utilize Samsung's proprietary PLS (Plane to Line Switching) technology, which enhances viewing angles and maintains consistent color accuracy, even when viewed from the side. This is particularly beneficial for collaborative environments where multiple users may be sharing the screen.

In terms of design, the LS19DOWSSZ/EDC and its counterparts embrace a sleek, minimalist aesthetic with slim bezels that maximize screen real estate. The ergonomic stand allows for height adjustment, tilt, and swivel, promoting user comfort and reducing strain during extended periods of use. This adaptable design makes it suitable for diverse workspaces, from home offices to corporate setups.

Connectivity is another strong point. These monitors come equipped with versatile input options, including VGA and DVI ports, ensuring compatibility with a wide range of devices such as PCs, laptops, and gaming consoles. This allows users to easily switch between devices, making it ideal for multitasking or shared environments.

In terms of energy efficiency, Samsung has incorporated features that promote reduced power consumption, contributing to a lower environmental impact. The monitors are EPEAT and Energy Star certified, which signifies that they meet stringent energy efficiency standards.

Moreover, the LS19 series incorporates various technologies to enhance the viewing experience. Flicker-free technology helps reduce eye strain by eliminating flicker at all brightness levels, while the Blue Light Filter minimizes harmful blue light emissions. Both features are particularly beneficial for those who spend long hours in front of the screen.

In summary, the Samsung LS19DOWSSZ/EDC, LS19DOCSS/EDC, and LS19DOWSS/EDC monitors stand out with their superior display quality, versatile design, and user-friendly features. Whether for professional tasks or recreational use, these monitors are engineered to provide an enjoyable and efficient viewing experience.