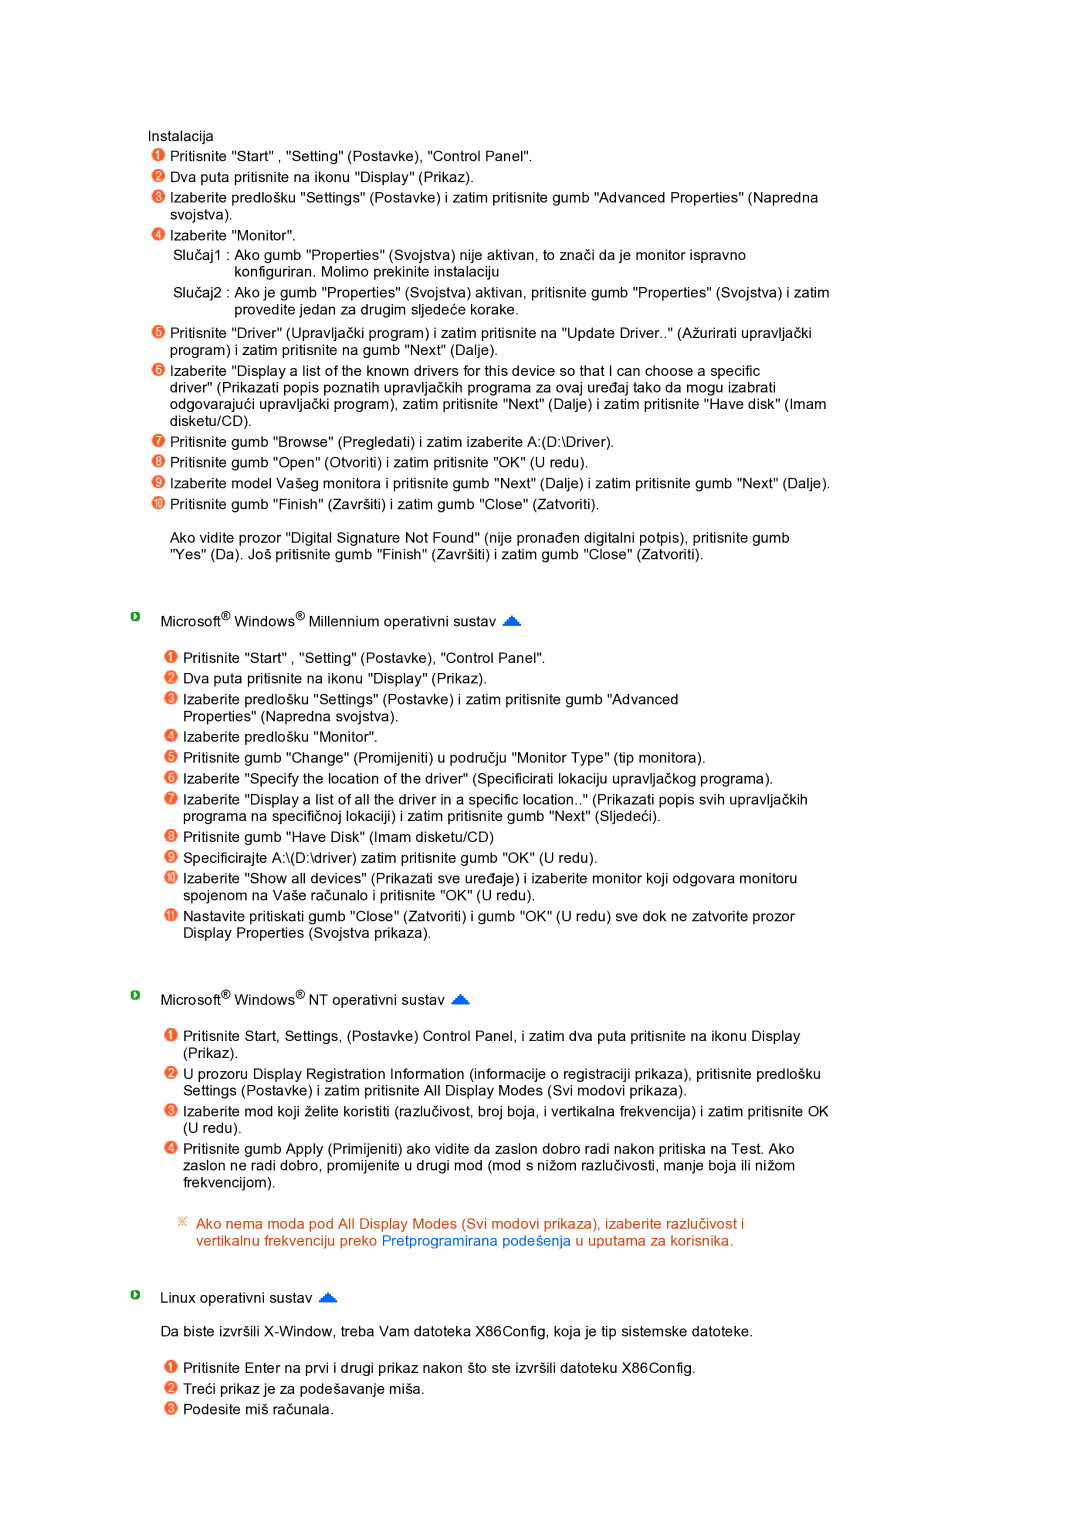
Instalacija

Pritisnite "Start" , "Setting" (Postavke), "Control Panel".

Dva puta pritisnite na ikonu "Display" (Prikaz).

Izaberite predlošku "Settings" (Postavke) i zatim pritisnite gumb "Advanced Properties" (Napredna svojstva).

Izaberite "Monitor".

Slučaj1 : Ako gumb "Properties" (Svojstva) nije aktivan, to znači da je monitor ispravno konfiguriran. Molimo prekinite instalaciju

Slučaj2 : Ako je gumb "Properties" (Svojstva) aktivan, pritisnite gumb "Properties" (Svojstva) i zatim provedite jedan za drugim sljedeće korake.

Pritisnite "Driver" (Upravljački program) i zatim pritisnite na "Update Driver.." (Ažurirati upravljački program) i zatim pritisnite na gumb "Next" (Dalje).

Izaberite "Display a list of the known drivers for this device so that I can choose a specific driver" (Prikazati popis poznatih upravljačkih programa za ovaj uređaj tako da mogu izabrati odgovarajući upravljački program), zatim pritisnite "Next" (Dalje) i zatim pritisnite "Have disk" (Imam disketu/CD).

Pritisnite gumb "Browse" (Pregledati) i zatim izaberite A:(D:\Driver).

Pritisnite gumb "Open" (Otvoriti) i zatim pritisnite "OK" (U redu).

Izaberite model Vašeg monitora i pritisnite gumb "Next" (Dalje) i zatim pritisnite gumb "Next" (Dalje). Pritisnite gumb "Finish" (Završiti) i zatim gumb "Close" (Zatvoriti).

Ako vidite prozor "Digital Signature Not Found" (nije pronađen digitalni potpis), pritisnite gumb "Yes" (Da). Još pritisnite gumb "Finish" (Završiti) i zatim gumb "Close" (Zatvoriti).

Microsoft® Windows® Millennium operativni sustav

Pritisnite "Start" , "Setting" (Postavke), "Control Panel".

Dva puta pritisnite na ikonu "Display" (Prikaz).

Izaberite predlošku "Settings" (Postavke) i zatim pritisnite gumb "Advanced Properties" (Napredna svojstva).

Izaberite predlošku "Monitor".

Pritisnite gumb "Change" (Promijeniti) u području "Monitor Type" (tip monitora).

Izaberite "Specify the location of the driver" (Specificirati lokaciju upravljačkog programa).

Izaberite "Display a list of all the driver in a specific location.." (Prikazati popis svih upravljačkih programa na specifičnoj lokaciji) i zatim pritisnite gumb "Next" (Sljedeći).

Pritisnite gumb "Have Disk" (Imam disketu/CD)

Specificirajte A:\(D:\driver) zatim pritisnite gumb "OK" (U redu).

Izaberite "Show all devices" (Prikazati sve uređaje) i izaberite monitor koji odgovara monitoru spojenom na Vaše računalo i pritisnite "OK" (U redu).

Nastavite pritiskati gumb "Close" (Zatvoriti) i gumb "OK" (U redu) sve dok ne zatvorite prozor Display Properties (Svojstva prikaza).

Microsoft® Windows® NT operativni sustav

Pritisnite Start, Settings, (Postavke) Control Panel, i zatim dva puta pritisnite na ikonu Display (Prikaz).

U prozoru Display Registration Information (informacije o registraciji prikaza), pritisnite predlošku Settings (Postavke) i zatim pritisnite All Display Modes (Svi modovi prikaza).

Izaberite mod koji želite koristiti (razlučivost, broj boja, i vertikalna frekvencija) i zatim pritisnite OK (U redu).

Pritisnite gumb Apply (Primijeniti) ako vidite da zaslon dobro radi nakon pritiska na Test. Ako zaslon ne radi dobro, promijenite u drugi mod (mod s nižom razlučivosti, manje boja ili nižom frekvencijom).

Ako nema moda pod All Display Modes (Svi modovi prikaza), izaberite razlučivost i vertikalnu frekvenciju preko Pretprogramirana podešenja u uputama za korisnika.

Linux operativni sustav

Da biste izvršili X-Window, treba Vam datoteka X86Config, koja je tip sistemske datoteke.

Pritisnite Enter na prvi i drugi prikaz nakon što ste izvršili datoteku X86Config.

Treći prikaz je za podešavanje miša. Podesite miš računala.

Page 24
Image 24
Samsung LS19PEJSFV/EDC manual

LS19PEJSFV/EDC specifications

The Samsung LS19PEJSFV/CLT and LS19PEJSFV/EDC are standout models in the realm of LED monitors, designed to meet the diverse needs of users ranging from professionals to casual consumers. With a sleek and modern design, these monitors not only deliver exceptional performance but also enhance the aesthetics of any workspace.

One of the standout features of these models is their 19-inch screen with a resolution of 1366 x 768 pixels, which provides clear and vivid visuals. The LED backlighting technology contributes significantly to the monitor's brightness and color accuracy, ensuring that images appear crisp and well-defined. This makes them ideal for a variety of tasks such as graphic design, video editing, and everyday office work.

The LS19PEJSFV series also incorporates advanced display technologies, including Samsung's MagicBright and MagicUpscale. The MagicBright feature automatically optimizes screen brightness for different content types, providing users with the best viewing experience possible. MagicUpscale enhances lower resolution content to near full HD quality, allowing users to enjoy their favorite movies and games with improved clarity and detail.

Another noteworthy characteristic of these monitors is their efficient energy consumption. They are designed with Samsung’s Eco Saving technology, which adjusts the brightness of the screen based on the surrounding light conditions while also saving power. This not only reduces the overall environmental impact but also lowers electricity costs for users.

In terms of connectivity, the LS19PEJSFV/CLT and LS19PEJSFV/EDC models offer versatile options, including VGA and HDMI ports. This allows users to easily connect the monitor to various devices, making it an adaptable solution for different setups.

The ergonomic design of these monitors further contributes to user comfort. With tilt adjustments, users can easily find their preferred viewing angle, reducing neck strain during lengthy usage sessions.

In summary, the Samsung LS19PEJSFV/CLT and LS19PEJSFV/EDC models bring together high-quality display performance, cutting-edge technologies, and user-friendly features. Their energy efficiency, versatile connectivity, and ergonomic design make them an excellent choice for anyone looking to enhance their visual experience, whether for work or play.