Модель Серийный номер
Руководство пользователя
Precautions When Displaying a Still Image
Contents
You can tilt the monitor upwards at an angle of 0 to
List of Parts
Folding the base
Product colour and shape may vary depending on the model
Press to see an on-screen menu of your TV’s features
Aim the remote control towards this spot on the TV
Viewing the Control Panel
Viewing the Connection Panel
Headphones
Kensington Lock
Extrgb
Teletext Functions
Viewing the Remote Control
If the remote control doesn’t work, check the following
Installing Batteries in the Remote Control
Switching On and Off
Placing Your Television in Standby Mode
Storing Channels Automatically
Wish to identify
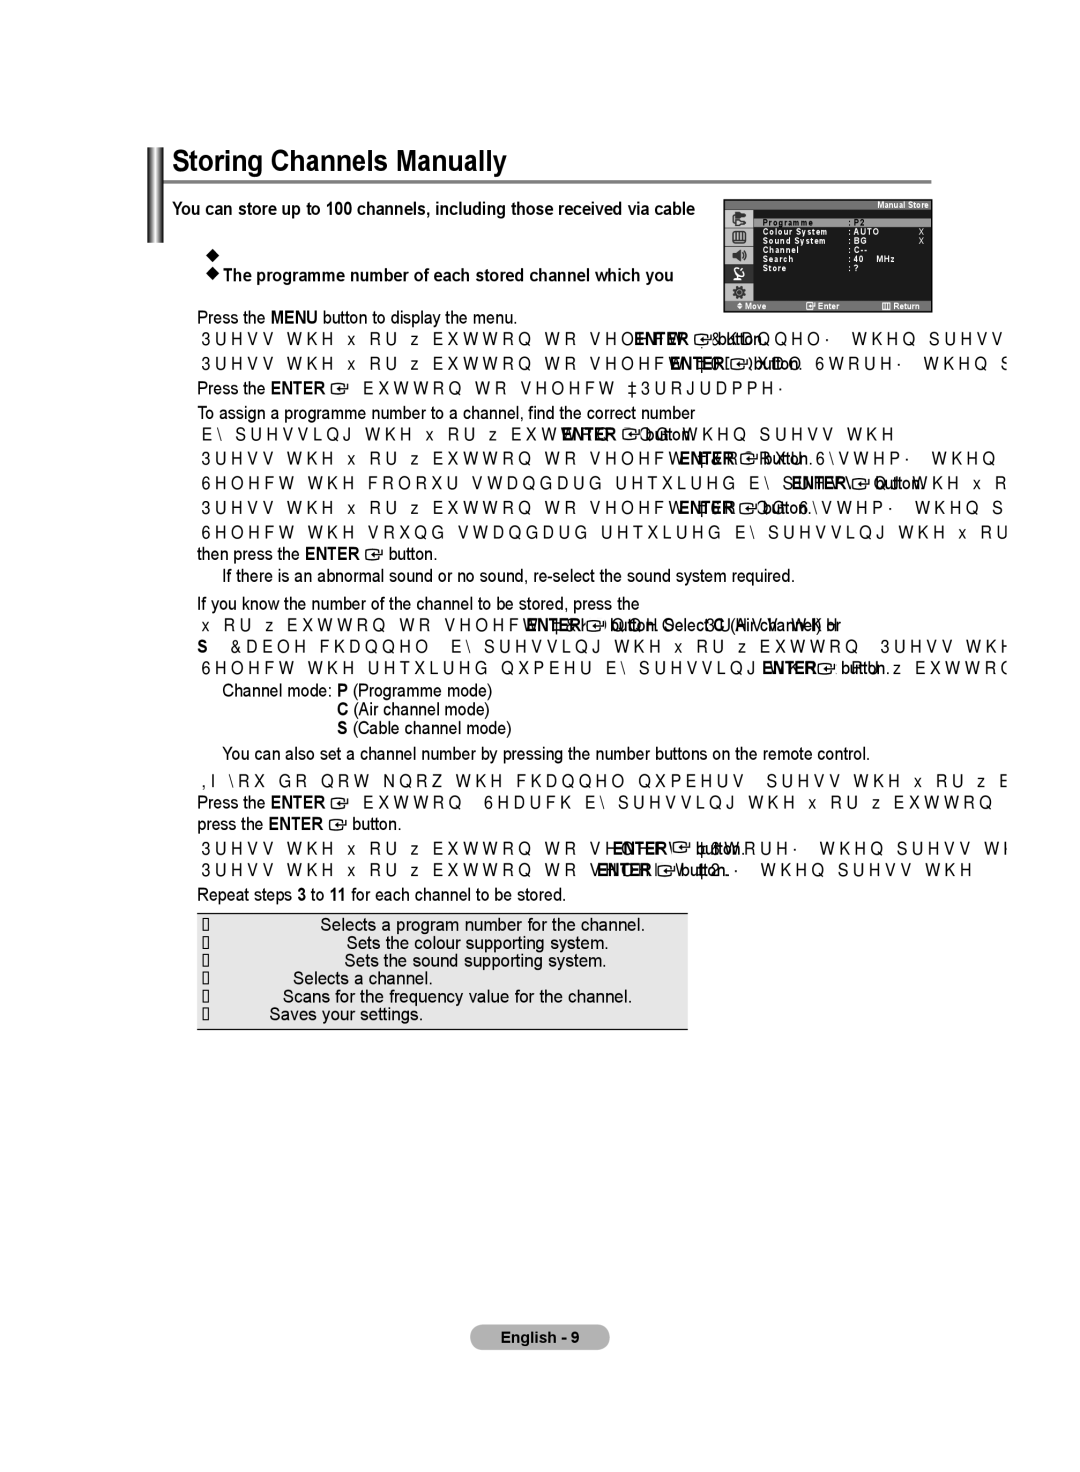
Storing Channels Manually
Activating the Child Lock
Editing the Channels
Then
Sorting the Stored Channels
Assigning Channels Names
Fine tune
Fine Tuning Channel Reception
Changing the Picture Standard
Reception
PC mode, Cool ,Normal, Warm, Custom appears. refer to
Adjusting the Custom Picture
Changing the Colour Tone
Press the Enter button Press the Exit button to exit
Freezing the Current Picture
Changing the Picture Size
Position
PIP On/Off
Source TV/Ext.1/Ext.2/AV
Size
Picture Features in PC or DVI mode
Changing the Sound Standard
Adjusting the Sound Settings
Listening to the Sound of the Sub Picture
Adjusting the Volume Automatically
Selecting the Sound mode
Choosing Your Language
Connecting headphones
Setting the Sleep Timer
Transparency Level
Setting the Blue Screen Mode
Setting the Hdmi Black Level
Reset
Editing the Input Source Names
Selecting the Source
Teletext Feature
English
First, click on Control Panel on the Windows start menu
Setting up Your PC Software Based on Windows XP
Display Modes
Technical and Environmental Specifications
Troubleshooting Before Contacting Service Personnel
This page is intentionally Left blank
Параметров яркости и контрастности
Технические характеристики и требования к
Просмотр изображений в режиме
Характеристики изображения в режиме
Настройка свойств экрана компьютера
Складываемая подставка
Список частей
Панель управления
Наушников
Подключение компонентных устройств DTV/проигрывателя DVD
Что такое HDMI?
Функции телетекста
Пульт дистанционного управления
Перевод телевизора в режим ожидания
Установка батарей в пульт ДУ
Включение и выключение телевизоpа
Нажмите кнопку Enter чтобы выбрать функцию Пуcк
Автоматическое сохранение каналов
Русский
Сохранение каналов вручную
Включение функции блокировки от детей
Настройка каналов
Для того, чтобы Выполните
Сортировка сохраненных каналов
Присвоение каналам названий
Вы можете выбрать тип изображения на свой вкус
Прием точно настроенных каналов
Изменение стандарта изображения
Кнопок Чтобы открыть меню, нажмите кнопку Menu
Изменение цветового оттенка
Настройка параметров изображения
Режим стоп-кадра
Изменение размера изображения
Позиция
PIP Вкл./Выкл
Источник TV/Внешн.1/Внешн.2/AV
Четкость Отрегулируйте четкость изображения
Польз. Контраст / Яркость
Оттенок Хол. / Норм. / Тепл. / Польз
Регулировка цвета Кр. / Зел. / Син
Настройка параметров звука
Изменение стандарта звука
Изображения
Автоматическая настройка громкости
Выбор режима звука
Сигнале модуляции
Установка таймера переключения в режим ожидания
Подсоединение наушников
Выбор языка
Потім натисніть кнопку Enter
Уровень прозрачности
Настройка режима синего экрана
Отрегулируете прозрачность экранного меню
Регулировка Уровня черного Hdmi
Сброс
Нажмите кнопку Enter , чтобы выбрать Список источн
Выбор источника
Функція телетексту
Информация о состоянии
Дата и время
Текст
Настройка свойств экрана компьютера в среде Windows XP
Экранные режимы
Габариты Ш x Г x В
Название модели 932MW, 932MG 2032MW, 2032MG
Разрешение экрана ПК
Звук
Модель 932MW/932MG 2032MW/2032MG
Технические характеристики
Запобіжні заходи під час відтворення нерухомого зображення
Установка програмного забезпечення
Перегляд режиму PIP Зображення в
Характеристики зображення у режимі
Прослуховування звуку периферійного
Ви можете нахиляти TV телевізор доверху під кутом від 0 до
Перелік складових частин
Підставка, яка складається
Індикатор живлення
Панель управління
Натисніть для виклику екранного меню функцій телевізора
Натисніть цю кнопку, щоб увімкнути або вимкнути телевізор
Роз’єм для навушників
Телевізора
Audio in порта з задньої сторони Вашого монітору
Замок Кенсінгтон
Його до телевізора
Функції Телетексту
Пульт дистанційного управління
Переведення телевізора в режим очікування
Установка батарей у пульт ДУ
Вмикання і вимикання телевізора
Натисніть кнопку Enter щоб вибрати Пуcк
Автоматическое сохранение каналов
Українська
Збереження каналів вручну
Після чого натисніть кнопку Enter
Редагування каналів
Увімкнення функції замок від дітей
Присвоєння каналам назв
Сортування збережених каналів
Ви можете вибрати тип зображення на свій смак
Точне налаштування каналів
Зміна стандарту зображення
Кольорів
Настройка параметрів зображення
Зміна колірного тону
Можна вибрати найбільш зручні для перегляду відтінки
Натисніть кнопку MENU, щоб відкрити меню
Зміна розміру зображення
Стоп-кадр
Можна вибрати розмір периферійного зображення
Перегляд режиму PIP Зображення в Зображенні ЗВЗ
Функцію PIP можна увімкнути або вимкнути
Источник TV/Внешний 1/Внешний 2/AV
Подстройка изображения Грубо / Точно / Четкость / Позиция
MagicBright Развлекат. / Интернет / Текст / Польз
Коригуйте індивідуальні R,G,B Контроль кольорів
Налаштування параметрів звуку
Зміна стандарту звуку
Або виберіть пункт Звук, а потім натисніть кнопку
Автоматичне настроювання гучності
Прослуховування звуку периферійного зображення
Вибір режиму звуку
Налаштування таймера режиму очікування
Під’єднання навушників
Вибір мови
За допомогою кнопок або виберіть Установка
Рівень прозорості
Настроювання режиму синього екрана
Коригування прозорість екранного меню
Норм. екран стає яскравішим Низкий екран стає темнішим
Встановлення ЧерныйHDMI
Редагування назв джерел вхідного сигналу
Вибір джерела
Кольорові кнопки червона/зелена/жовта/синя
Пульта ДК
9утримання
6зміст
Натисніть кнопку Exit для виходу з режиму телетексту
Полярність
Екранні режими
Розподільча
Вертикальна
932MW, 932MG 2032MW, 2032MG
Технічні характеристики і вимоги до умов експлуатації
Component
Налаштування пульта дистанційного керування
Цю сторінку навмисно залишено порожньою
Contact Samsung Worldwide

