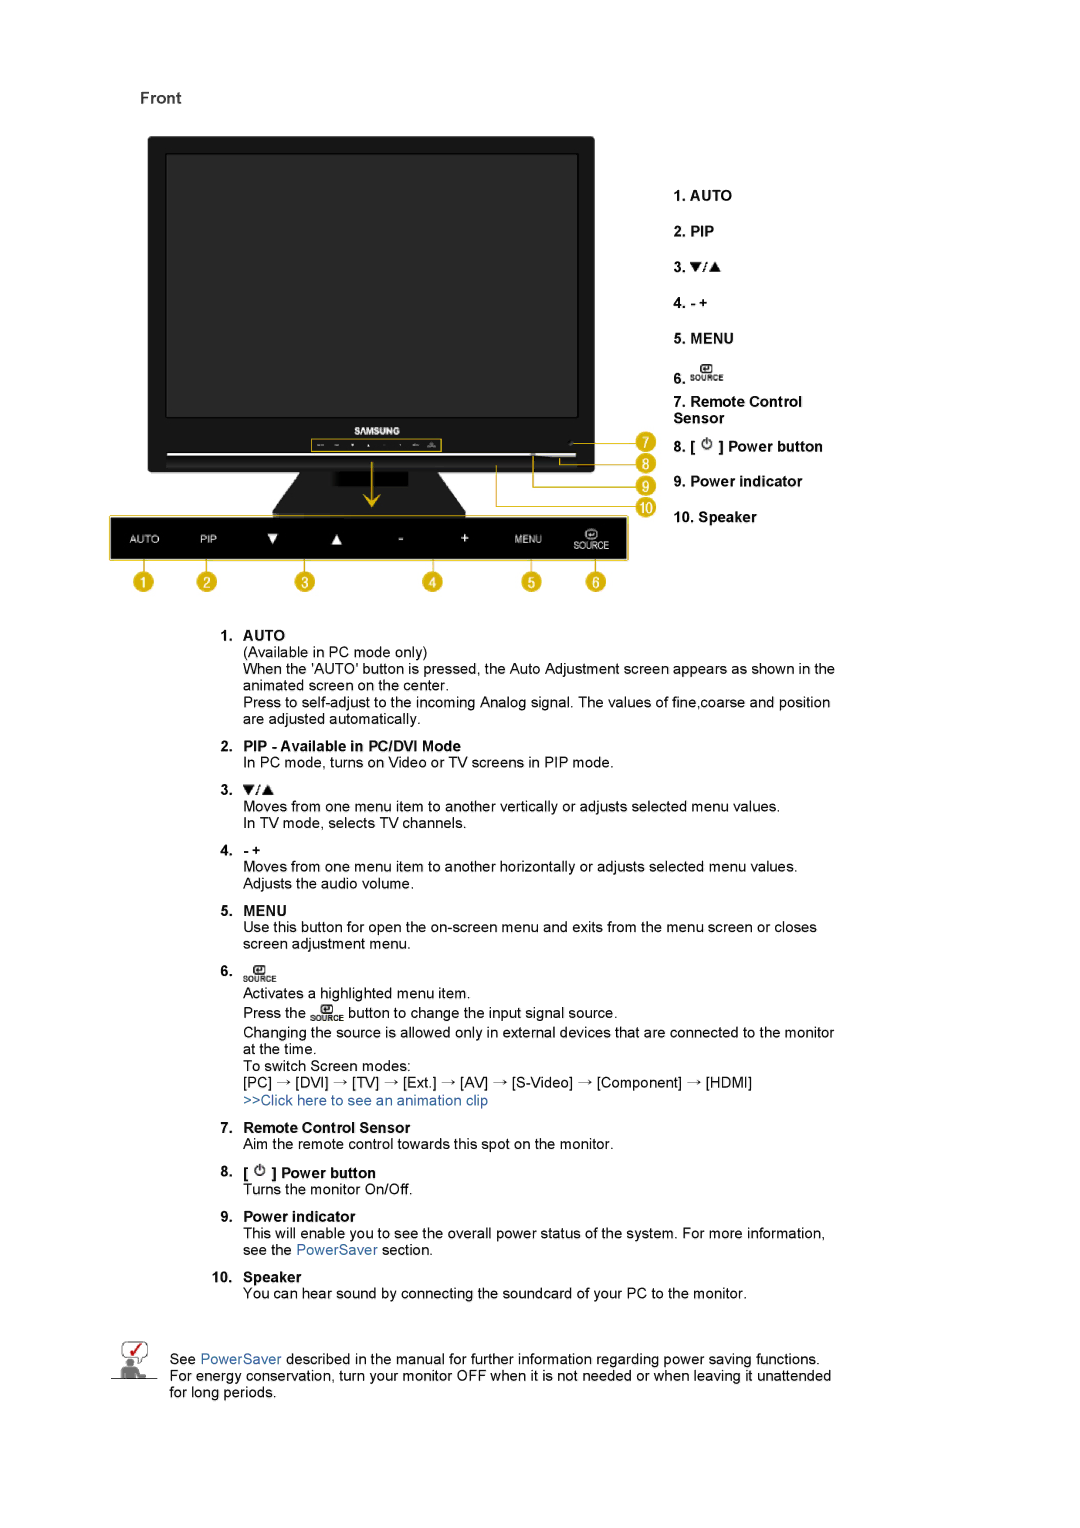
LS22CRASB6/EDC, LS22CRASB/EDC specifications
The Samsung LS22CRASB/EDC is a modern display designed to meet the demands of both home and office users. This 22-inch monitor is well-regarded for its sleek aesthetics, affordability, and impressive performance. The LS22CRASB/EDC utilizes a Full HD resolution of 1920 x 1080 pixels, providing clear and vibrant visuals that enhance the viewing experience, whether for entertaining, gaming, or professional tasks.One of the key features of this model is its advanced IPS technology, which not only delivers exceptional color accuracy but also offers wide viewing angles. Users can enjoy consistent and vivid visuals from almost any position, making it ideal for collaborative work environments where multiple viewers may need to see the screen simultaneously.
The LS22CRASB/EDC incorporates Samsung’s Eye Saver Mode, a function designed to reduce eye strain during extended usage. This feature filters out blue light emissions, allowing for a more comfortable viewing experience, which is particularly beneficial for users who spend long hours in front of the screen. Additionally, Flicker Free technology is integrated to minimize screen flickering, ultimately contributing to a more pleasant user experience.
For gamers, the LS22CRASB/EDC boasts a rapid response time that enhances motion clarity, reducing motion blur during fast-paced action. With a refresh rate of 75Hz, this monitor is suitable for casual gaming, as it provides smoother transitions and minimizes lag.
The monitor also showcases a range of connectivity options, including HDMI and D-Sub ports, allowing users to connect various devices with ease. The adjustable stand offers tilt functionality, enabling users to find the most comfortable viewing angle.
Constructed with eco-conscious materials, the LS22CRASB/EDC aligns with sustainability initiatives that many consumers value today. Its sleek, modern design is complemented by a slim profile that saves space on the desk while providing an aesthetically pleasing look.
In conclusion, the Samsung LS22CRASB/EDC is a versatile monitor that balances quality and affordability. With its impressive specifications, eye-friendly technologies, and stylish design, it stands out as an excellent choice for anyone in need of a reliable display for work or leisure activities. Whether for productivity or entertainment, this monitor is sure to enhance any computing experience significantly.

