MX-FS9000/UM specifications
The Samsung MX-FS9000/UM is a powerful audio system designed to deliver an immersive music experience for various occasions, whether it be a party, gathering, or relaxation. This model stands out with its impressive features and innovative technologies that cater to audiophiles and casual listeners alike.One of the standout features of the MX-FS9000/UM is its robust audio output. With a total power output of 2,500 watts, this system is equipped to fill large spaces with rich and clear sound. The high-power sound ensures that every beat and note reverberates throughout the room, making it ideal for events where impactful audio is a necessity.
The MX-FS9000/UM employs advanced speaker technology, including a built-in subwoofer that enhances bass response. This feature is perfect for those who enjoy genres like hip-hop and electronic music, providing deep and resonant low frequencies that elevate the listening experience. Additionally, the system includes advanced sound modes, such as Bass Boost and Surround Sound, allowing users to customize audio output to suit specific preferences or occasions.
Portability is another key characteristic of the MX-FS9000/UM. It comes with integrated handles and wheels, making it easy to transport for outdoor gatherings or events. Its sleek and modern design not only adds aesthetic appeal but also ensures that it can fit seamlessly into various environments.
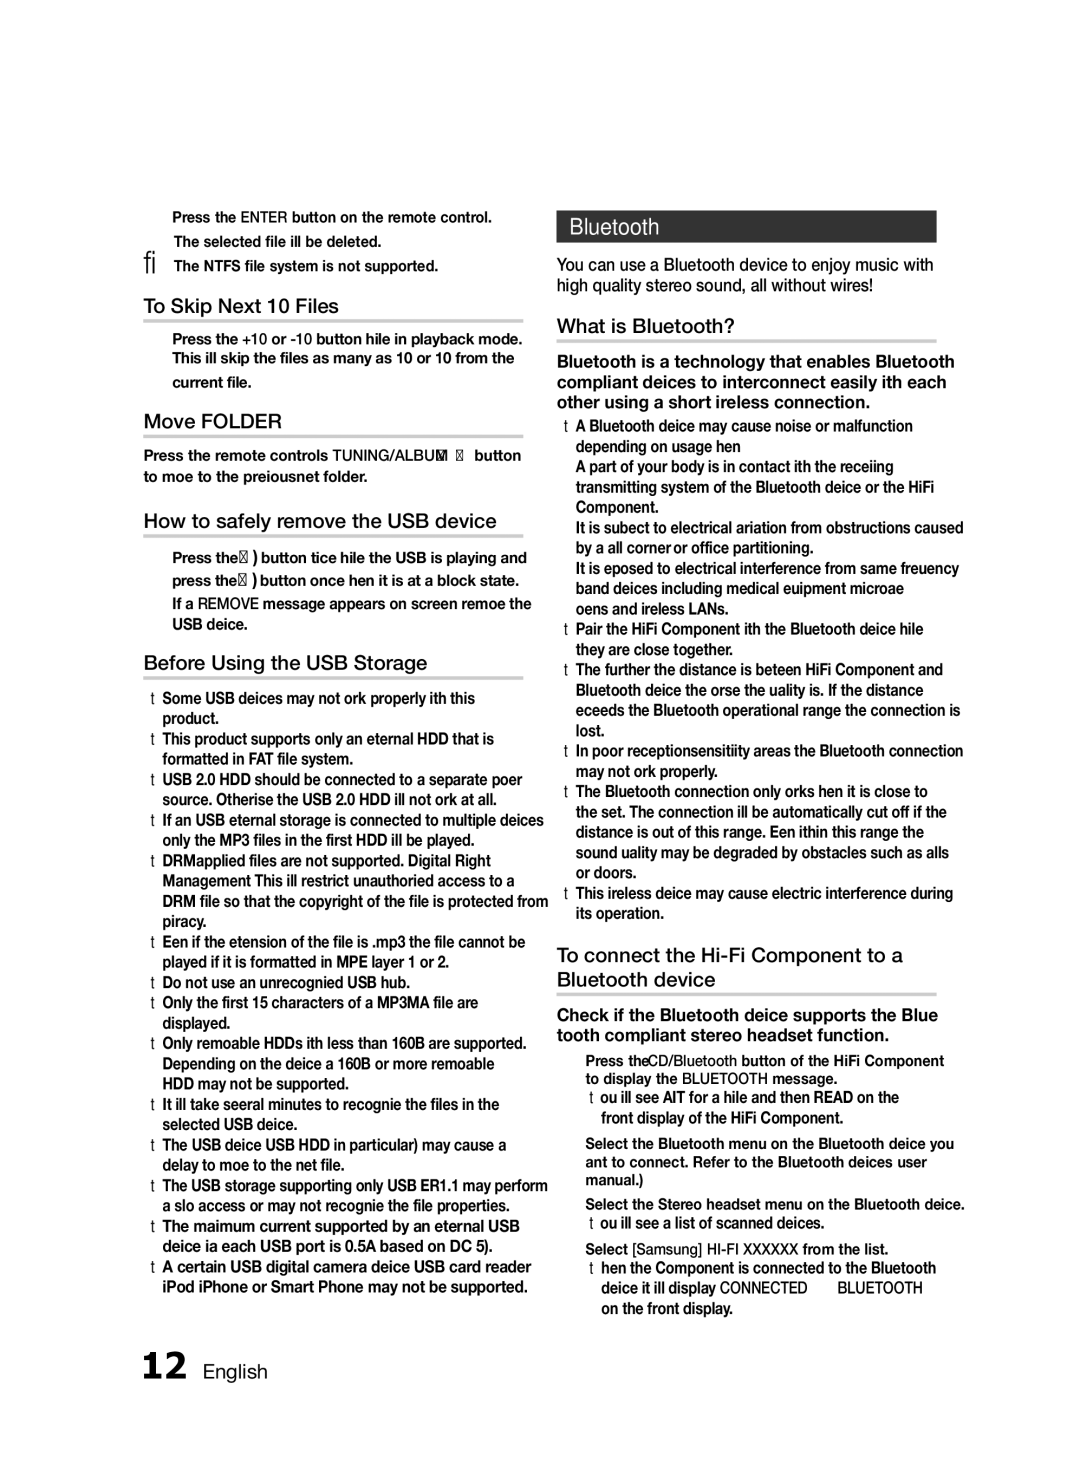
Connectivity is a crucial aspect of the Samsung MX-FS9000/UM, and it does not disappoint. With Bluetooth compatibility, users can easily stream music from their smartphones, tablets, or other devices without the need for cumbersome cables. Additionally, it features USB ports for direct music playback, as well as an FM radio for added entertainment options.
Moreover, the system incorporates various modes such as Karaoke and DJ effects, catering to those who love interactive music experiences. With multiple microphone inputs, it encourages participation and makes it a focal point for social gatherings.
In summary, the Samsung MX-FS9000/UM is a feature-rich audio system that combines power, portability, and connectivity. Its ability to deliver immersive sound, alongside its user-friendly features, makes it an excellent choice for anyone looking to enhance their audio experience, whether at home or on the go.

