❚Installing camera
Before installation
Before installing your camera, you have to read the following cautions:
You have to check whether the location (ceiling or wall) can bear five times the weight of your camera.
Don’t let the cable to be caught in improper place or the electric line cover to be damaged. Otherwise it may cause a breakdown or fire.
When installing your camera, don’t allow any person to approach the installation site. If you have any valuable things under the place, move them away.
Installation procedure
1 ![]()
2![]()
![]()
![]() 3
3
4
![]()
![]()
![]()
![]()
![]() Ceiling mount
Ceiling mount ![]()
![]()
![]()
![]()
![]()
![]()
![]() opener
opener
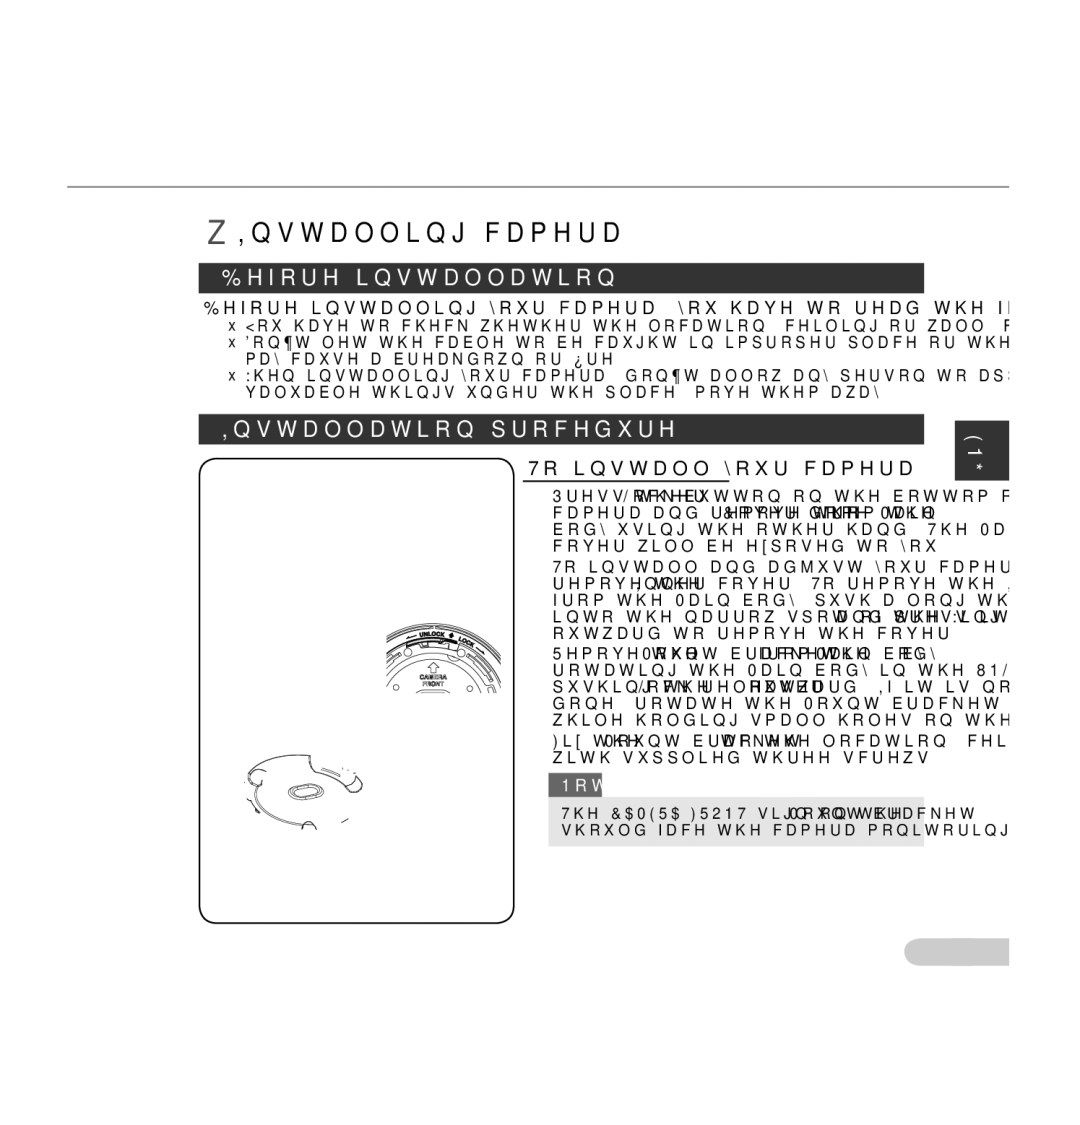
To install your camera
1.Press the Locker button on the bottom of your camera and remove the Cover dome from the Main body using the other hand. The Main body and Inner cover will be exposed to you.
2.To install and adjust your camera, you have to first remove the Inner cover. To remove the Inner cover from the Main body, push a long thin screwdriver into the narrow spot of the Wing locker and press it outward to remove the cover.
3.Remove the Mount bracket from the Main body by rotating the Main body in the UNLOCK direction while pushing the Lock releaser outward. If it is not easily done, rotate the Mount bracket in the LOCK direction while holding small holes on the Mount bracket.
4.Fix the Mount bracket to the location (ceiling or wall) with supplied three screws.
Note
The CAMERA FRONT sign on the Mount bracket should face the camera monitoring area.
ENG
11 ![]()