SMH6140CB, SMH6140BB specifications
The Samsung SMH6140BB and SMH6140CB are sleek over-the-range microwave ovens that combine cutting-edge technology with practical features to enhance the cooking experience in modern kitchens. Designed for efficiency and style, these models cater to diverse culinary needs while seamlessly integrating into any kitchen décor.One of the standout features of both models is their spacious 1.7 cubic feet capacity, providing ample room for large dishes and containers. This makes it ideal for busy families or anyone who enjoys preparing hearty meals. The extenso-cooking space, along with a 300 CFM ventilation system, ensures that cooking odors are quickly eliminated, keeping the kitchen fresh and inviting.
The Samsung SMH6140 series is equipped with sensor cooking technology, which automatically adjusts cooking time and power levels based on the moisture released during the cooking process. This feature eliminates the guesswork often associated with microwave cooking, ensuring perfectly heated and cooked food every time. Additionally, the ceramic enamel interior not only looks sleek but is easy to clean and resistant to scratches and stains.
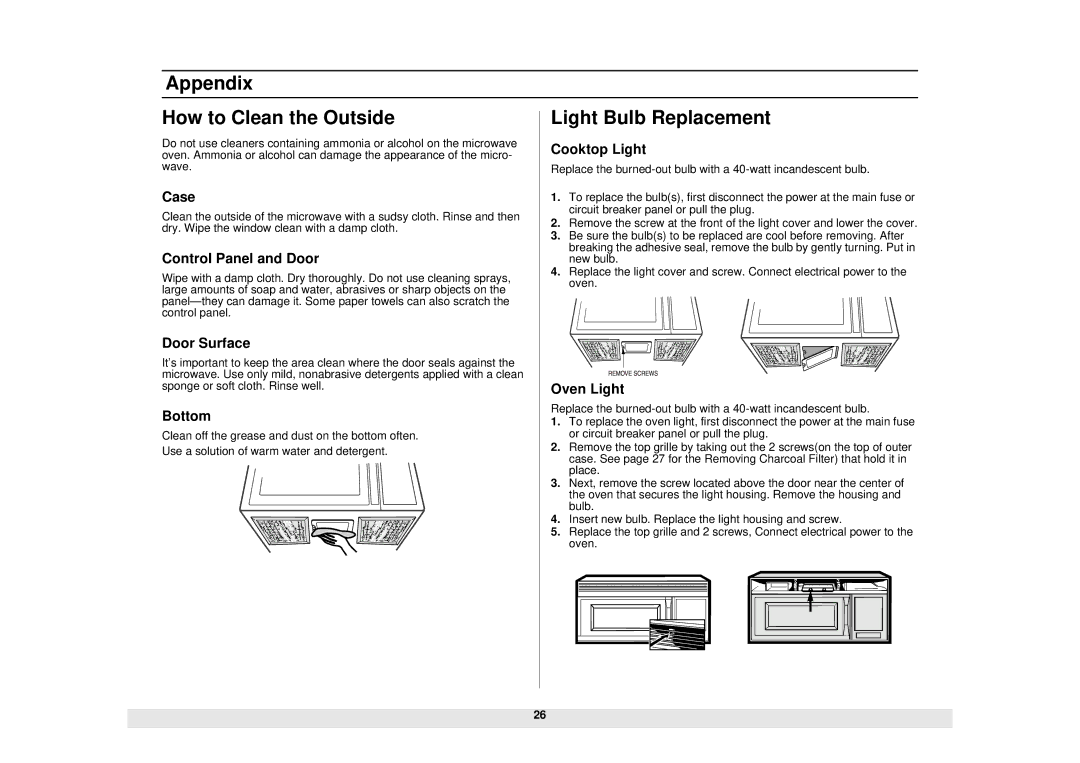
A user-friendly control panel features a variety of presets for common cooking tasks, including popcorn, reheating, and defrosting, making it simple for users to input their desired setting. For those who enjoy defrosting frozen foods, the heavy-duty defrost function is a welcome addition, allowing meats and other foods to be thawed evenly and without cooking edges.
Both models recognize the importance of noise levels during operation. They operate at lower decibel levels compared to traditional microwaves, ensuring a quieter kitchen environment while still delivering powerful performance. Moreover, the bright LED lighting illuminates the cooktop below, making it easier to monitor your cooking progress.
The sleek black finish (SMH6140BB) and stylish stainless steel option (SMH6140CB) lend modern elegance to any kitchen design, while the streamlined design enables easy installation over the range. Overall, the Samsung SMH6140BB and SMH6140CB embody a perfect blend of style, functionality, and advanced technology, making them an excellent choice for discerning cooks looking to elevate their kitchen experience with a dependable and versatile microwave oven.