Netcam MultiViewer

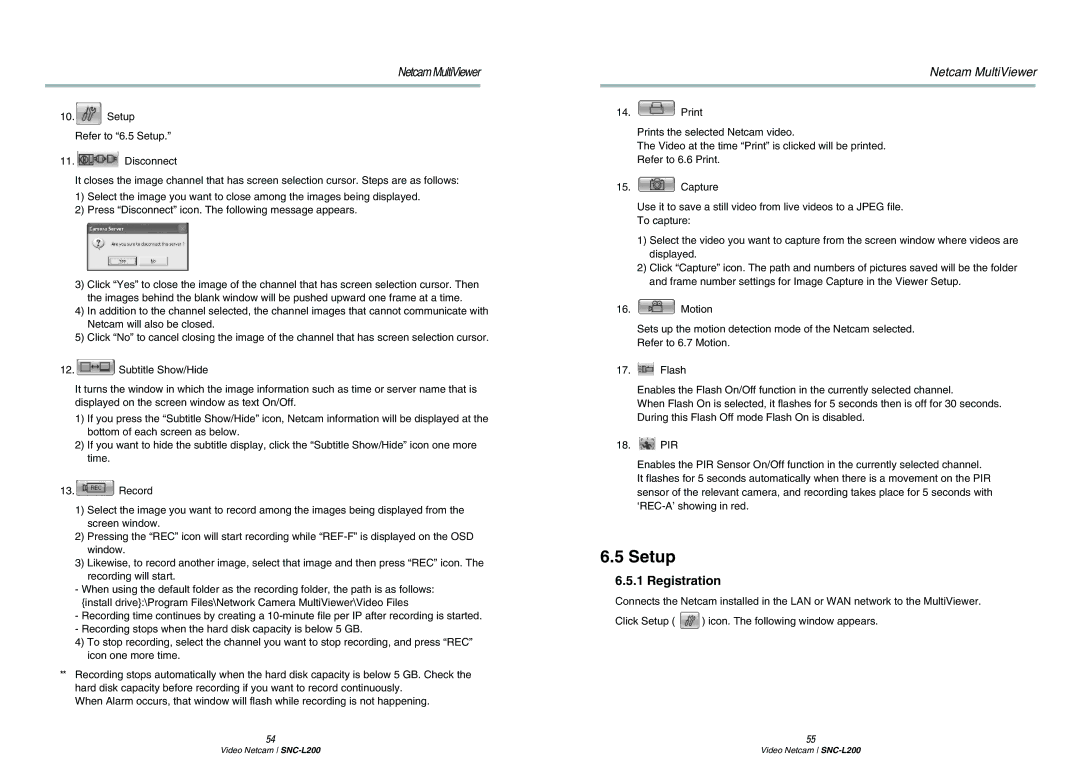
10. Setup Refer to “6.5 Setup.”

11. Disconnect

It closes the image channel that has screen selection cursor. Steps are as follows:

1)Select the image you want to close among the images being displayed.

2)Press “Disconnect” icon. The following message appears.

3)Click “Yes” to close the image of the channel that has screen selection cursor. Then the images behind the blank window will be pushed upward one frame at a time.

4)In addition to the channel selected, the channel images that cannot communicate with Netcam will also be closed.

5)Click “No” to cancel closing the image of the channel that has screen selection cursor.

12. Subtitle Show/Hide

It turns the window in which the image information such as time or server name that is displayed on the screen window as text On/Off.

1)If you press the “Subtitle Show/Hide” icon, Netcam information will be displayed at the bottom of each screen as below.

2)If you want to hide the subtitle display, click the “Subtitle Show/Hide” icon one more time.

13. Record

1)Select the image you want to record among the images being displayed from the screen window.

2)Pressing the “REC” icon will start recording while “REF-F” is displayed on the OSD window.

3)Likewise, to record another image, select that image and then press “REC” icon. The recording will start.

-When using the default folder as the recording folder, the path is as follows: {install drive}:\Program Files\Network Camera MultiViewer\Video Files

-Recording time continues by creating a 10-minute file per IP after recording is started.

-Recording stops when the hard disk capacity is below 5 GB.

4)To stop recording, select the channel you want to stop recording, and press “REC” icon one more time.

**Recording stops automatically when the hard disk capacity is below 5 GB. Check the hard disk capacity before recording if you want to record continuously.

When Alarm occurs, that window will flash while recording is not happening.

54

Netcam MultiViewer

14. Print

Prints the selected Netcam video.

The Video at the time “Print” is clicked will be printed. Refer to 6.6 Print.

15. Capture

Use it to save a still video from live videos to a JPEG file. To capture:

1)Select the video you want to capture from the screen window where videos are displayed.

2)Click “Capture” icon. The path and numbers of pictures saved will be the folder and frame number settings for Image Capture in the Viewer Setup.

16. Motion

Sets up the motion detection mode of the Netcam selected. Refer to 6.7 Motion.

17. Flash

Enables the Flash On/Off function in the currently selected channel.

When Flash On is selected, it flashes for 5 seconds then is off for 30 seconds. During this Flash Off mode Flash On is disabled.

18. PIR

Enables the PIR Sensor On/Off function in the currently selected channel. It flashes for 5 seconds automatically when there is a movement on the PIR sensor of the relevant camera, and recording takes place for 5 seconds with ‘REC-A’ showing in red.

6.5Setup

6.5.1Registration

Connects the Netcam installed in the LAN or WAN network to the MultiViewer.

Click Setup ( ) icon. The following window appears.

55

Video Netcam SNC-L200

Video Netcam SNC-L200

Page 28
Image 28
Samsung SNC-L200P manual Setup, Registration

SNC-L200P specifications

The Samsung SNC-L200P is an advanced security camera that combines high-performance features with cutting-edge technology to provide a reliable surveillance solution for various applications. Tailored for both indoor and outdoor environments, this camera delivers superior image quality, advanced analytics, and robust connectivity options.

One of the standout features of the SNC-L200P is its impressive image resolution. With a high-definition capability, the camera captures sharp, detailed footage under a variety of lighting conditions. This ensures that even the smallest details are visible, enhancing the overall effectiveness of your security monitoring. The camera is equipped with advanced low-light performance, allowing it to maintain clarity during nighttime or in dimly lit settings.

The SNC-L200P integrates intelligent video analytics, which enhances its surveillance capabilities. Features such as motion detection, intrusion detection, and line crossing detection provide additional security measures by alerting users to potential threats in real time. These analytics can be customized to suit specific monitoring needs, allowing for increased flexibility in security management.

Connectivity is another key characteristic of the SNC-L200P. The camera supports both wired and wireless connectivity options, making it easy to integrate into existing networks. This versatility ensures that users can deploy the camera in various locations without the constraints of traditional cabling.

Additionally, the camera is designed with user-friendly software that facilitates easy setup and configuration. The intuitive interface allows users to quickly adjust settings, view live feeds, and access recorded footage. Remote viewing capability ensures that users can monitor their property from anywhere using mobile devices or computers, providing peace of mind whether at home or on the go.

Durability is also a critical aspect of the SNC-L200P. Constructed with weather-resistant materials, the camera is well-suited for outdoor installations. This ensures reliable operation even in challenging environmental conditions, making it a robust choice for comprehensive security coverage.

Overall, the Samsung SNC-L200P stands out for its exceptional image quality, intelligent video analytics, flexible connectivity options, and durable design. It represents a powerful solution for both residential and commercial security needs, providing users with the tools necessary to ensure the safety and security of their premises.