English
Unpacking Package Contents
•ImageMate Reader/Writer (storage card not included)
•Reader stand
•USB cable
•Quick Start Guide
Connecting
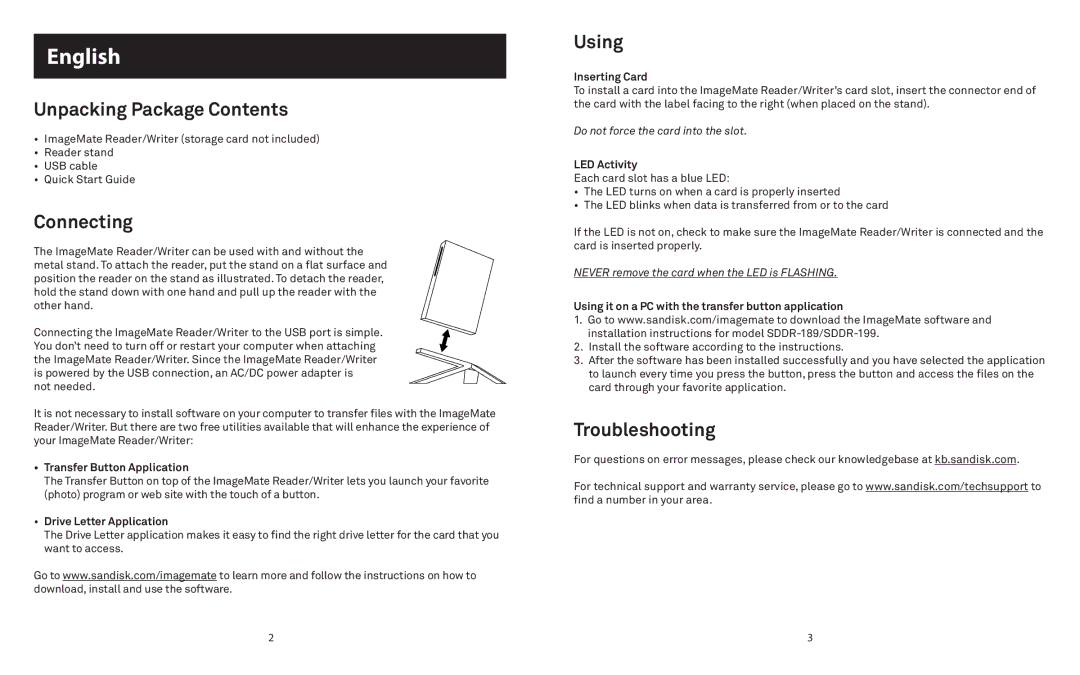
The ImageMate Reader/Writer can be used with and without the metal stand. To attach the reader, put the stand on a flat surface and position the reader on the stand as illustrated. To detach the reader, hold the stand down with one hand and pull up the reader with the other hand.
Connecting the ImageMate Reader/Writer to the USB port is simple. You don’t need to turn off or restart your computer when attaching the ImageMate Reader/Writer. Since the ImageMate Reader/Writer is powered by the USB connection, an AC/DC power adapter is
not needed.
It is not necessary to install software on your computer to transfer files with the ImageMate Reader/Writer. But there are two free utilities available that will enhance the experience of your ImageMate Reader/Writer:
• Transfer Button Application
The Transfer Button on top of the ImageMate Reader/Writer lets you launch your favorite (photo) program or web site with the touch of a button.
• Drive Letter Application
The Drive Letter application makes it easy to find the right drive letter for the card that you want to access.
Go to www.sandisk.com/imagemate to learn more and follow the instructions on how to download, install and use the software.
Using
Inserting Card
To install a card into the ImageMate Reader/Writer’s card slot, insert the connector end of the card with the label facing to the right (when placed on the stand).
Do not force the card into the slot.
LED Activity
Each card slot has a blue LED:
•The LED turns on when a card is properly inserted
•The LED blinks when data is transferred from or to the card
If the LED is not on, check to make sure the ImageMate Reader/Writer is connected and the card is inserted properly.
NEVER remove the card when the LED is FLASHING.
Using it on a PC with the transfer button application
1. Go to www.sandisk.com/imagemate to download the ImageMate software and installation instructions for model
2. Install the software according to the instructions.
3. After the software has been installed successfully and you have selected the application to launch every time you press the button, press the button and access the files on the card through your favorite application.
Troubleshooting
For questions on error messages, please check our knowledgebase at kb.sandisk.com.
For technical support and warranty service, please go to www.sandisk.com/techsupport to find a number in your area.
2 | 3 |