Automatic Search Start
: Select : Adjust
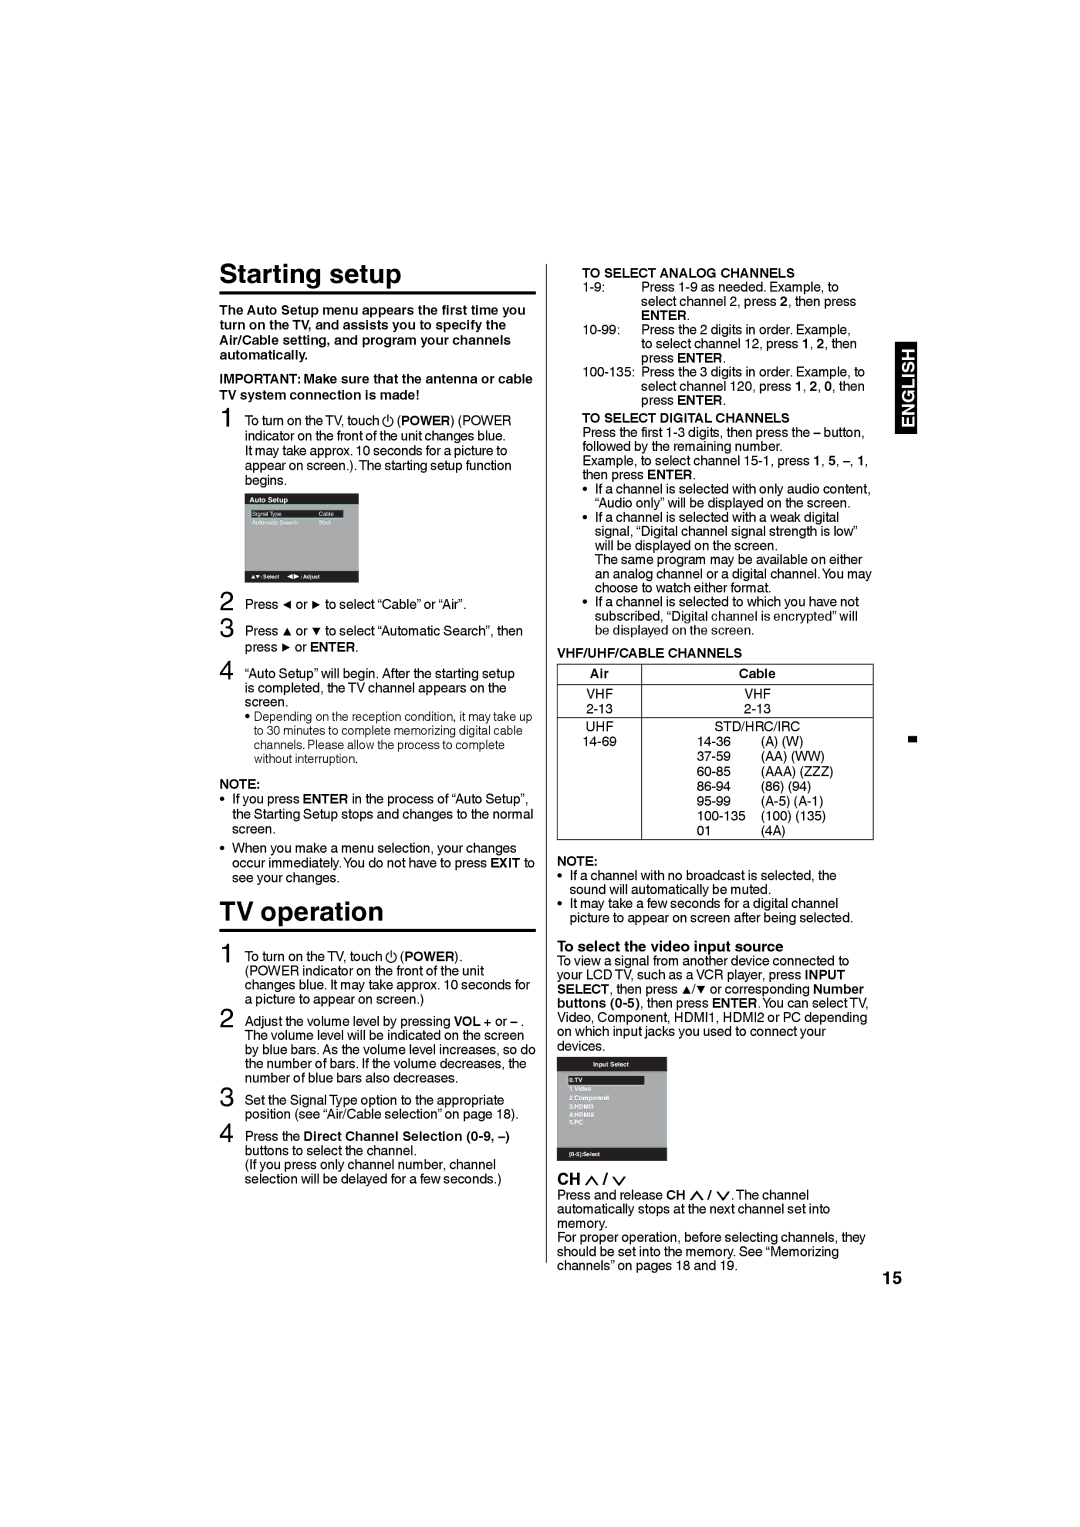
Press or to select “Cable” or “Air”.
Press or to select “Automatic Search”, then press or ENTER.
“Auto Setup” will begin. After the starting setup is completed, the TV channel appears on the screen.
Depending on the reception condition, it may take up to 30 minutes to complete memorizing digital cable channels. Please allow the process to complete without interruption.
Signal Type
Cable
Starting setup
The Auto Setup menu appears the first time you turn on the TV, and assists you to specify the Air/Cable setting, and program your channels automatically.
IMPORTANT: Make sure that the antenna or cable TV system connection is made!
1 To turn on the TV, touch (POWER) (POWER indicator on the front of the unit changes blue. It may take approx. 10 seconds for a picture to appear on screen.). The starting setup function begins.
Auto Setup

2

3

4

NOTE:

• If you press ENTER in the process of “Auto Setup”, the Starting Setup stops and changes to the normal screen.

• When you make a menu selection, your changes occur immediately.You do not have to press EXIT to see your changes.

TV operation

1

To turn on the TV, touch


(POWER).


(POWER indicator on the front of the unit


changes blue. It may take approx. 10 seconds for

2

a picture to appear on screen.)

Adjust the volume level by pressing VOL + or .

The volume level will be indicated on the screen


by blue bars. As the volume level increases, so do

the number of bars. If the volume decreases, the number of blue bars also decreases.

3 Set the Signal Type option to the appropriate position (see “Air/Cable selection” on page 18).

4 Press the Direct Channel Selection (0-9, –) buttons to select the channel.

(If you press only channel number, channel selection will be delayed for a few seconds.)

TO SELECT ANALOG CHANNELS


1-9:

Press 1-9 as needed. Example, to


select channel 2, press 2, then press


ENTER.


10-99: Press the 2 digits in order. Example,


to select channel 12, press 1, 2, then


ENGLISH


press ENTER.


TO SELECT DIGITAL CHANNELS


100-135: Press the 3 digits in order. Example, to


select channel 120, press 1, 2, 0, then


press ENTER.


Press the first 1-3 digits, then press the button,


followed by the remaining number.


Example, to select channel 15-1, press 1, 5, , 1,


then press ENTER.


If a channel is selected with only audio content,


“Audio only” will be displayed on the screen.


If a channel is selected with a weak digital


signal, “Digital channel signal strength is low”


will be displayed on the screen.


The same program may be available on either


an analog channel or a digital channel.You may


choose to watch either format.


If a channel is selected to which you have not


subscribed, “Digital channel is encrypted” will


be displayed on the screen.


VHF/UHF/CABLE CHANNELS


Air


Cable


VHF


VHF


2-13


2-13


UHF

STD/HRC/IRC


14-69

14-36

(A) (W)


37-59

(AA) (WW)


60-85

(AAA) (ZZZ)


86-94

(86) (94)


95-99

(A-5) (A-1)


100-135 (100) (135)


01

(4A)


NOTE:

• If a channel with no broadcast is selected, the sound will automatically be muted.

• It may take a few seconds for a digital channel picture to appear on screen after being selected.

To select the video input source

To view a signal from another device connected to your LCD TV, such as a VCR player, press INPUT SELECT, then press /or corresponding Number buttons (0-5), then press ENTER.You can select TV, Video, Component, HDMI1, HDMI2 or PC depending on which input jacks you used to connect your devices.

Input Select

0.TV

1.Video

2.Component

3.HDMI1

4.HDMI2

5.PC

[0-5]:Select

CH /


Press and release CH / . The channel


automatically stops at the next channel set into


memory.


For proper operation, before selecting channels, they


should be set into the memory. See “Memorizing


channels” on pages 18 and 19.

15


Page 15
Image 15
Sansui SLED2480, SLED2280A owner manual TV operation, To select the video input source

SLED2280A, SLED2480 specifications

The Sansui SLED2480 and SLED2280A televisions represent a commitment to delivering impressive viewing experiences with a blend of advanced technology and user-centric features. Both models cater to the needs of today’s consumers, offering vibrant picture quality and an array of functionalities that enhance home entertainment.

The SLED2480 boasts a generous 24-inch display, providing a perfect balance of size for smaller spaces while still delivering exceptional image clarity. Utilizing LED backlighting technology, it enhances brightness and contrast, allowing for deeper blacks and brighter whites. The screen has a resolution of 1366 x 768 pixels, ensuring that viewers can enjoy their favorite shows, movies, and games in clear detail. Additionally, its wide viewing angles make it ideal for family gatherings or movie nights, as everyone can enjoy the picture without significant color distortion.

On the other hand, the SLED2280A provides a slightly smaller 22-inch screen, also characterized by LED backlighting. This model benefits from an energy-efficient design, making it a great choice for environmentally conscious consumers. The Full HD resolution of 1920 x 1080 pixels offers an upgrade in picture quality, making details crisper and colors more vibrant. This higher resolution is particularly noticeable when watching HD content, ensuring an immersive viewing experience.

Both models feature built-in multimedia capabilities, allowing users to connect USB drives and play media files directly on the television. This feature enriches the user experience by providing easy access to personal video libraries, music, and images. The integration of HDMI ports is another strong suit of these models, enabling seamless connections to other devices such as game consoles, Blu-ray players, and external sound systems, enhancing the overall entertainment setup.

In terms of design, both the SLED2480 and SLED2280A exhibit sleek profiles and contemporary aesthetics, making them suitable for various living environments. Their lightweight construction allows for easy mounting or placement on stands, adapting to the consumer's preferences.

In conclusion, the Sansui SLED2480 and SLED2280A televisions combine superior image quality, advanced technology, and user-friendly features, catering to modern entertainment needs. Whether consumers opt for the larger SLED2480 or the more compact SLED2280A, both options promise to deliver an engaging viewing experience that stands out in their class.