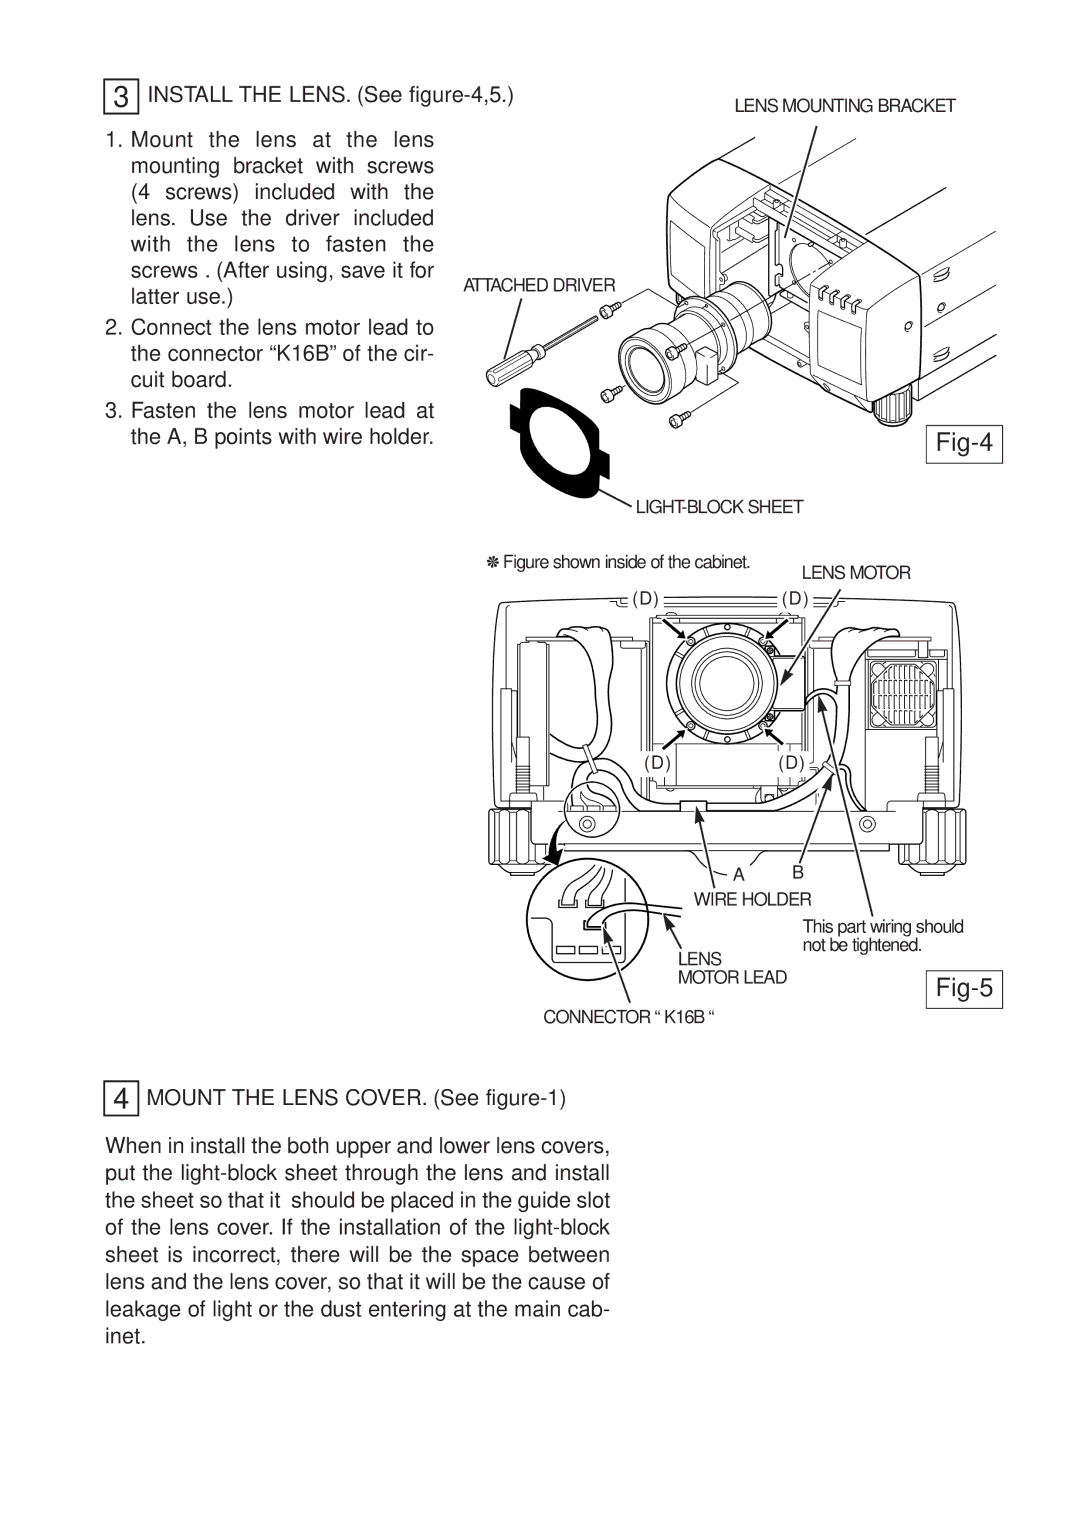
3 INSTALL THE LENS. (See
1.Mount the lens at the lens mounting bracket with screws (4 screws) included with the lens. Use the driver included with the lens to fasten the screws . (After using, save it for
LENS MOUNTING BRACKET
latter use.)
ATTACHED DRIVER
2. Connect the lens motor lead to the connector “K16B” of the cir- cuit board.
3.Fasten the lens motor lead at the A, B points with wire holder.
Fig-4
![]()
❋ Figure shown inside of the cabinet.
LENS MOTOR
(D)(D)
4
(D)(D)
A B
WIRE HOLDER
|
|
| This part wiring should | |
|
|
| ||
|
|
| ||
|
| LENS | not be tightened. | |
|
|
|
| |
|
| MOTOR LEAD |
|
|
|
|
|
| |
CONNECTOR “ K16B “ |
|
| ||
|
| |||
MOUNT THE LENS COVER. (See
When in install the both upper and lower lens covers, put the