Manuals
/
Sanyo
/
Computer Equipment
/
Projector
Sanyo
owner manual
Model PLC-XL20 PLC-SL20
Models:
PLC-SL20
1
1
56
56
Download
56 pages
62.59 Kb
1
2
3
4
5
6
7
8
Troubleshooting
Specs
Install
Signal Emission indicator
Timer Function
Wireless Mouse Operation
Maintenance
Configurations of Terminals
Reset
Lamp Replacement
Page 1
Image 1
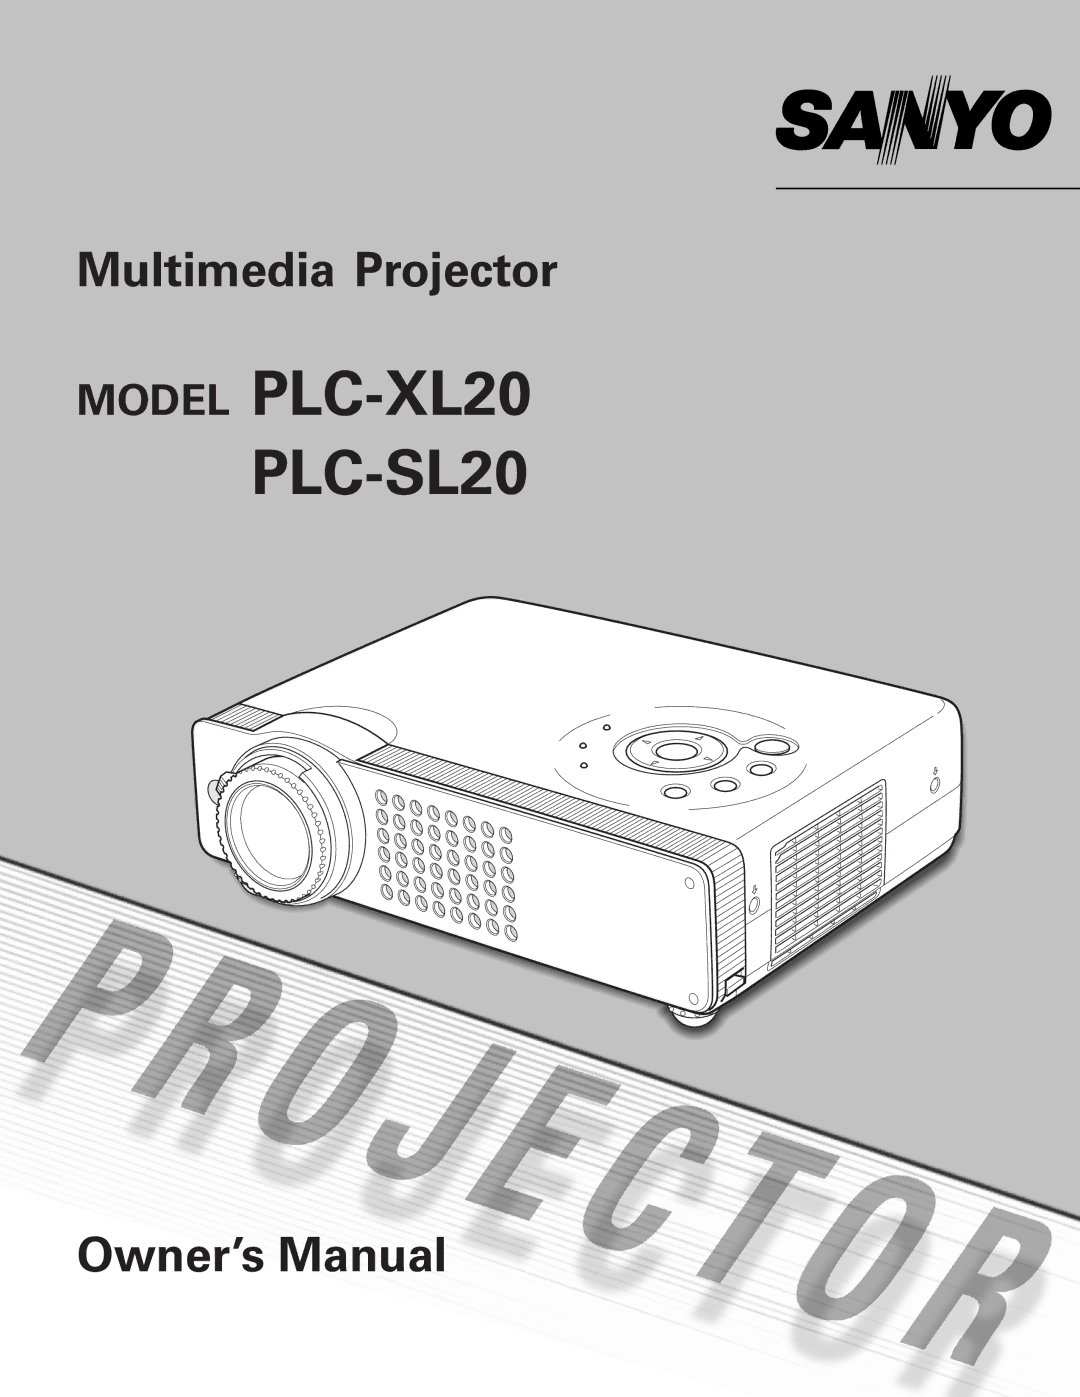
Multimedia Projector
MODEL
PLC-XL20
PLC-SL20
Owner’s Manual
Page 1
Page 2
Page 1
Image 1
Page 1
Page 2
Contents
Model PLC-XL20 PLC-SL20
Table of Contents
Risk of Electric Shock Do not Open
To the Owner
Voor de klanten in Nederland
Safety Instructions
Installing the Projector in Proper Position
Safety Instructions
Air Circulation
Moving the Projector
Federal Communication Commission Notice
Compliance
For Continental Europe For the U.K
Compliance
For the U.S.A. and Canada
200 240 V AC
Features and Design
Front
Part Names and Functions
Back
Bottom
Terminal
Part Names and Functions
Top
Power ON-OFF button
Signal Emission indicator
Remote Control
Pointer Function
Laser Pointer Function
Wireless Mouse Operation
Remote Control Code
Remote Control Batteries Installation
Remote Control Operating Range
Adjustable Feet
Installation
Positioning the Projector
Connecting to a Computer
Installation
Terminals
Connecting to Video Equipment
Projector
Turning On the Projector
Basic Operation
Turning Off the Projector
Focus Adjustment
Zoom Adjustment
Keystone Adjustment
Basic Operation
Sound Adjustment
Timer Function
No Show Function
Direct Operation
On-Screen Menu
Remote Control
Top Control
On-Screen Menu
Menu Bar
Input Source Selection
Computer Input
Computer System Selection
Computer Input
Auto
Mode
To store adjustment data
Computer Adjustment Auto
Auto PC Adj
Computer Adjustment Manual
Mode free
Reset
Display area To store adjustment data
To clear adjustment data
Standard
Image Level Selection
Real
Image button Standard Real
Image Level Adjustment
Screen Size Adjustment
Input Source Selection Video, S-Video
Video Input
Input button Video Computer Video button Video
Auto
Input Source Selection Component, RGB Scart 21-Pin
Video Input
Component
RGB Scart
Video or S-Video
Video System Selection
AV System Menu Video or S-Video
AV System Menu Component
Image button Standard Cinema
Cinema
Tint
Color
Progressive
Resets all adjustment to their previous figure
Setting
Setting
Setting
To change the code for the projector
To change the code for the remote control
Projector is shut down and the Warning indicator lights red
Maintenance and Cleaning
Then check the items below
Cleaning the Air Filters
Maintenance and Cleaning
Cleaning the Projection Lens
Cleaning the Projector Cabinet
Reset the Lamp replace counter
Lamp Replacement
POA-LMP55 for PLC-XL20
POA-LMP65 for PLC-SL20
Lamp Replace Counter
When the lamp replace counter is reset, the Lamp
Appendix
Troubleshooting
Appendix
Projector Condition
Indicators and Projector Condition
Image Select Image Adjust Screen
PC Adjust
Menu Tree
Input
Image Select
575pSetting
Freq
Compatible Computer Specifications
KHz
Technical Specifications
Terminal HDB15-PIN Pin Configuration
Configurations of Terminals
Terminal DVI-I Pin Configuration
Optional Parts
Attaching the Lens Cover
Page
Part No 312 1291 1AA6P1P4384-- PG3A
Top
Page
Image
Contents