Quick Installation Guide
CLP27DN/CLP31DN/C7526dn/C7531dn/LP226cn/ LP231cn/Aficio SP C410DN/Aficio SP C411DN
Read this manual carefully before you use the product and keep it handy for future reference. For safe and correct use, please be sure to read the Safety Information in “Safety Information” before using the machine.
Where to Put the Printer
The printer’s location should be carefully chosen because environmental conditions greatly affect its performance.
![]() Warning
Warning
•Confirm that the wall outlet is near the machine and freely accessible, so that in event of an emergency, it can be unplugged easily.
•Only connect the machine to the power source described on this manual.
•Avoid
•Do not damage, break or make any modifications to the power cord. Do not place heavy objects on it, pull it hard or bend it more than necessary.These actions could cause an electric shock or fire.
•The supplied power cord is for use with this equipment only. Do not use with other appliances. Doing so may result in fire, electric shock, or injury.
![]() Caution
Caution
•Do not handle the plug with wet hands. Doing so might cause an electrical shock.
•Keep the machine in an area that is within optimum environmental conditions. Operating the machine in an environment that is outside the recommended ranges of humidity and temperature can cause an electrical fire hazard. Keep the area around the socket free of dust. Accumulated dust can become an electrical fire hazard.
•Place the machine on a strong and level surface. Otherwise, it might fall and injure someone.
•If you use the machine in a confined space, ensure there is continuous air circulation.
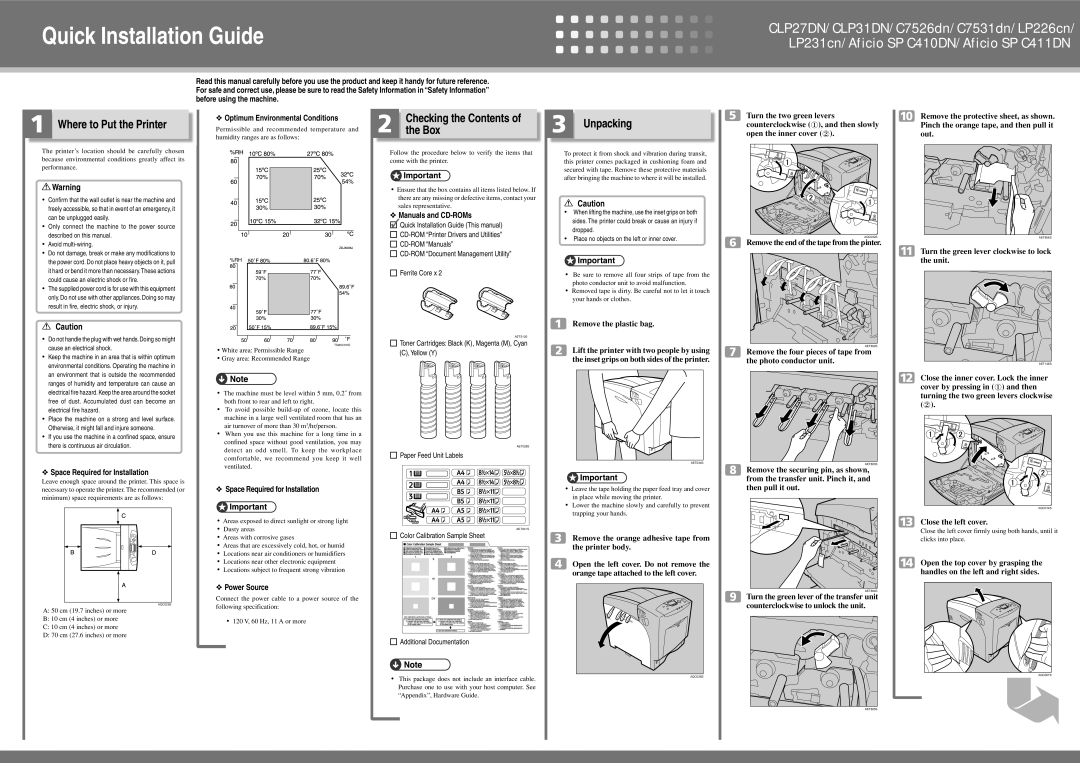
❖Space Required for Installation
Leave enough space around the printer. This space is necessary to operate the printer. The recommended (or minimum) space requirements are as follows:
AQC025S |
A:50 cm (19.7 inches) or more
B:10 cm (4 inches) or more
C:10 cm (4 inches) or more
D:70 cm (27.6 inches) or more
❖Optimum Environmental Conditions
Permissible and recommended temperature and humidity ranges are as follows:
%RH |
TS4K031KE |
•White area: Permissible Range
•Gray area: Recommended Range
•The machine must be level within 5 mm, 0.2˝ from both front to rear and left to right.
•To avoid possible
•When you use this machine for a long time in a confined space without good ventilation, you may detect an odd smell. To keep the workplace comfortable, we recommend you keep it well ventilated.
❖Space Required for Installation
•Areas exposed to direct sunlight or strong light
•Dusty areas
•Areas with corrosive gases
•Areas that are excessively cold, hot, or humid
•Locations near air conditioners or humidifiers
•Locations near other electronic equipment
•Locations subject to frequent strong vibration
❖Power Source
Connect the power cable to a power source of the following specification:
•120 V, 60 Hz, 11 A or more
Checking the Contents of the Box
Follow the procedure below to verify the items that come with the printer.
•Ensure that the box contains all items listed below. If there are any missing or defective items, contact your sales representative.
❖Manuals and
Quick Installation Guide (This manual)
Ferrite Core x 2
AET510S
Toner Cartridges: Black (K), Magenta (M), Cyan (C), Yellow (Y)
AET028S
Paper Feed Unit Labels
AET031S |
Color Calibration Sample Sheet
Additional Documentation
•This package does not include an interface cable. Purchase one to use with your host computer. See “Appendix”, Hardware Guide.
Unpacking
To protect it from shock and vibration during transit, this printer comes packaged in cushioning foam and secured with tape. Remove these protective materials after bringing the machine to where it will be installed.
![]() Caution
Caution
•When lifting the machine, use the inset grips on both sides. The printer could break or cause an injury if dropped.
•Place no objects on the left or inner cover.
•Be sure to remove all four strips of tape from the photo conductor unit to avoid malfunction.
•Removed tape is dirty. Be careful not to let it touch your hands or clothes.
Remove the plastic bag.
Lift the printer with two people by using the inset grips on both sides of the printer.
AET034S |
•Leave the tape holding the paper feed tray and cover in place while moving the printer.
•Lower the machine slowly and carefully to prevent trapping your hands.
Remove the orange adhesive tape from the printer body.
Open the left cover. Do not remove the orange tape attached to the left cover.
AQC026S
Turn the two green levers counterclockwise (![]() ), and then slowly open the inner cover (
), and then slowly open the inner cover (![]() ).
).
AQC032S |
Remove the end of the tape from the pinter.
AET802S |
Remove the four pieces of tape from the photo conductor unit.
AET803S |
Remove the securing pin, as shown, from the transfer unit. Pinch it, and then pull it out.
AET804S |
Turn the green lever of the transfer unit counterclockwise to unlock the unit.
AET805S |
Remove the protective sheet, as shown. Pinch the orange tape, and then pull it out.
AET806S |
Turn the green lever clockwise to lock the unit.
AET146S |
Close the inner cover. Lock the inner cover by pressing in (![]() ) and then turning the two green levers clockwise (
) and then turning the two green levers clockwise (![]() ).
).
AQC014S |
Close the left cover.
Close the left cover firmly using both hands, until it clicks into place.
Open the top cover by grasping the handles on the left and right sides.
AQC007S |