operating instructions
NOTE: A marine (boat) boat battery must be removed and charged on shore. To charge it on board requires equipment specially designed for marine use.
IMPORTANT: Follow all safety instructions and precautions when charging your battery. Wear complete eye protection and clothing protection. Charge your battery in a well- ventilated area.
Charging Battery In The Vehicle:
1.Avoid personal injury by keeping clear of fan blades, belts, pulleys and other engine parts.
2.Avoid damaging the charger by keep- ing the power cord and output cords away from the hood, door or moving engine parts.
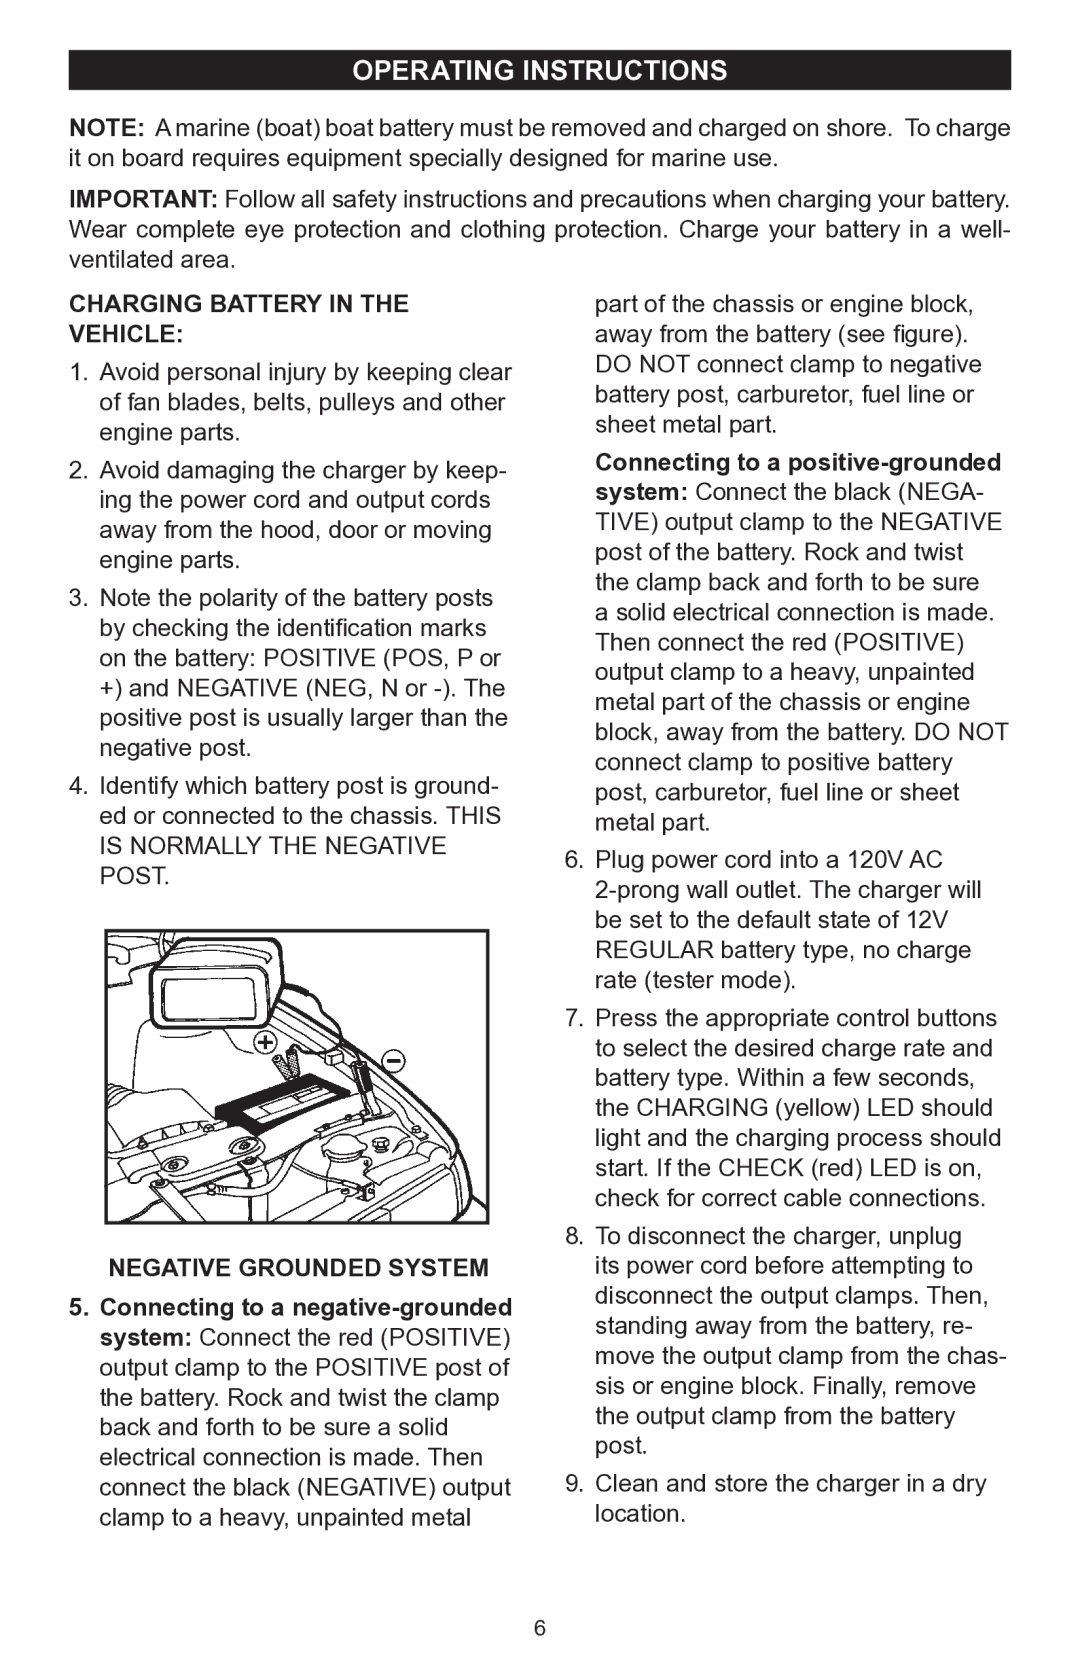
3.Note the polarity of the battery posts by checking the identification marks on the battery: POSITIVE (POS, P or +) and NEGATIVE (NEG, N or
4.Identify which battery post is ground- ed or connected to the chassis. THIS IS NORMALLY THE NEGATIVE POST.
NEGATIVE GROUNDED SYSTEM
5.Connecting to a
part of the chassis or engine block, away from the battery (see figure). DO NOT connect clamp to negative battery post, carburetor, fuel line or sheet metal part.
Connecting to a
6.Plug power cord into a 120V AC
7.Press the appropriate control buttons to select the desired charge rate and battery type. Within a few seconds, the CHARGING (yellow) LED should light and the charging process should start. If the CHECK (red) LED is on, check for correct cable connections.
8.To disconnect the charger, unplug its power cord before attempting to disconnect the output clamps. Then, standing away from the battery, re- move the output clamp from the chas- sis or engine block. Finally, remove the output clamp from the battery post.
9.Clean and store the charger in a dry location.