Using Your Battery Charger
For best results from your battery charger, learn to use it properly. This section tells how to set the controls and how to charge a battery in or out of the vehicle.
Setting the Controls
SELECTOR SWITCHES:
A
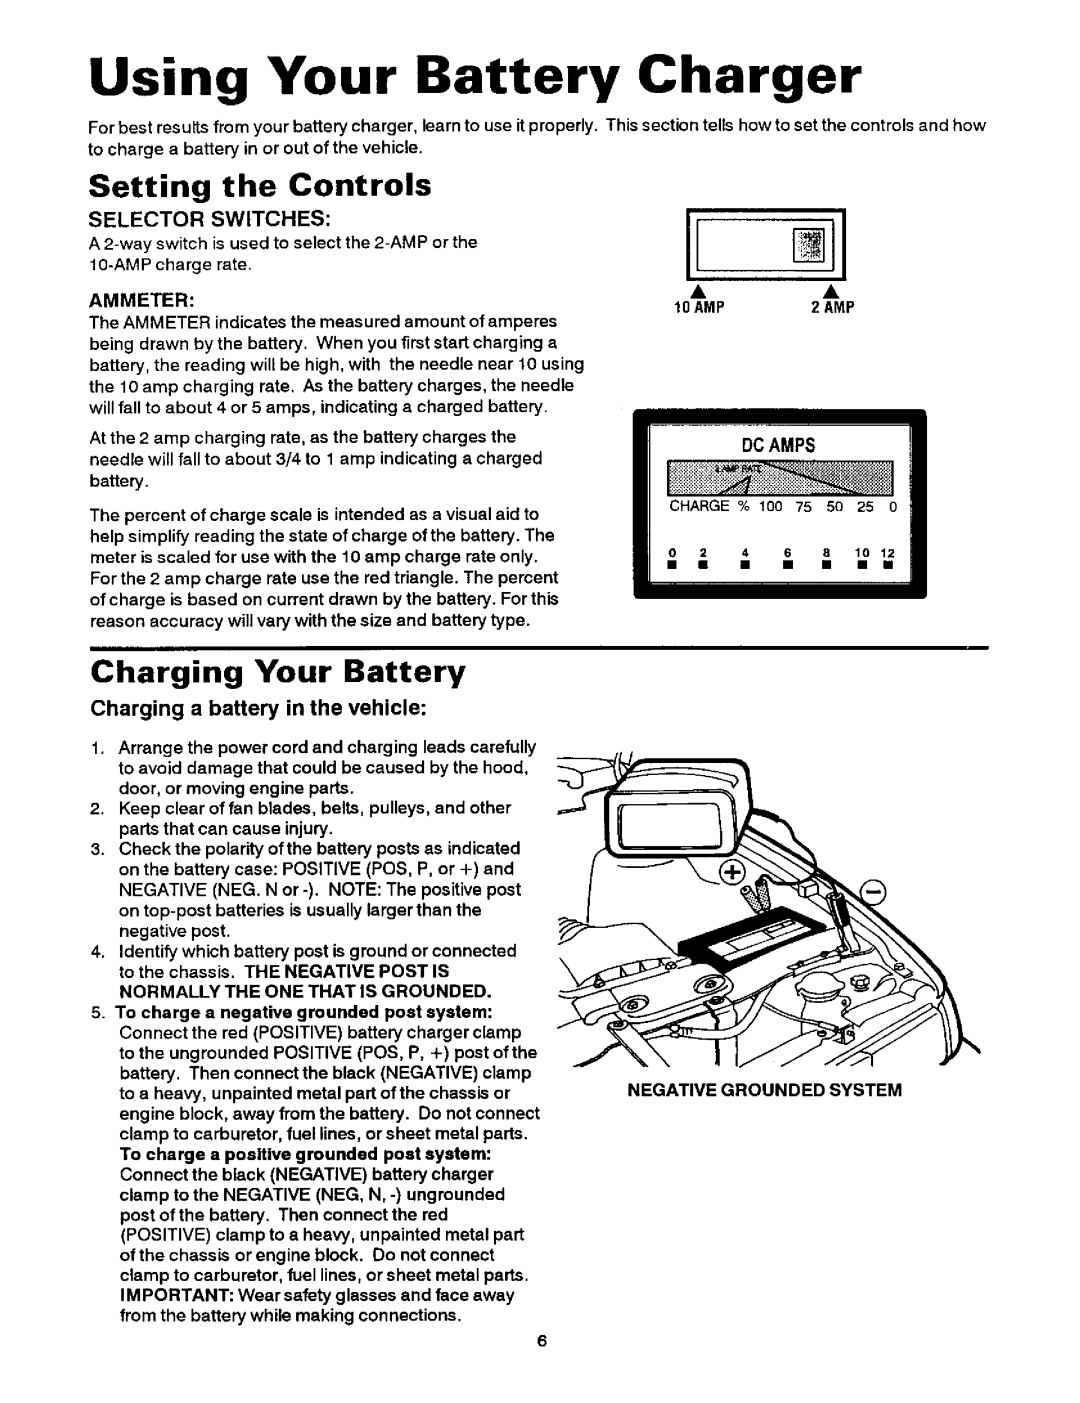
AMMETER:
The AMMETER indicates the measured amount of amperes being drawn by the battery. When you first start charging a battery, the reading will be high, with the needle near 10 using the 10 amp charging rate. As the battery charges, the needle will fall to about 4 or 5 amps, indicating a charged battery.
At the 2 amp charging rate, as the battery charges the needle will fall to about 3/4 to 1 amp indicating a charged
battery.
The percent of charge scale is intended as a visual aid to help simplify reading the state of charge of the battery. The meter is scaled for use with the 10 amp charge rate only. For the 2 amp charge rate use the red triangle. The percent of charge is based on current drawn by the battery. For this reason accuracy will vary with the size and battery type.
10 AMP | 2 AMP |
DC AMPS
CHARGE % 100 75 50 25 0
0 | 2 | 4 | 6 | 8 | 10 | 12 |
Charging Your Battery
Charging a battery in the vehicle:
1.Arrange the power cord and charging leads carefully to avoid damage that could be caused by the hood, door, or moving engine parts.
2.Keep clear of fan blades, belts, pulleys, and other parts that can cause injury.
3.Check the polarity of the battery posts es indicated on the battery case: POSITIVE (POS, P, or +) and NEGATIVE (NEG. N
4.Identify which battery post is ground or connected to the chassis. THE NEGATIVE POST IS
NORMALLY THE ONE THAT IS GROUNDED.
5.To charge a negative grounded post system: Connect the red (POSITIVE) battery charger clamp
to the ungrounded POSITIVE (POS, P, +) post of the
battery, Then connect the black (NEGATIVE) clamp
to a heavy, unpainted metal part of the chassis orNEGATIVEGROUNDEDSYSTEM engine block, away from the battery. Do not connect
clamp to carburetor, fuel lines, or sheet metal parts. To charge a poslUve grounded post system: Connect the black (NEGATIVE) battery charger clamp to the NEGATIVE (NEG, N,
post of the battery. Then connect the red (POSITIVE) clamp to a heavy, unpainted metal part
of the chassis or engine block. Do not connect clamp to carburetor, fuel lines, or sheet metal parts. IMPORTANT: Wear safety glasses and face away from the battery while making connections.
6