ASSEMBLY
In order to best protect the snow thrower while in the package, this product comes with
some components disassembled. Please complete the following assembly steps before proceeding to use the snow thrower. For ease of assembly, we recommend attaching the components in the order listed in this manual.
If after reading this section, you are unsure about how to perform any of the steps
please call (888)
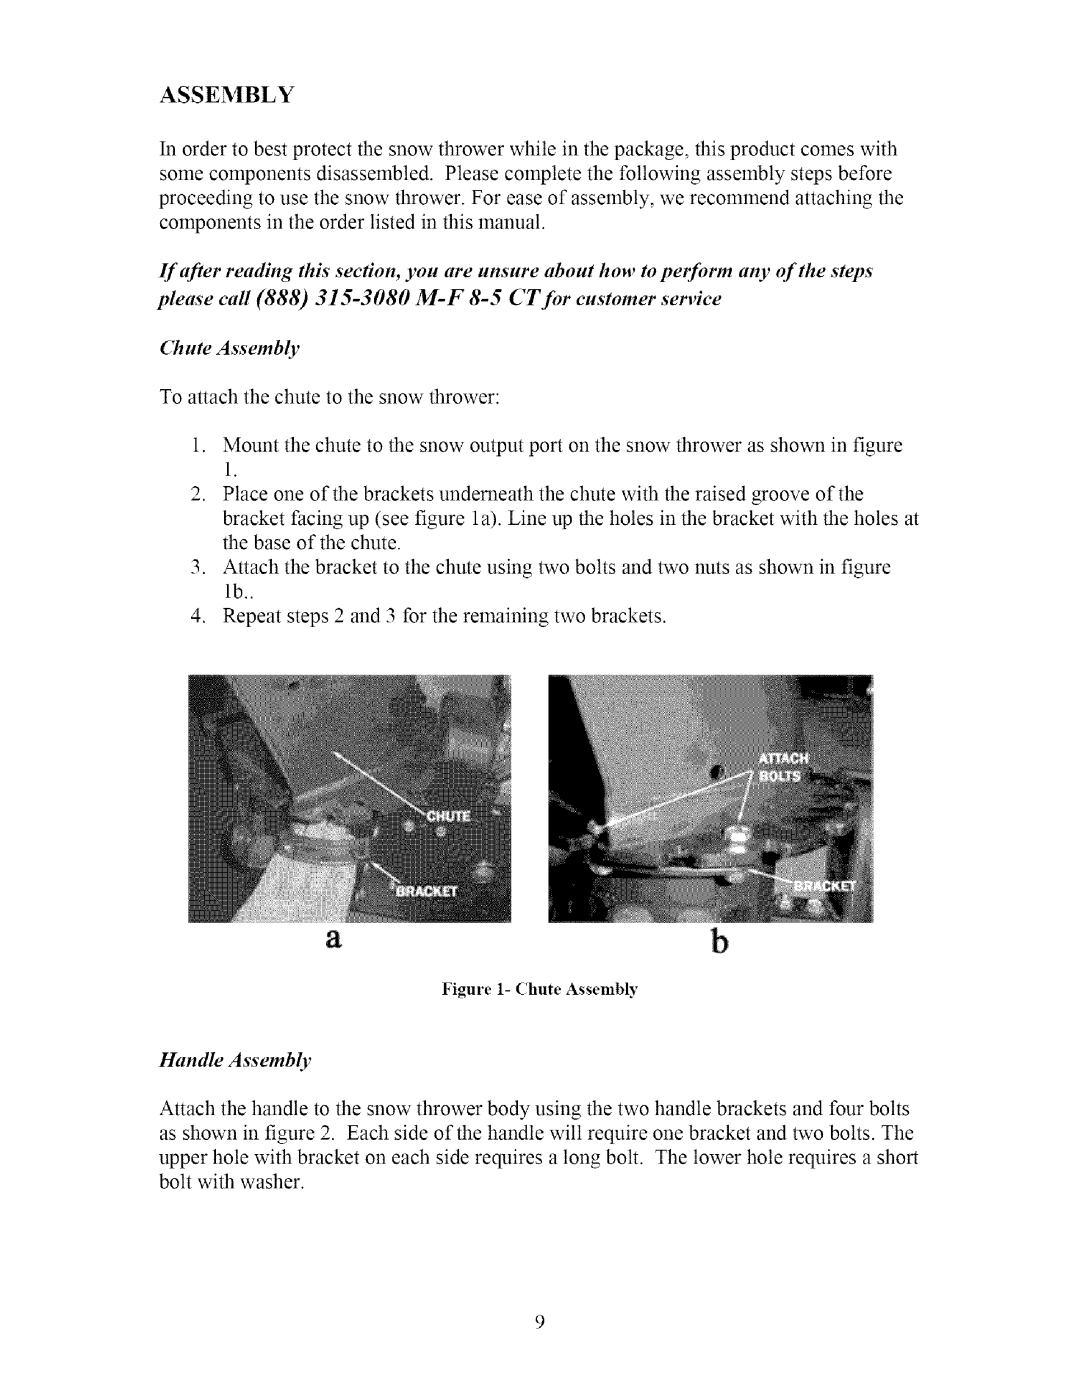
Chute Assembly
To attach the chute to the snow thrower:
1.Mount the chute to the snow output port on the snow thrower as shown in figure 1.
2.Place one of the brackets underneath the chute with the raised groove of the bracket facing up (see figure la). Line up the holes in the bracket with the holes at the base of the chute.
3.Attach the bracket to the chute using two bolts and two nuts as shown in figure lb..
4.Repeat steps 2 and 3 for the remaining two brackets.
ab
Figure 1- Chute Assembly
Handle Assembly
Attach the handle to the snow thrower body using the two handle brackets and four bolts as shown in figure 2. Each side of the handle will require one bracket and two bolts. The upper hole with bracket on each side requires a long bolt. The lower hole requires a short bolt with washer.