STEP1
Unpackthe IV and remote control.
IMPORTANT INFORMATION: OPTIONAL STAND
A matching stand has been designed to be used with this tele- vision. This stand is provided with hardware to secure the TV to the stand so that it cannot be easily pushed off, pulled off, or tipped over. This stand is available from your dealer, and is not available by mail order.
Caution: If you choose not to use the stand recommended for your TV, take precautions that the stand or other furniture the TV is placed on is properly located and of adequate size and strength to prevent the TV from accidentally being pushed off, pulled off, or tipped over. This could cause damage to the TV and/or personal injury.
STE P 2:
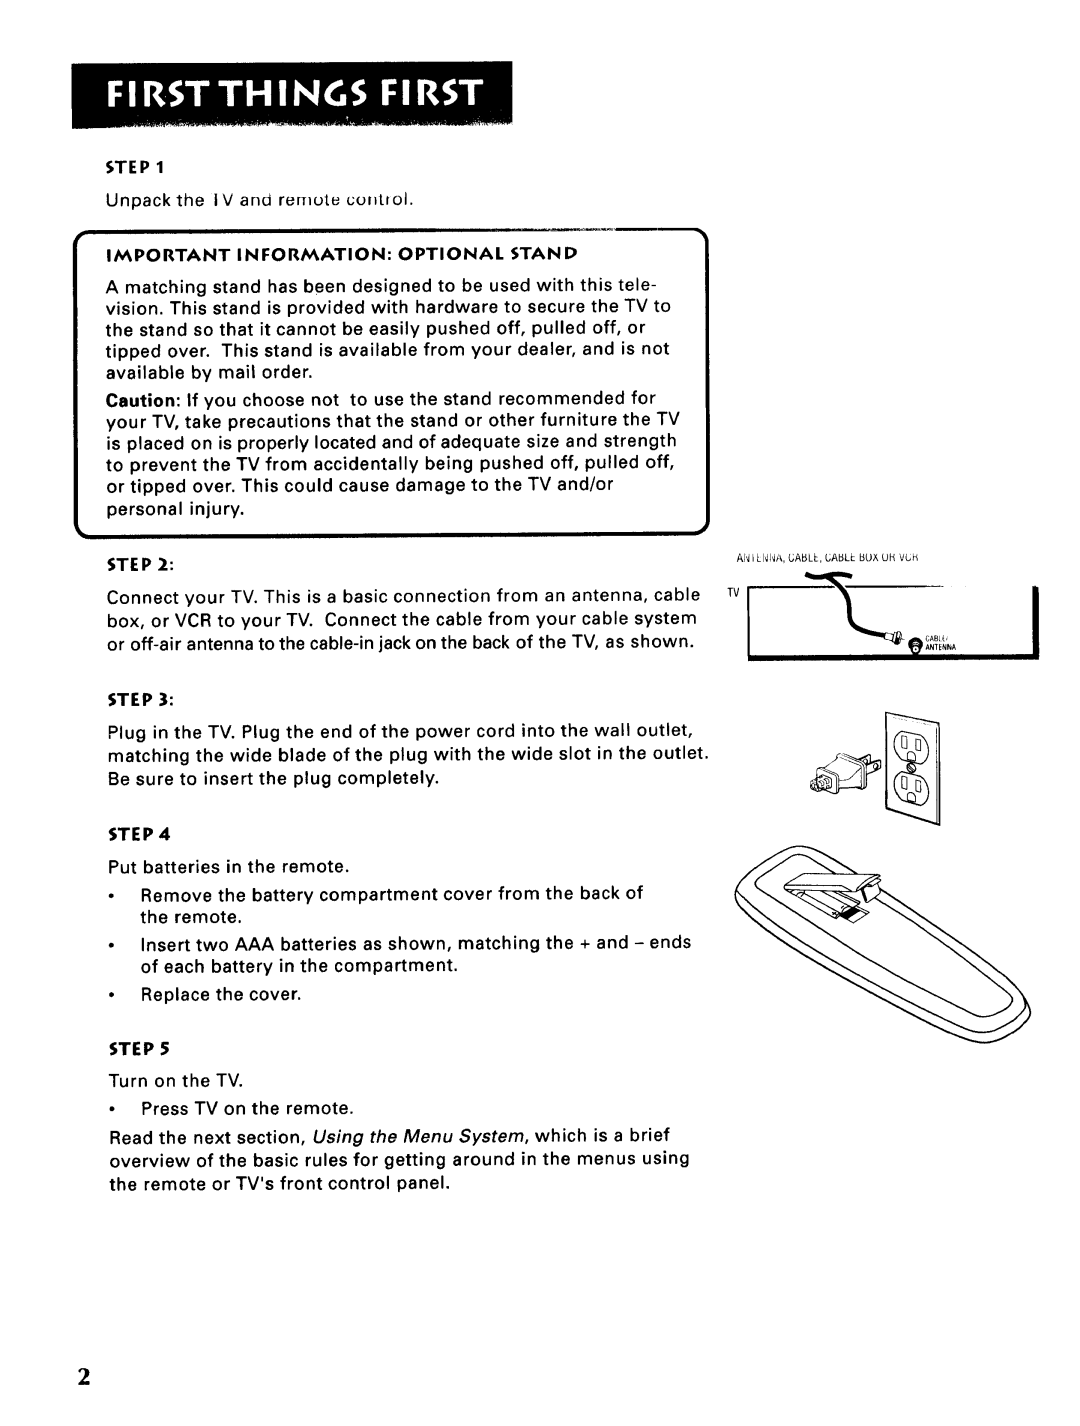
Connect your TV. This is a basic connection from an antenna, cable box, or VCR to your TV. Connect the cable from your cable system or
STEP 3:
Plug in the TV. Plug the end of the power cord into the wall outlet, matching the wide blade of the plug with the wide slot in the outlet. Be sure to insert the plug completely.
STEP 4
Put batteries in the remote.
•Remove the battery compartment cover from the back of the remote.
•Insert two AAA batteries as shown, matching the + and - ends of each battery in the compartment.
°Replace the cover.
STEP 5
Turn on the TV.
•Press TV on the remote.
Read the next section, Using the Menu System, which is a brief overview of the basic rules for getting around in the menus using the remote or TV's front control panel.
AN I LI,JNi_,,UABLL, UABLL BUX UH VUH
TV I
2
