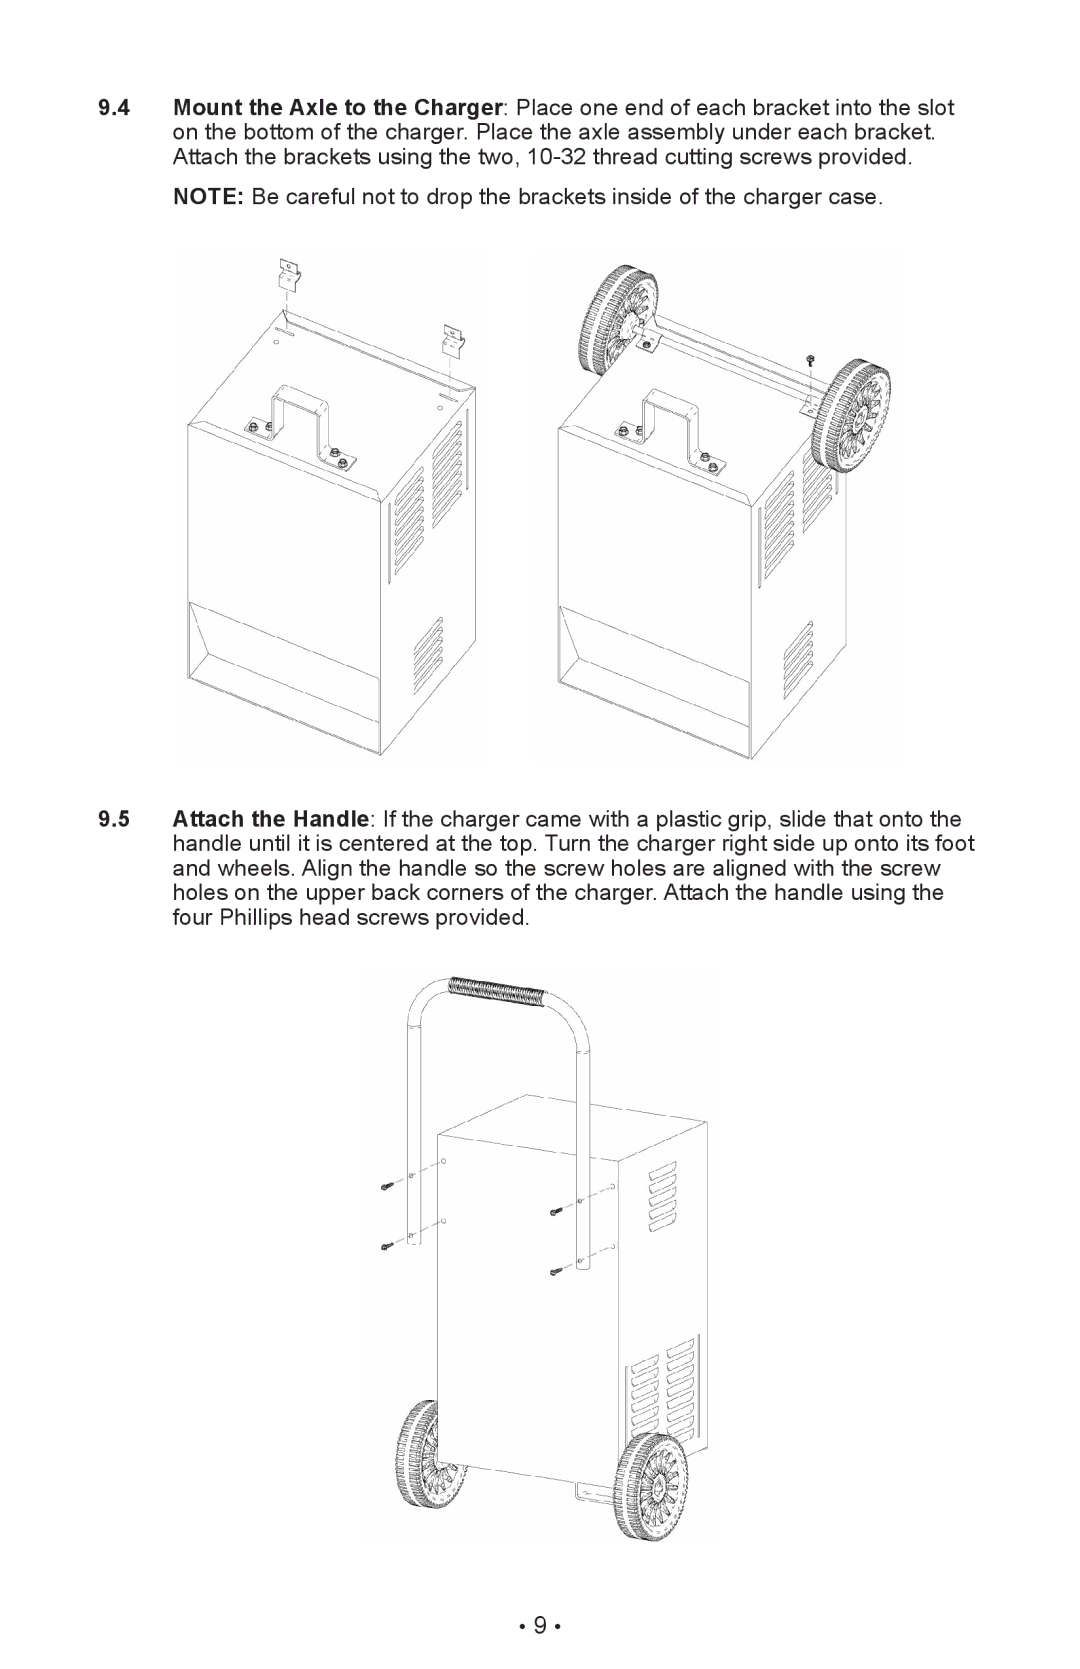
9.4Mount the Axle to the Charger: Place one end of each bracket into the slot on the bottom of the charger. Place the axle assembly under each bracket. Attach the brackets using the two,
9.5Attach the Handle: If the charger came with a plastic grip, slide that onto the handle until it is centered at the top. Turn the charger right side up onto its foot and wheels. Align the handle so the screw holes are aligned with the screw holes on the upper back corners of the charger. Attach the handle using the four Phillips head screws provided.
• 9 •