10.Features/Control Panel
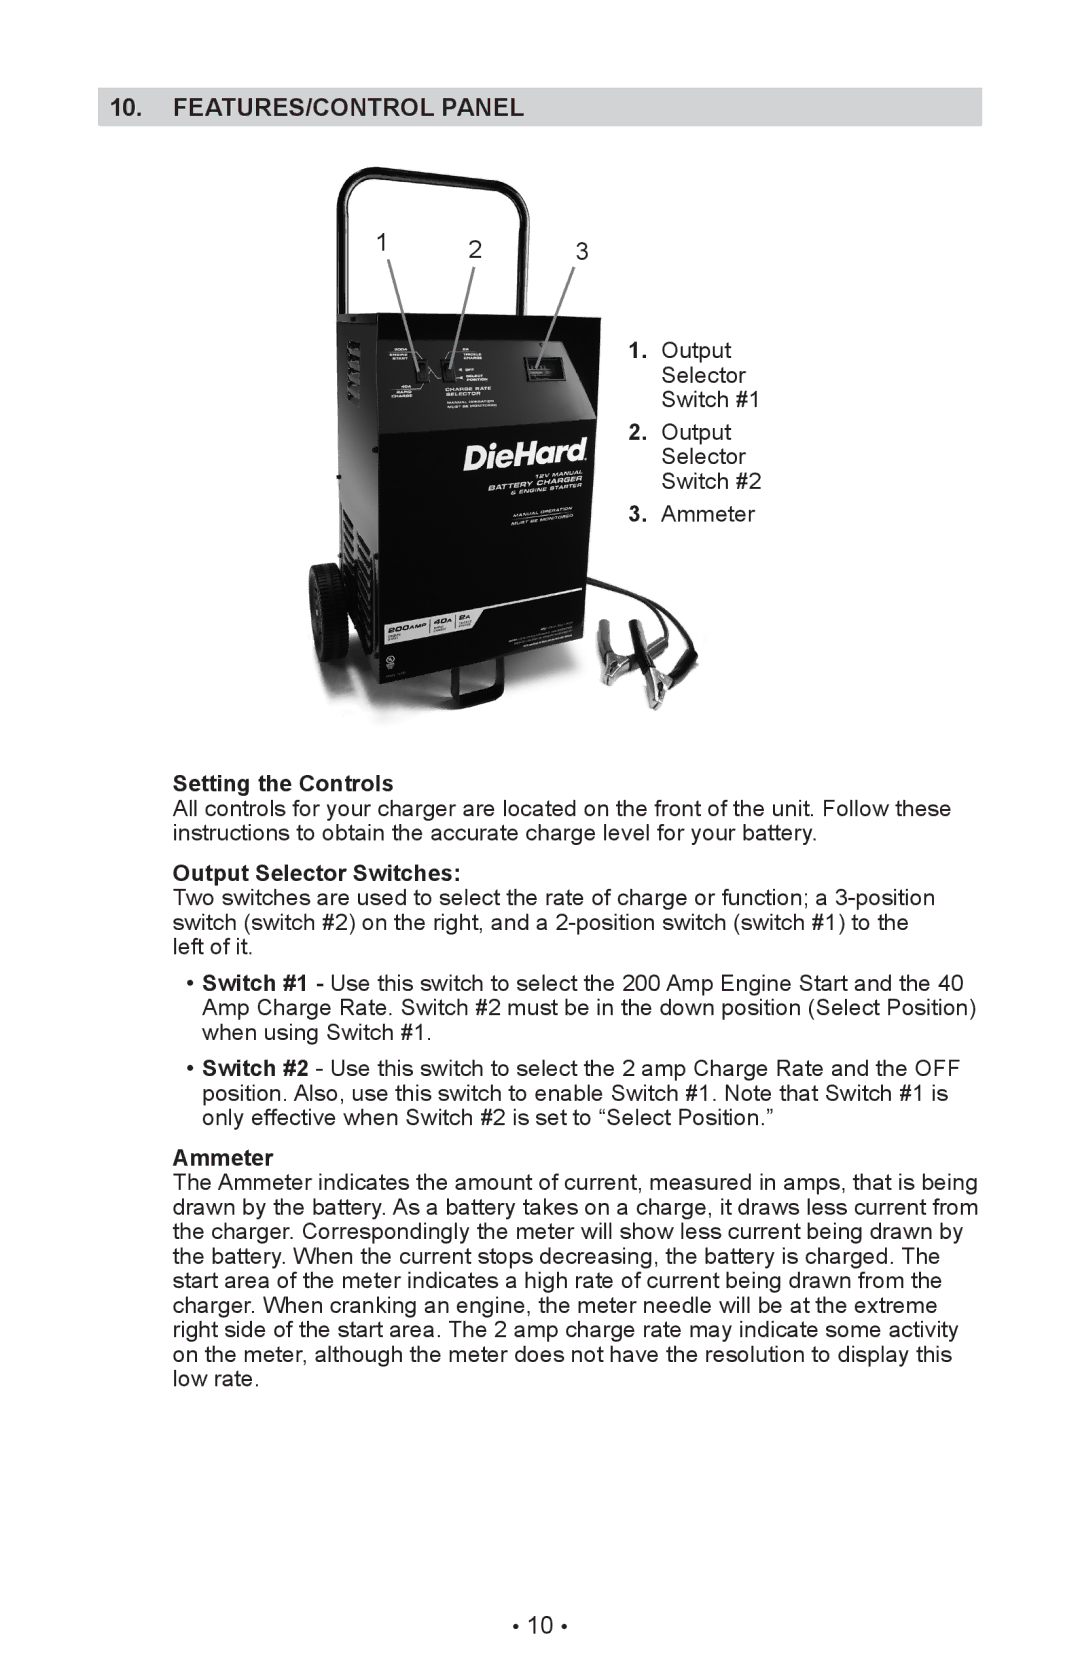
1 2 3
1. Output
Selector
Switch #1
2. Output
Selector
Switch #2
3. Ammeter
Setting the Controls
All controls for your charger are located on the front of the unit. Follow these instructions to obtain the accurate charge level for your battery.
Output Selector Switches:
Two switches are used to select the rate of charge or function; a
•Switch #1 - Use this switch to select the 200 Amp Engine Start and the 40
Amp Charge Rate. Switch #2 must be in the down position (Select Position) when using Switch #1.
•Switch #2 - Use this switch to select the 2 amp Charge Rate and the OFF position. Also, use this switch to enable Switch #1. Note that Switch #1 is only effective when Switch #2 is set to “Select Position.”
Ammeter
The Ammeter indicates the amount of current, measured in amps, that is being drawn by the battery. As a battery takes on a charge, it draws less current from the charger. Correspondingly the meter will show less current being drawn by the battery. When the current stops decreasing, the battery is charged. The start area of the meter indicates a high rate of current being drawn from the charger. When cranking an engine, the meter needle will be at the extreme right side of the start area. The 2 amp charge rate may indicate some activity on the meter, although the meter does not have the resolution to display this low rate.
• 10 •