
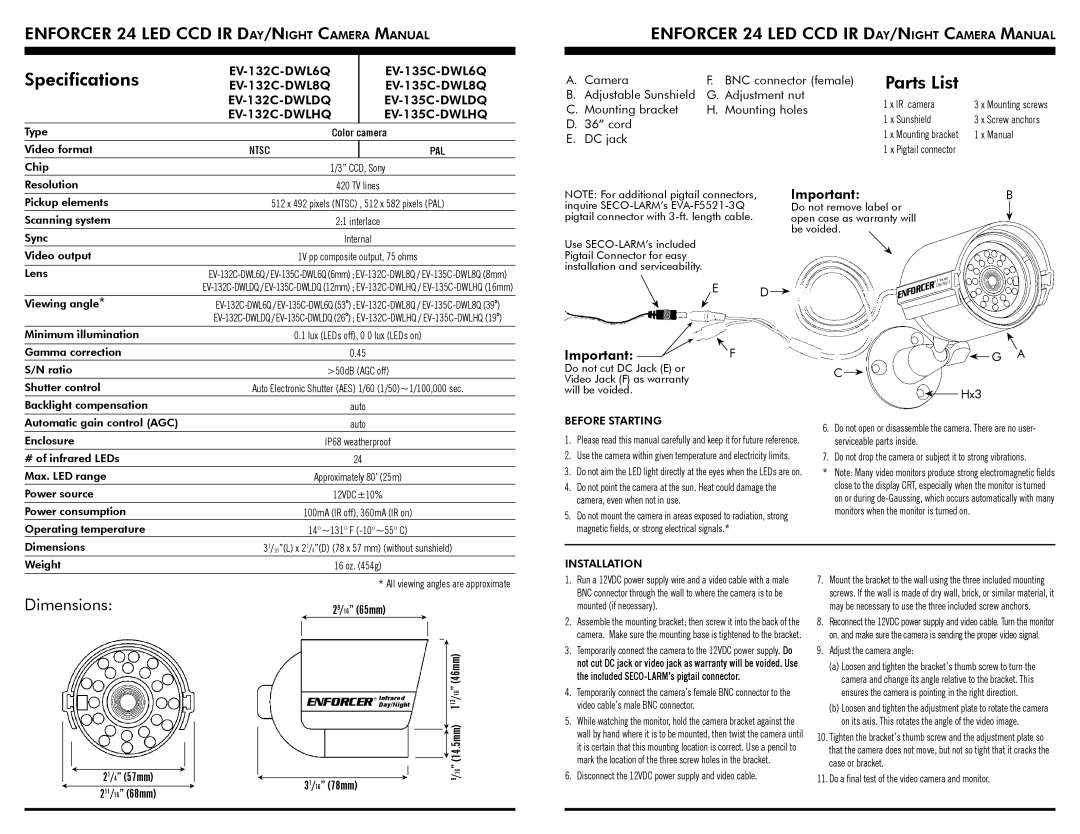
EV-132C-DLWHQ, EV-132C-DLWDQ, EV-132C-DWL6Q, EV-132C-DLW6Q, EV-132C-DLW8Q specifications
SECO-LARM USA presents an innovative line of access control solutions with the EV-132C-DW2Q, EV-132C-DWL8Q, EV-132C-DWLDQ, EV-132C-DWL6Q, and EV-1323C12DWQ models. These devices are designed to enhance security while providing versatility and ease of use for various applications.The EV-132C-DW2Q is a robust door strike designed specifically for access control systems. It operates smoothly with a high tensile strength, enabling it to withstand a considerable amount of force. With a fail-safe design, this strike ensures that the door unlocks during a power failure, providing a safe exit for occupants.
The EV-132C-DWL8Q takes advantage of dual-voltage capabilities, operating at both 12V and 24V DC, making it suitable for different systems. This adaptability allows for seamless integration into existing setups, offering flexibility without sacrificing security.
Meanwhile, the EV-132C-DWLDQ includes an electromagnetic locking feature that enhances user experience. This model is particularly beneficial in environments requiring an additional layer of security, combining traditional locking methods with advanced technology.
For applications needing more compact solutions, the EV-132C-DWL6Q offers a smaller profile without compromising functionality. It features a simplified installation process, making it an ideal choice for new installations or upgrades.
The EV-1323C12DWQ model is specifically designed for heavy-duty use, featuring a durable housing that can withstand extreme weather conditions and tampering. This unit is excellent for outdoor applications, ensuring reliable access control in various environments.
Common technologies across this series include fail-secure and fail-safe operations, ensuring that these devices can meet different security needs. They are crafted from high-quality materials to endure both environmental and physical challenges while ensuring longevity.
These models also feature adjustable voltage capabilities and come with various mounting options, simplifying integration into pre-existing security frameworks. Additionally, they all provide a GUARDIAN certification, denoting high-quality engineering and compliance with international standards.
In summary, SECO-LARM USA's EV-132C series offers a comprehensive range of access control solutions suited for diverse applications. With a focus on reliability, user convenience, and advanced technology, these models stand out in the field of security enhancement.