SK 500 G2 specifications
The Sennheiser SK 500 G2 is a professional-grade bodypack transmitter designed for high-quality wireless audio applications. This device is particularly favored by performers, broadcasters, and event organizers for its reliability and superior sound quality. The SK 500 G2 is a part of the evolution wireless G2 series, known for its robust construction and user-friendly features.One of the standout characteristics of the SK 500 G2 is its exceptional audio performance. Equipped with a transmission frequency range of 518 to 580 MHz, it is capable of delivering a crystal-clear signal with minimal interference. The device supports a wide dynamic range, ensuring that both quiet and loud sounds are captured with equal clarity. This feature is particularly important for live performances, where dynamic audio is essential for engaging audiences.
The SK 500 G2 also boasts an impressive operating range of up to 100 meters, allowing performers to move freely without compromising audio quality. Its diversity reception technology further enhances signal stability, reducing the risk of dropouts. This is vital for situations where mobility is key, providing users with the confidence to perform without any audio interruptions.
In terms of ease of use, the SK 500 G2 features a simple menu-driven interface that enables quick setup and adjustments. The integrated LCD display provides real-time information about battery life, audio levels, and selected frequency, making it easy for users to monitor their performance status. Moreover, the device is powered by two AA batteries, offering an extended operating time, which is advantageous for long events or performances.
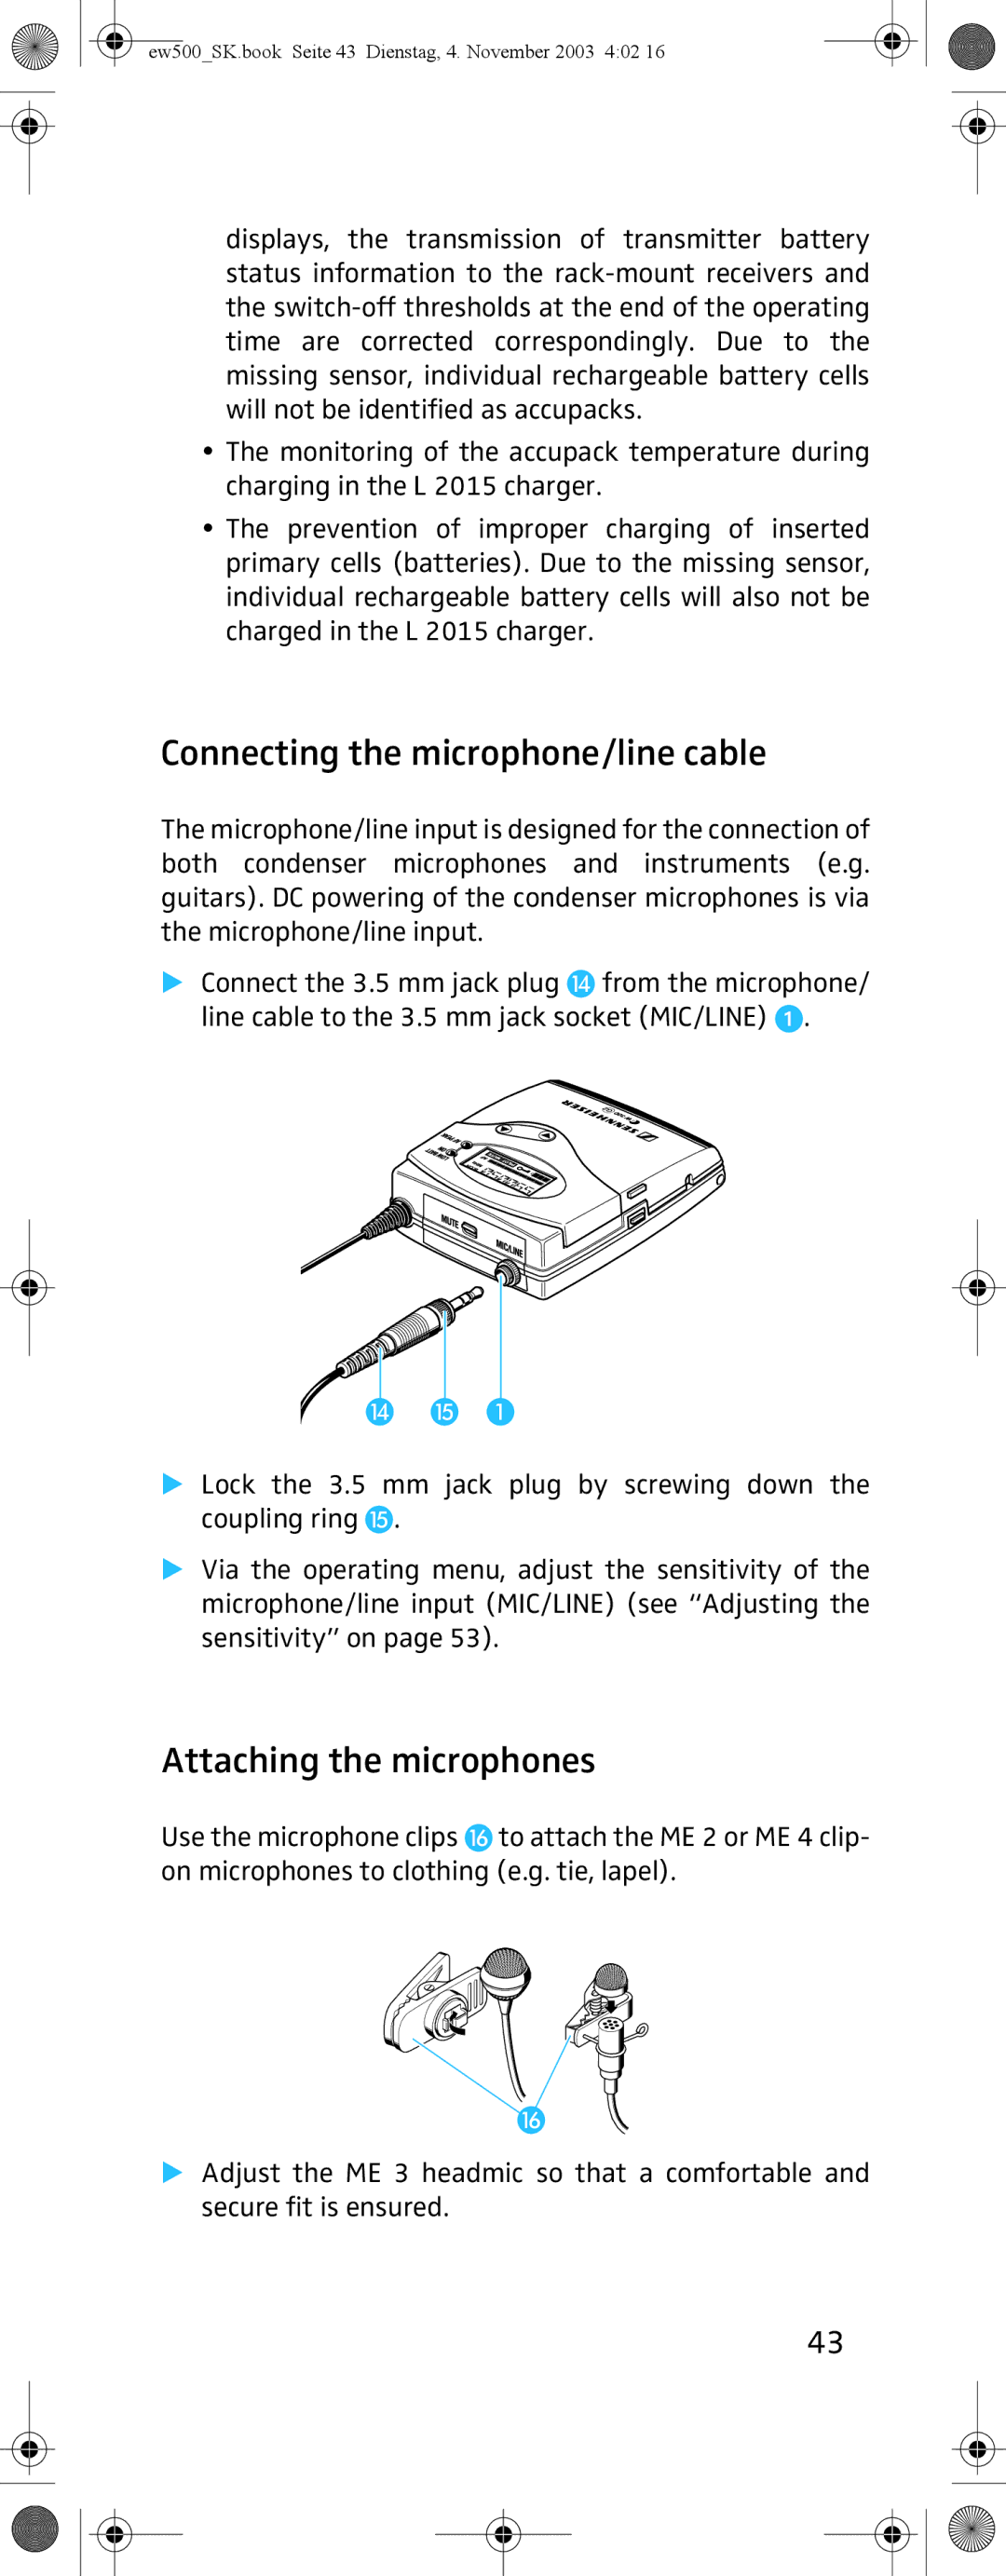
Moreover, the SK 500 G2 is designed with versatility in mind. It can be paired with various microphones and accessories, enabling users to customize their setups according to specific requirements. This adaptability makes it suitable for a wide range of applications, from theater productions to corporate events and live concerts.
Durability is another important feature of the SK 500 G2. Its rugged housing is designed to withstand the rigors of frequent use, ensuring that it can handle the demands of touring and live performances. Overall, the Sennheiser SK 500 G2 is a reliable and high-performance wireless bodypack transmitter that meets the needs of audio professionals, providing superior sound quality and operational flexibility in any setting.

