ASSEMBLY
Dismounting Loader and Mounting Loader to Tractor
Dismounting Loader
To avoid injury during installation of loader:
•Place loader bucket against barrier to restrict forward movement of loader.
•Do not permit bystanders within 15 feet of loader.
Loader must be equipped with a bucket or other optional attachment to dismount from tractor.
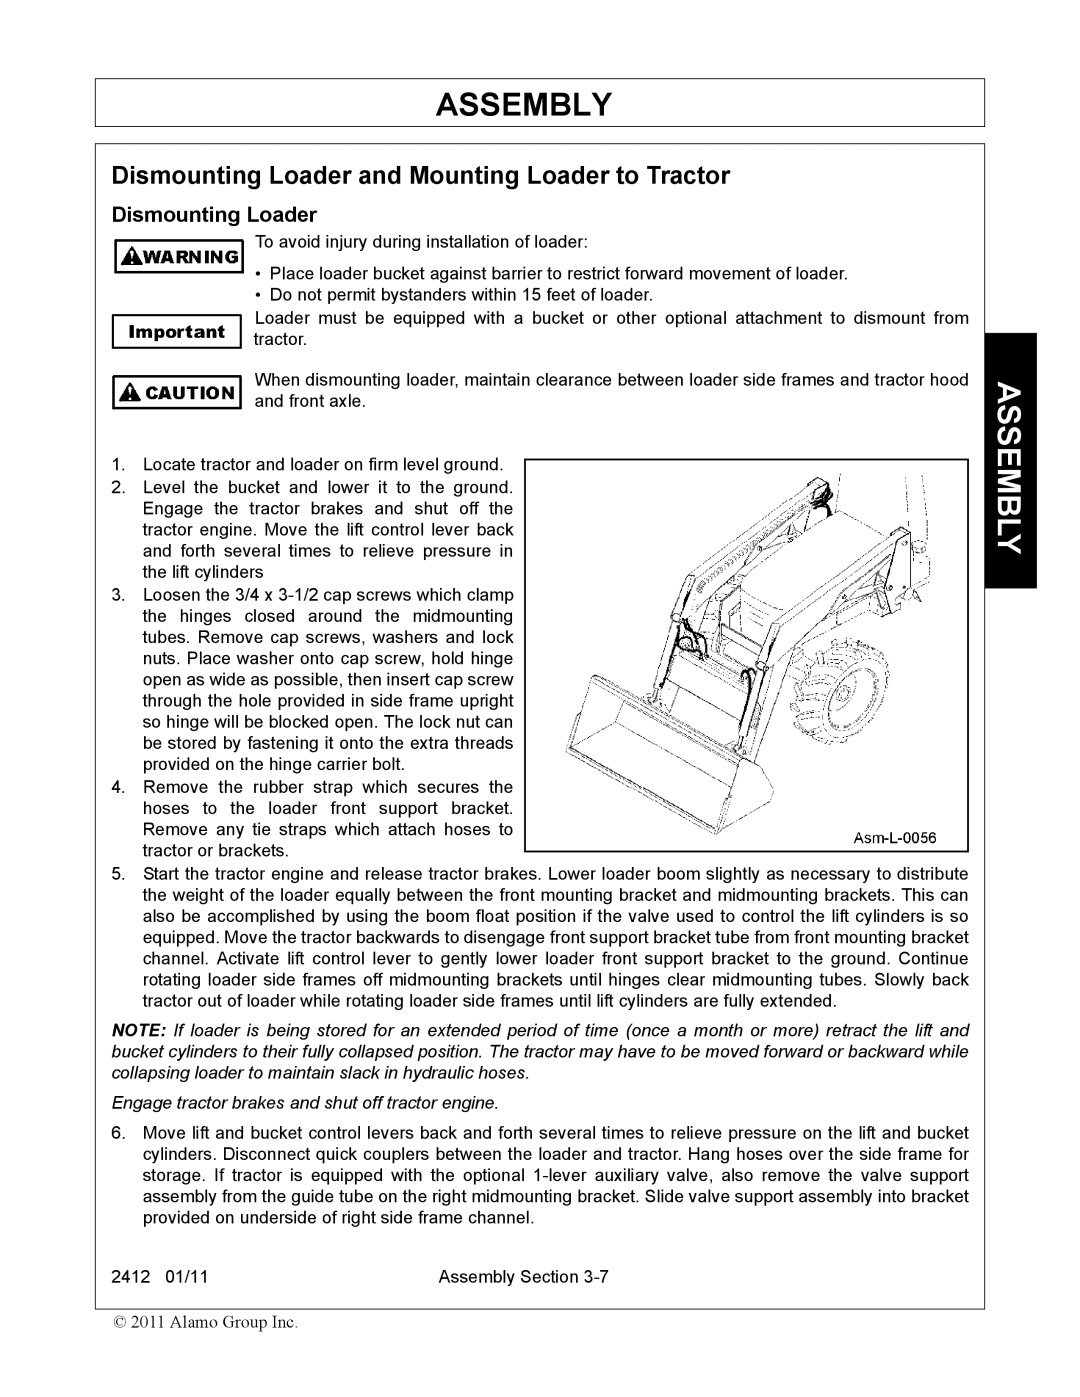
When dismounting loader, maintain clearance between loader side frames and tractor hood and front axle.
1.Locate tractor and loader on firm level ground.
2.Level the bucket and lower it to the ground. Engage the tractor brakes and shut off the tractor engine. Move the lift control lever back and forth several times to relieve pressure in the lift cylinders
3.Loosen the 3/4 x
4.Remove the rubber strap which secures the hoses to the loader front support bracket. Remove any tie straps which attach hoses to tractor or brackets.
5.Start the tractor engine and release tractor brakes. Lower loader boom slightly as necessary to distribute the weight of the loader equally between the front mounting bracket and midmounting brackets. This can also be accomplished by using the boom float position if the valve used to control the lift cylinders is so equipped. Move the tractor backwards to disengage front support bracket tube from front mounting bracket channel. Activate lift control lever to gently lower loader front support bracket to the ground. Continue rotating loader side frames off midmounting brackets until hinges clear midmounting tubes. Slowly back tractor out of loader while rotating loader side frames until lift cylinders are fully extended.
NOTE: If loader is being stored for an extended period of time (once a month or more) retract the lift and bucket cylinders to their fully collapsed position. The tractor may have to be moved forward or backward while collapsing loader to maintain slack in hydraulic hoses.
Engage tractor brakes and shut off tractor engine.
6.Move lift and bucket control levers back and forth several times to relieve pressure on the lift and bucket cylinders. Disconnect quick couplers between the loader and tractor. Hang hoses over the side frame for storage. If tractor is equipped with the optional
2412 01/11 | Assembly Section |
© 2011 Alamo Group Inc.