NV355, NV356K, NV356E, NV357 specifications
The Shark NV357, NV356E, NV356K, and NV355 are part of Shark's acclaimed line of upright vacuum cleaners, each designed with unique features and innovative technologies to cater to diverse cleaning needs. These models are well-regarded for their powerful suction, versatility, and convenience, making them popular choices among homeowners.One of the standout characteristics across these models is their impressive suction power. Equipped with Shark's powerful motor technology, they effectively capture dirt, dust, and debris from various surfaces, including carpets, hardwood floors, and upholstery. The advanced suction design works seamlessly to ensure deep cleaning performance, making them ideal for households with pets and allergy sufferers.
All models come with the DuoClean technology, which features two brush rolls working in unison to provide a thorough clean. The soft brush roll gently pulls in larger particles, while the stiff bristle brush deep cleans and removes embedded dirt from carpets. This combination not only enhances cleaning efficiency but also ensures a smooth transition between different floor types.
Another notable feature is the Anti-Allergen Complete Seal technology incorporated in these vacuums. This design prevents allergens and dust particles from escaping back into the air, ensuring that the air remains clean and healthy. Along with a HEPA filter, these models are particularly beneficial for those who suffer from allergies, providing peace of mind during cleaning.
The Shark NV357, NV356E, NV356K, and NV355 also feature a lightweight and ergonomic design, making them easy to maneuver around furniture and various living spaces. The models come with a large-capacity dust cup, which reduces the frequency of emptying, thus enhancing convenience during cleaning sessions. Additionally, each vacuum includes a variety of attachments such as a dusting brush, crevice tool, and upholstery tool, allowing users to clean hard-to-reach areas with ease.
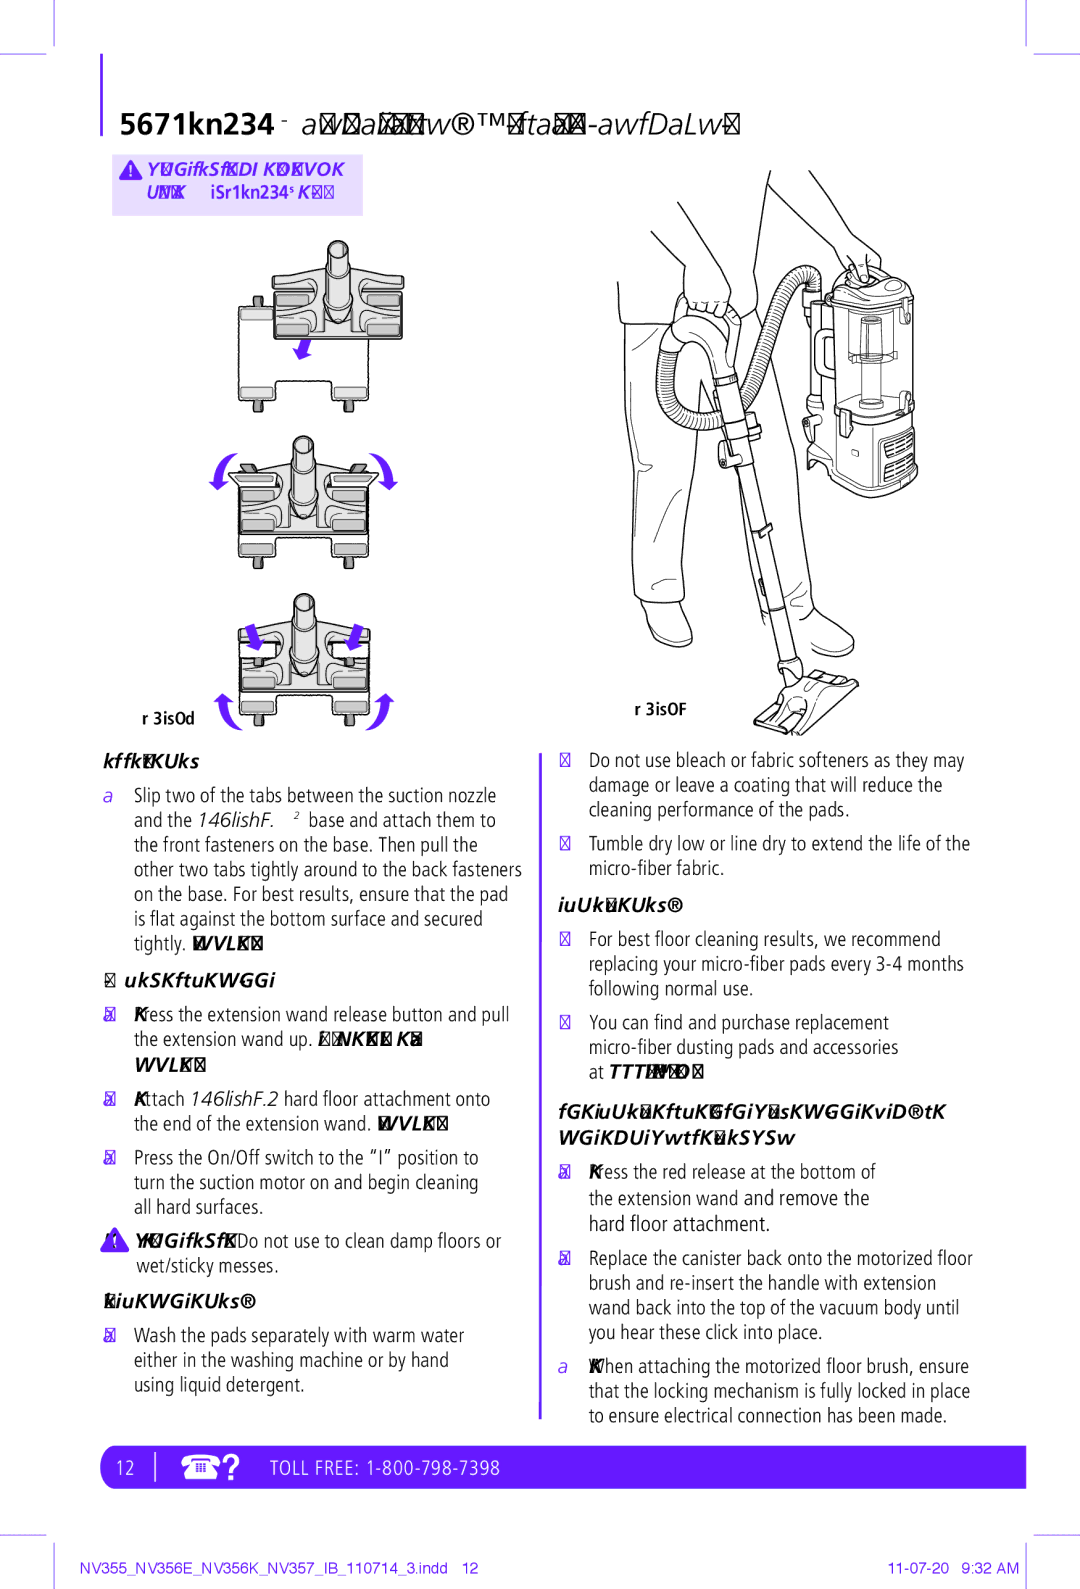
These models also feature a flexible lift-away design, which allows the canister to be detached for portable cleaning. This function makes it easy to clean stairs, vehicles, and above-floor areas without struggling with the entire unit. As such, the Shark NV357, NV356E, NV356K, and NV355 offer ultimate practicality, effectively combining performance and user-friendly features for an exceptional cleaning experience.

