NV356Q specifications
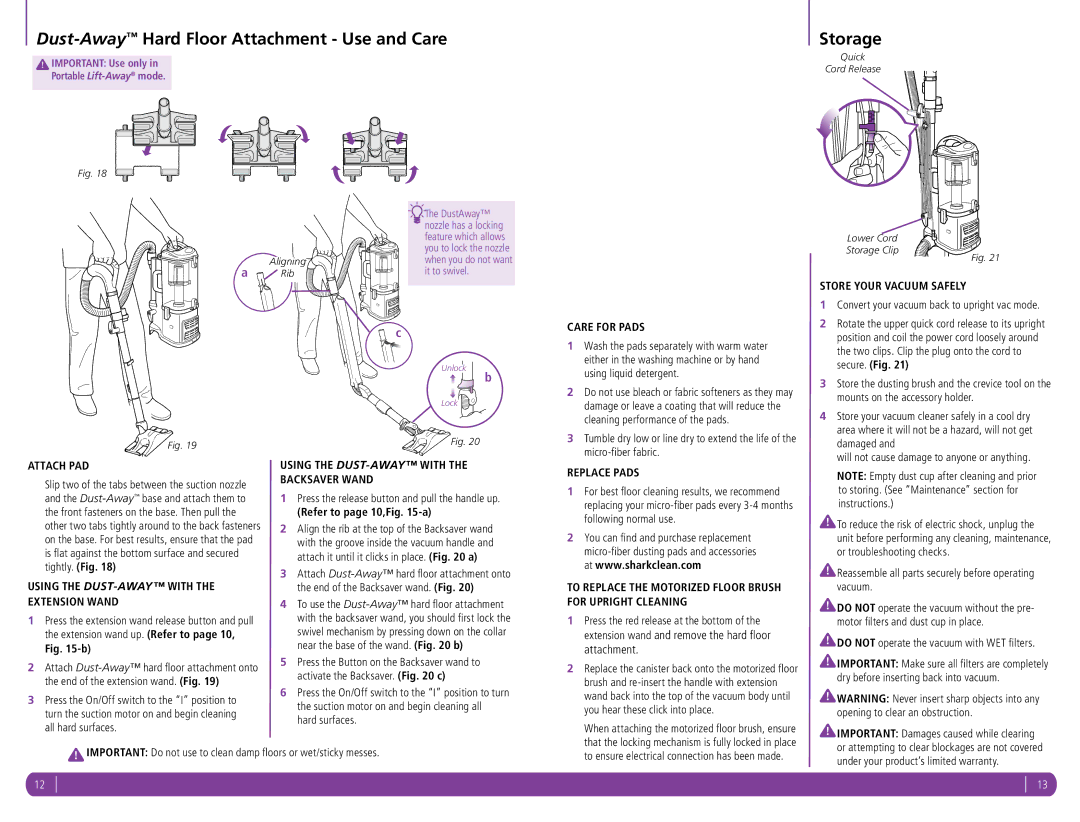
The Shark NV356Q is a versatile and powerful vacuum cleaner designed for both carpet and hard floor cleaning. Known for its remarkable suction power and advanced technology, this model caters to various cleaning needs, making it a popular choice among homeowners.One of the standout features of the Shark NV356Q is its Lift-Away technology. This innovative design allows users to detach the canister from the upright body, enabling easy cleaning of stairs, furniture, and other hard-to-reach areas. This portability makes it not only convenient but also enhances the overall cleaning experience.
The vacuum is equipped with a TruePet motorized brush that effectively captures pet hair and dander, making it a great option for pet owners. The brush is designed to remove stubborn hair from carpets and upholstery, ensuring a thorough clean. This feature is complemented by the vacuum's advanced anti-allergen complete seal technology, which works in tandem with a HEPA filter to trap 99.9% of dust and allergens inside the vacuum, providing a healthier living environment.
Another notable characteristic is the Shark NV356Q's versatility with attachments. It comes with a range of accessories, including a crevice tool, dusting brush, and upholstery tool. These attachments allow users to customize their cleaning approach, tackling specific areas and surfaces with ease.
The vacuum also boasts a large capacity dust cup, which minimizes the frequency of emptying. This is particularly useful during extensive cleaning sessions, as it allows users to focus on their task without interruptions. Additionally, the dust cup is easy to empty and clean, ensuring that maintaining the vacuum is hassle-free.
Shark's NV356Q is designed for ease of use, featuring a lightweight build and ergonomic design that make maneuvering around the home a breeze. Its swivel steering enhances control and responsiveness, which is especially beneficial in tight spaces.
In summary, the Shark NV356Q stands out in the vacuum cleaner market due to its Lift-Away technology, powerful suction capabilities, and ability to handle pet hair efficiently. With a range of attachments and advanced filtration systems, it offers a comprehensive cleaning solution for any household, ensuring that both carpets and hard floors are left spotless. Its user-friendly design and effective performance make it a dependable choice for maintaining a clean and healthy home environment.

