Programme setup (Continued)
H Sort (Analogue)
Channel position can be sorted freely.
1 | Repeat steps 1 to 4 in Auto search. |
2 | Press a/b to select “Sort”, and then press |
| ENTER. |
3 | Press c/d to select “Yes”, and then press |
| ENTER. |
4 | Press a/b/c/d to select the channel you |
| want to move, and then press ENTER. |
5 | Move it to the desired position by pressing |
a/b/c/d, and then press ENTER. | |
6 | Repeat the steps 4 and 5 until all desired |
| channels are sorted. |
H Erase programme (Analogue)
The individual programme can be erased.
1 | Repeat steps 1 to 4 in Auto search. |
2 | Press a/b to select “Erase programme”, and |
| then press ENTER. |
3 | Press c/d to select “Yes”, and then press |
| ENTER. |
4 | Press a/b/c/d to select the channel you |
| want to erase, and then press ENTER. |
5 | Press ENTER to erase the channel. |
6 | Repeat the step 4 and 5 until all desired |
| channels are erased. |
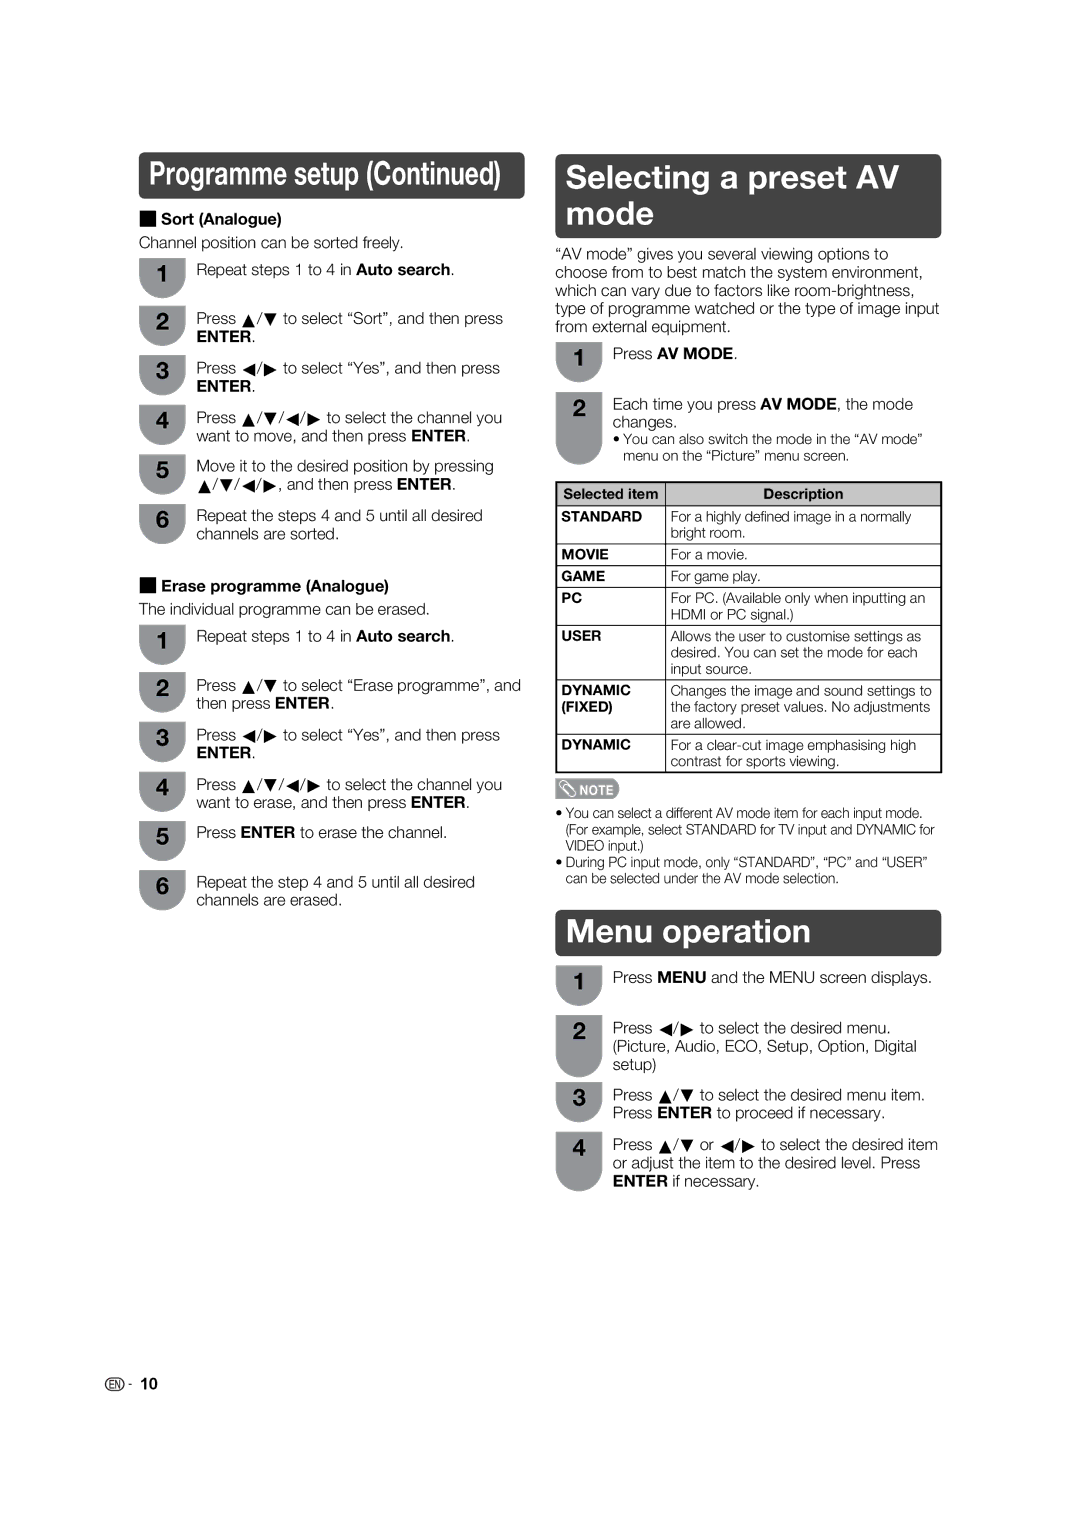
Selecting a preset AV mode
“AV mode” gives you several viewing options to choose from to best match the system environment, which can vary due to factors like
1 | Press AV MODE. | |
2 | Each time you press AV MODE, the mode | |
| changes. | |
| • You can also switch the mode in the “AV mode” | |
| menu on the “Picture” menu screen. | |
|
| |
Selected item | Description | |
|
| |
STANDARD | For a highly defi ned image in a normally | |
|
| bright room. |
|
|
|
MOVIE |
| For a movie. |
|
|
|
GAME |
| For game play. |
|
|
|
PC |
| For PC. (Available only when inputting an |
|
| HDMI or PC signal.) |
|
|
|
USER |
| Allows the user to customise settings as |
|
| desired. You can set the mode for each |
|
| input source. |
|
| |
DYNAMIC | Changes the image and sound settings to | |
(FIXED) |
| the factory preset values. No adjustments |
|
| are allowed. |
|
| |
DYNAMIC | For a | |
|
| contrast for sports viewing. |
NOTE |
| |
•You can select a different AV mode item for each input mode. (For example, select STANDARD for TV input and DYNAMIC for VIDEO input.)
•During PC input mode, only “STANDARD”, “PC” and “USER” can be selected under the AV mode selection.
Menu operation
1 | Press MENU and the MENU screen displays. |
2 | Press c/d to select the desired menu. |
| (Picture, Audio, ECO, Setup, Option, Digital |
| setup) |
3 | Press a/b to select the desired menu item. |
| Press ENTER to proceed if necessary. |
4 | Press a/b or c/d to select the desired item |
| or adjust the item to the desired level. Press |
ENTER if necessary.
![]()
![]() 10
10
