What Does PC Link Do?
Before You Begin
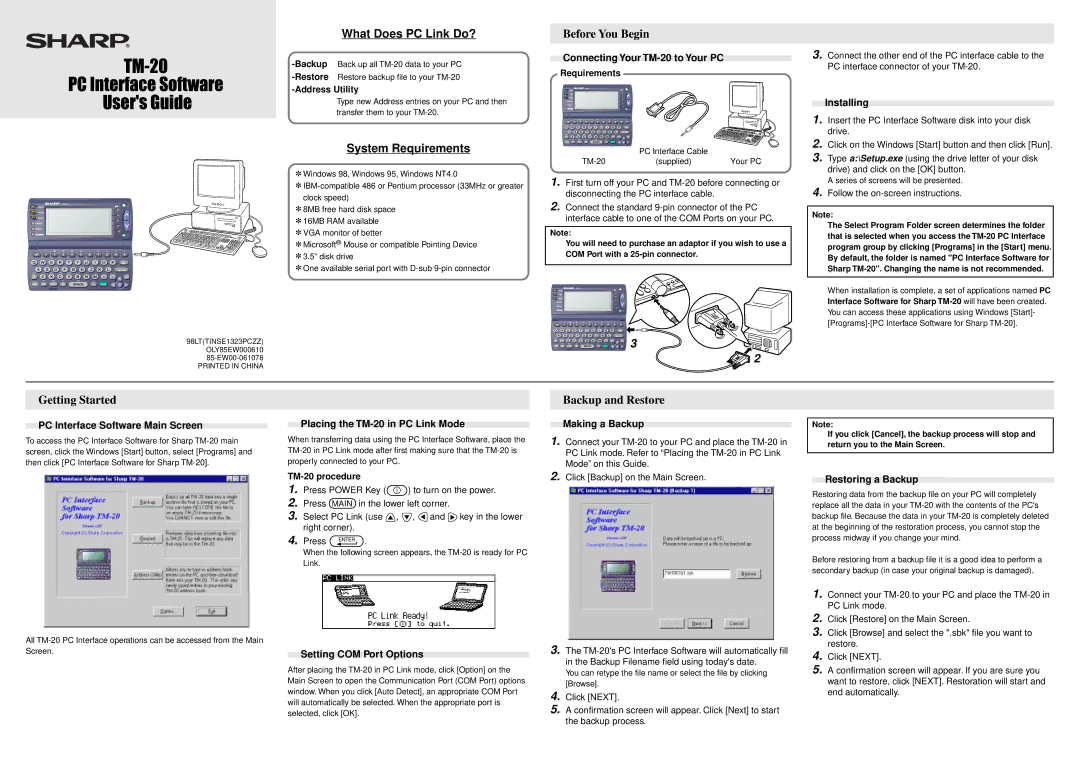
Connecting Your TM-20 to Your PC
Requirements
Type new Address entries on your PC and then transfer them to your
System Requirements
MENU
![]() PREFERENCES
PREFERENCES
! | @ | # | $ | % | ^ | & | ( | ) |
~ | = | + | [ | ] | { | } | / | / |
|
|
|
|
|
|
|
| DEL |
|
|
|
|
|
|
|
| ENTER |
CAPS | CUT | COPY | PASTE |
|
|
| , | ; : |
A A | SMBL |
| ? |
|
| - |
|
|
MAIN | WORD |
|
|
|
| - | DONE |
|
PC Interface Cable |
|
(supplied) | Your PC |
MENU |
![]() PREFERENCES
PREFERENCES
! | @ | # | $ | % |
| ^ | & | ( | ) |
~ | = | + | [ | ] | { | } | / | / |
|
|
|
|
|
|
|
|
|
| DEL |
|
|
|
|
|
|
|
|
| ENTER |
CAPS | CUT | COPY | PASTE |
|
|
| , | ; : |
|
A A | SMBL | ? |
|
|
| - |
|
|
|
MAIN | WORD |
|
|
|
| - | DONE |
|
|
98LT(TINSE1323PCZZ)
OLY85EW000610
PRINTED IN CHINA
Getting Started
*Windows 98, Windows 95, Windows NT4.0
*
*8MB free hard disk space
*16MB RAM available
*VGA monitor of better
*Microsoft® Mouse or compatible Pointing Device
*3.5” disk drive
*One available serial port with
1.First turn off your PC and
2.Connect the standard
Note:
You will need to purchase an adaptor if you wish to use a COM Port with a
MENU
![]() PREFERENCES
PREFERENCES
| ! | @ | # | $ | % | ^ |
| & | ( | ) |
~ | = | + | [ | ] |
| { | } | / | / |
|
|
|
|
|
|
|
|
|
|
| DEL |
|
|
|
|
|
| ENTER |
CAPS | CUT | COPY | PASTE |
| , | ; : |
A A | SMBL |
| ? | - |
| 3 |
MAIN | WORD |
|
| - | DONE | |
|
|
|
|
|
|
![]() 2
2
4.Follow the on-screen instructions.
Note:
The Select Program Folder screen determines the folder that is selected when you access the
When installation is complete, a set of applications named PC Interface Software for Sharp
PC Interface Software Main Screen
To access the PC Interface Software for Sharp
Placing the |
| Making a Backup |
| Note: |
When transferring data using the PC Interface Software, place the | 1. | Connect your |
| If you click [Cancel], the backup process will stop and |
| return you to the Main Screen. | |||
| ||||
| PC Link mode. Refer to “Placing the |
|
| |
|
|
| ||
properly connected to your PC. |
| Mode” on this Guide. |
|
|
All
TM-20 procedure
1.Press POWER Key (![]() ) to turn on the power.
) to turn on the power.
2.Press MAIN in the lower left corner.
3.Select PC Link (use ![]() ,
, ![]() ,
, ![]() and
and ![]() key in the lower right corner).
key in the lower right corner).
4.Press ENTER .
When the following screen appears, the
Setting COM Port Options
After placing the
Restoring a Backup
Restoring data from the backup file on your PC will completely replace all the data in your
Before restoring from a backup file it is a good idea to perform a secondary backup (in case your original backup is damaged).
1.Connect your
2.Click [Restore] on the Main Screen.
3.Click [Browse] and select the ".sbk" file you want to restore.
4.Click [NEXT].
5.A confirmation screen will appear. If you are sure you want to restore, click [NEXT]. Restoration will start and end automatically.