Model Microflex® MX100 Series Wired Lavalier Microphones User Guide
GENERAL
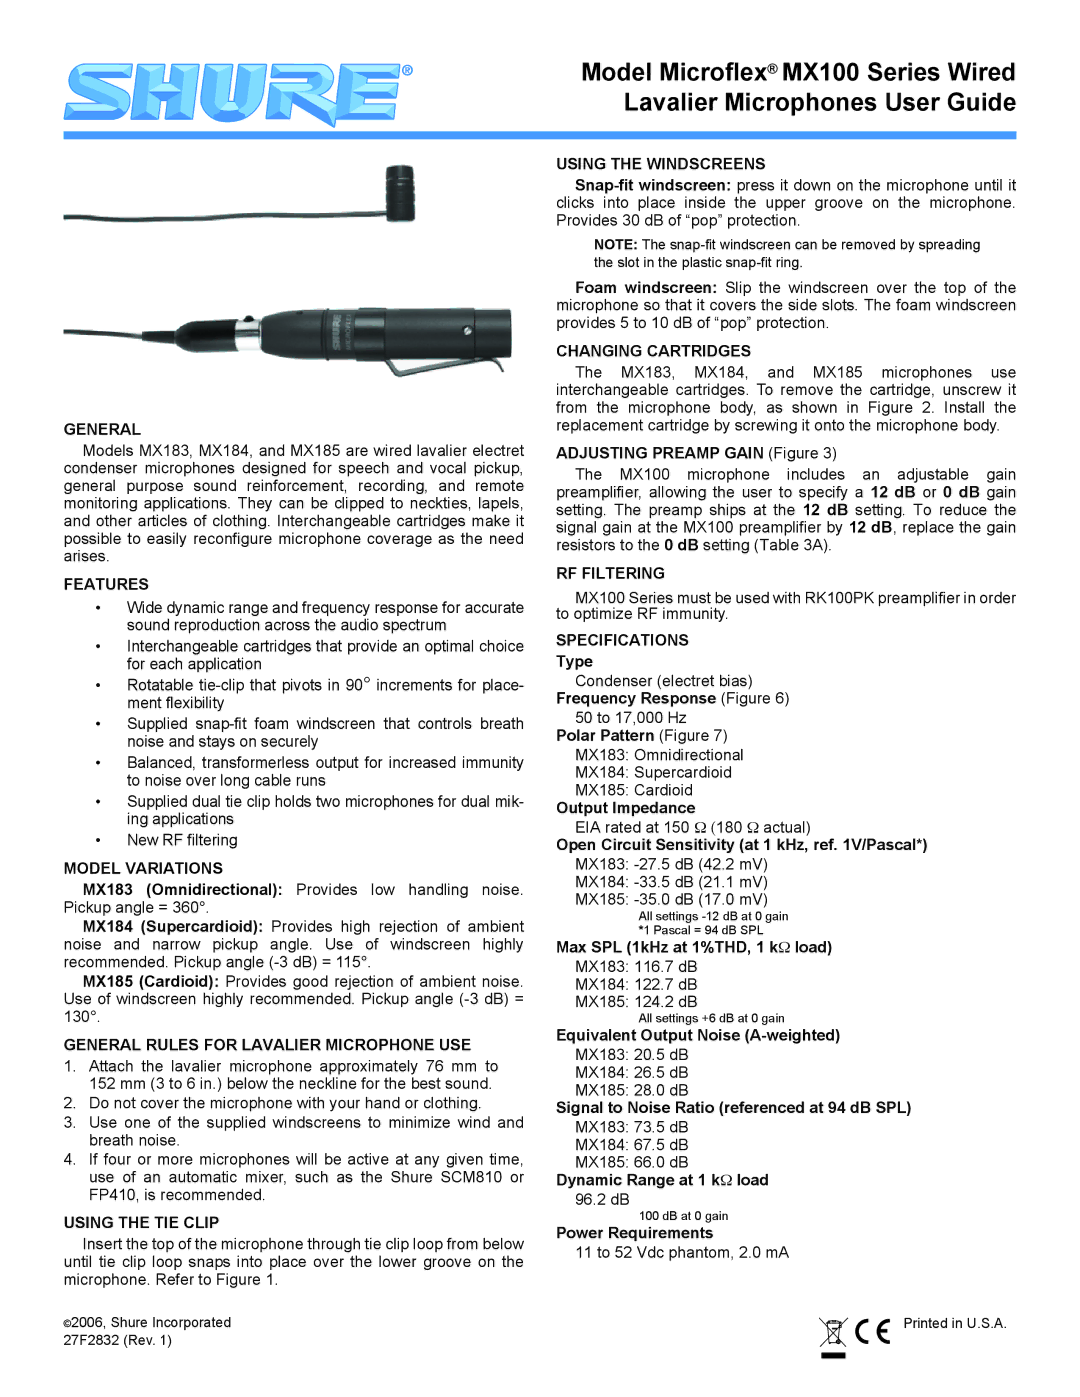
Models MX183, MX184, and MX185 are wired lavalier electret condenser microphones designed for speech and vocal pickup, general purpose sound reinforcement, recording, and remote monitoring applications. They can be clipped to neckties, lapels, and other articles of clothing. Interchangeable cartridges make it possible to easily reconfigure microphone coverage as the need arises.
FEATURES
•Wide dynamic range and frequency response for accurate sound reproduction across the audio spectrum
•Interchangeable cartridges that provide an optimal choice for each application
•Rotatable
•Supplied
•Balanced, transformerless output for increased immunity to noise over long cable runs
•Supplied dual tie clip holds two microphones for dual mik- ing applications
•New RF filtering
MODEL VARIATIONS
MX183 (Omnidirectional): Provides low handling noise. Pickup angle = 360°.
MX184 (Supercardioid): Provides high rejection of ambient noise and narrow pickup angle. Use of windscreen highly recommended. Pickup angle
MX185 (Cardioid): Provides good rejection of ambient noise. Use of windscreen highly recommended. Pickup angle
GENERAL RULES FOR LAVALIER MICROPHONE USE
1.Attach the lavalier microphone approximately 76 mm to 152 mm (3 to 6 in.) below the neckline for the best sound.
2.Do not cover the microphone with your hand or clothing.
3.Use one of the supplied windscreens to minimize wind and breath noise.
4.If four or more microphones will be active at any given time, use of an automatic mixer, such as the Shure SCM810 or FP410, is recommended.
USING THE TIE CLIP
Insert the top of the microphone through tie clip loop from below until tie clip loop snaps into place over the lower groove on the microphone. Refer to Figure 1.
USING THE WINDSCREENS
NOTE: The
Foam windscreen: Slip the windscreen over the top of the microphone so that it covers the side slots. The foam windscreen provides 5 to 10 dB of “pop” protection.
CHANGING CARTRIDGES
The MX183, MX184, and MX185 microphones use interchangeable cartridges. To remove the cartridge, unscrew it from the microphone body, as shown in Figure 2. Install the replacement cartridge by screwing it onto the microphone body.
ADJUSTING PREAMP GAIN (Figure 3)
The MX100 microphone includes an adjustable gain preamplifier, allowing the user to specify a 12 dB or 0 dB gain setting. The preamp ships at the 12 dB setting. To reduce the signal gain at the MX100 preamplifier by 12 dB, replace the gain resistors to the 0 dB setting (Table 3A).
RF FILTERING
MX100 Series must be used with RK100PK preamplifier in order to optimize RF immunity.
SPECIFICATIONS
Type
Condenser (electret bias) Frequency Response (Figure 6)
50 to 17,000 Hz Polar Pattern (Figure 7)
MX183: Omnidirectional
MX184: Supercardioid
MX185: Cardioid
Output Impedance
EIA rated at 150 Ω (180 Ω actual)
Open Circuit Sensitivity (at 1 kHz, ref. 1V/Pascal*) MX183:
MX184:
MX185:
All settings
Max SPL (1kHz at 1%THD, 1 kΩ load)
MX183: 116.7 dB
MX184: 122.7 dB
MX185: 124.2 dB
All settings +6 dB at 0 gain
Equivalent Output Noise
MX183: 20.5 dB
MX184: 26.5 dB
MX185: 28.0 dB
Signal to Noise Ratio (referenced at 94 dB SPL) MX183: 73.5 dB
MX184: 67.5 dB
MX185: 66.0 dB
Dynamic Range at 1 kΩ load
96.2 dB
100 dB at 0 gain
Power Requirements
11 to 52 Vdc phantom, 2.0 mA
©2006, Shure Incorporated |
| Printed in U.S.A. |
27F2832 (Rev. 1) |
|
|
|
|
|