P4R specifications
The Shure P4R is a robust and versatile personal monitoring receiver that plays a pivotal role in ensuring performers have access to high-quality audio during live performances. Renowned for its reliability and outstanding sound quality, the P4R is often an essential tool for musicians, broadcasters, and audio professionals.One of the main features of the P4R is its compatibility with Shure's PSM series personal monitoring systems. This allows users to receive a clear and precise audio signal, which is critical in a live setting where various instruments and vocal performances need to be balanced. The device operates within a wide frequency range, providing flexibility and options for users to choose the most suitable channels for their specific environment, thereby reducing interference and enhancing audio clarity.
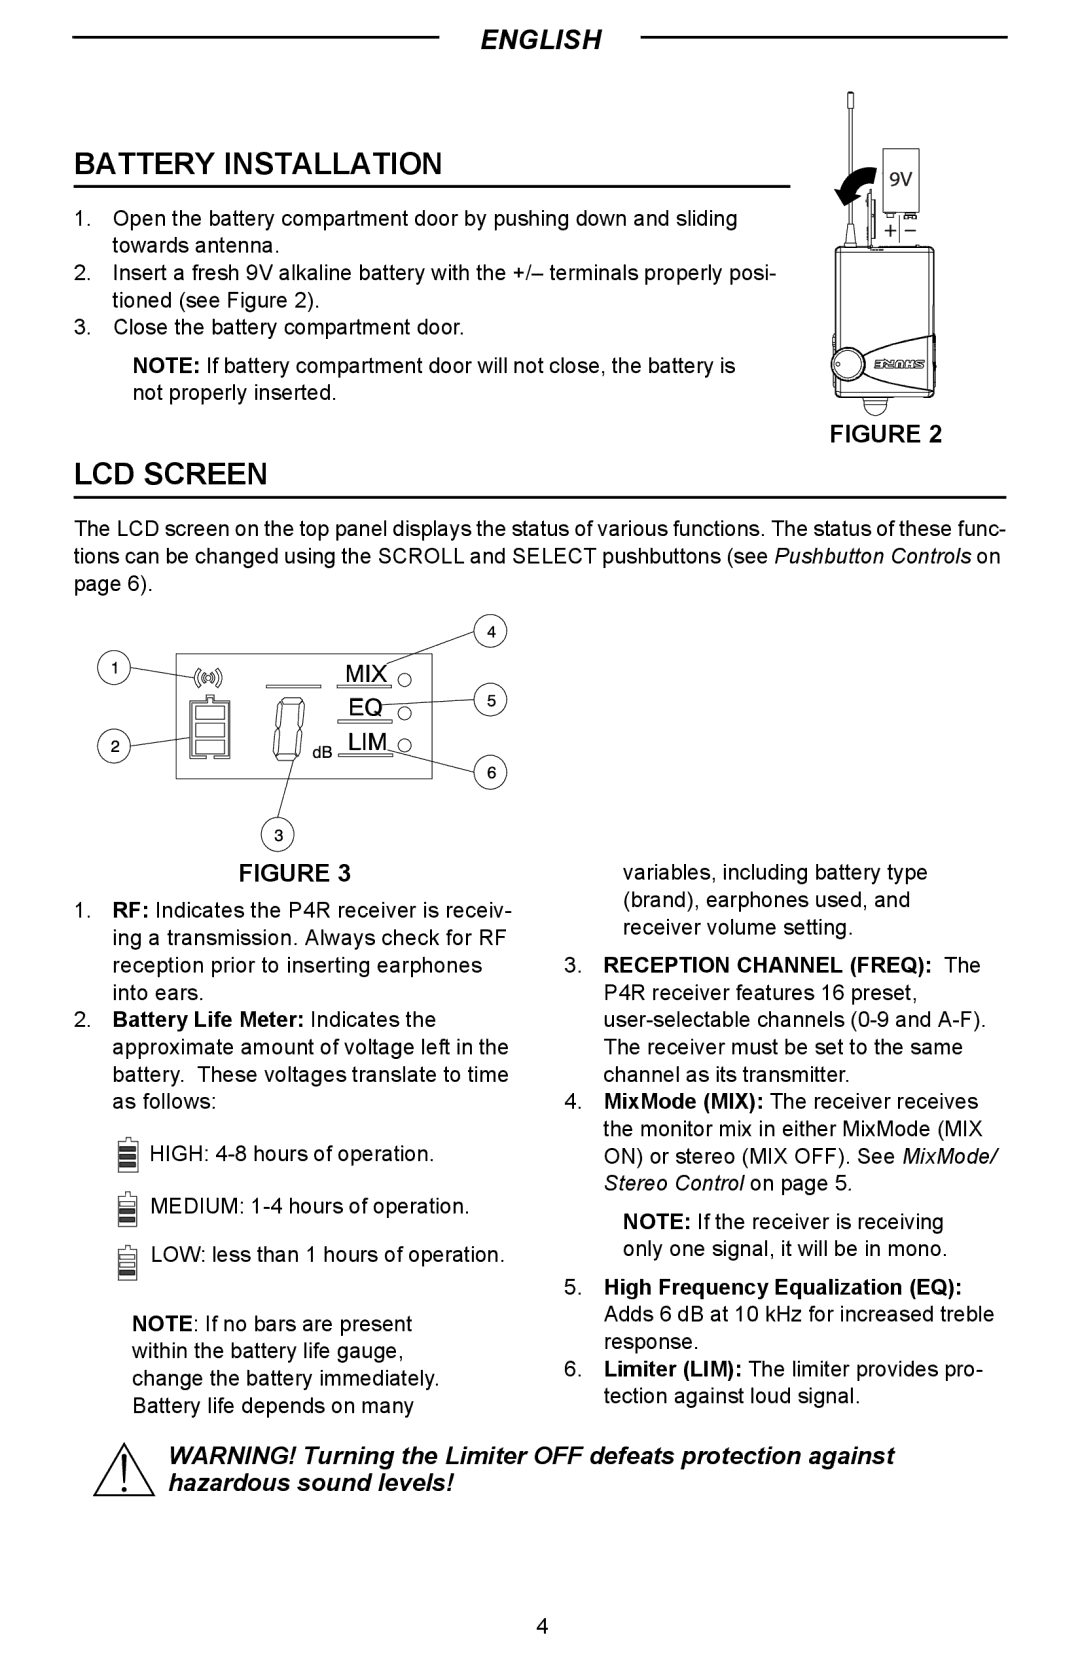
The P4R features a powerful and intuitive interface with an ergonomic design. It includes a backlit LCD display that provides real-time information about the operating frequency, battery life, and audio levels. The device is equipped with a volume control knob that allows performers to adjust levels quickly, enabling them to respond to the dynamic nature of live performances. Additionally, the receiver incorporates a built-in limiter, which helps protect users’ hearing by preventing sudden loud sounds.
Another noteworthy characteristic of the P4R is its impressive battery life. It is designed to run for extended periods, using AA batteries or a rechargeable option, ensuring that performers won’t run out of power during crucial moments. The receiver's compact and lightweight design makes it easy to transport and comfortable for extended use during shows.
The audio quality produced by the P4R is further enhanced by the advanced analog-to-digital conversion technology utilized in its architecture. This provides a frequency response that faithfully reproduces sound, allowing artists to hear intricate details in their performance. The P4R also supports stereo and mono audio transmission, providing additional flexibility based on the user’s preferences.
Moreover, the P4R is built to withstand the rigors of live performance environments. With a durable casing and robust construction, it is designed to endure the inevitable bumps and knocks associated with stage use. Its reliability and exceptional performance make the Shure P4R a favored choice among professionals in the music and entertainment industry.

