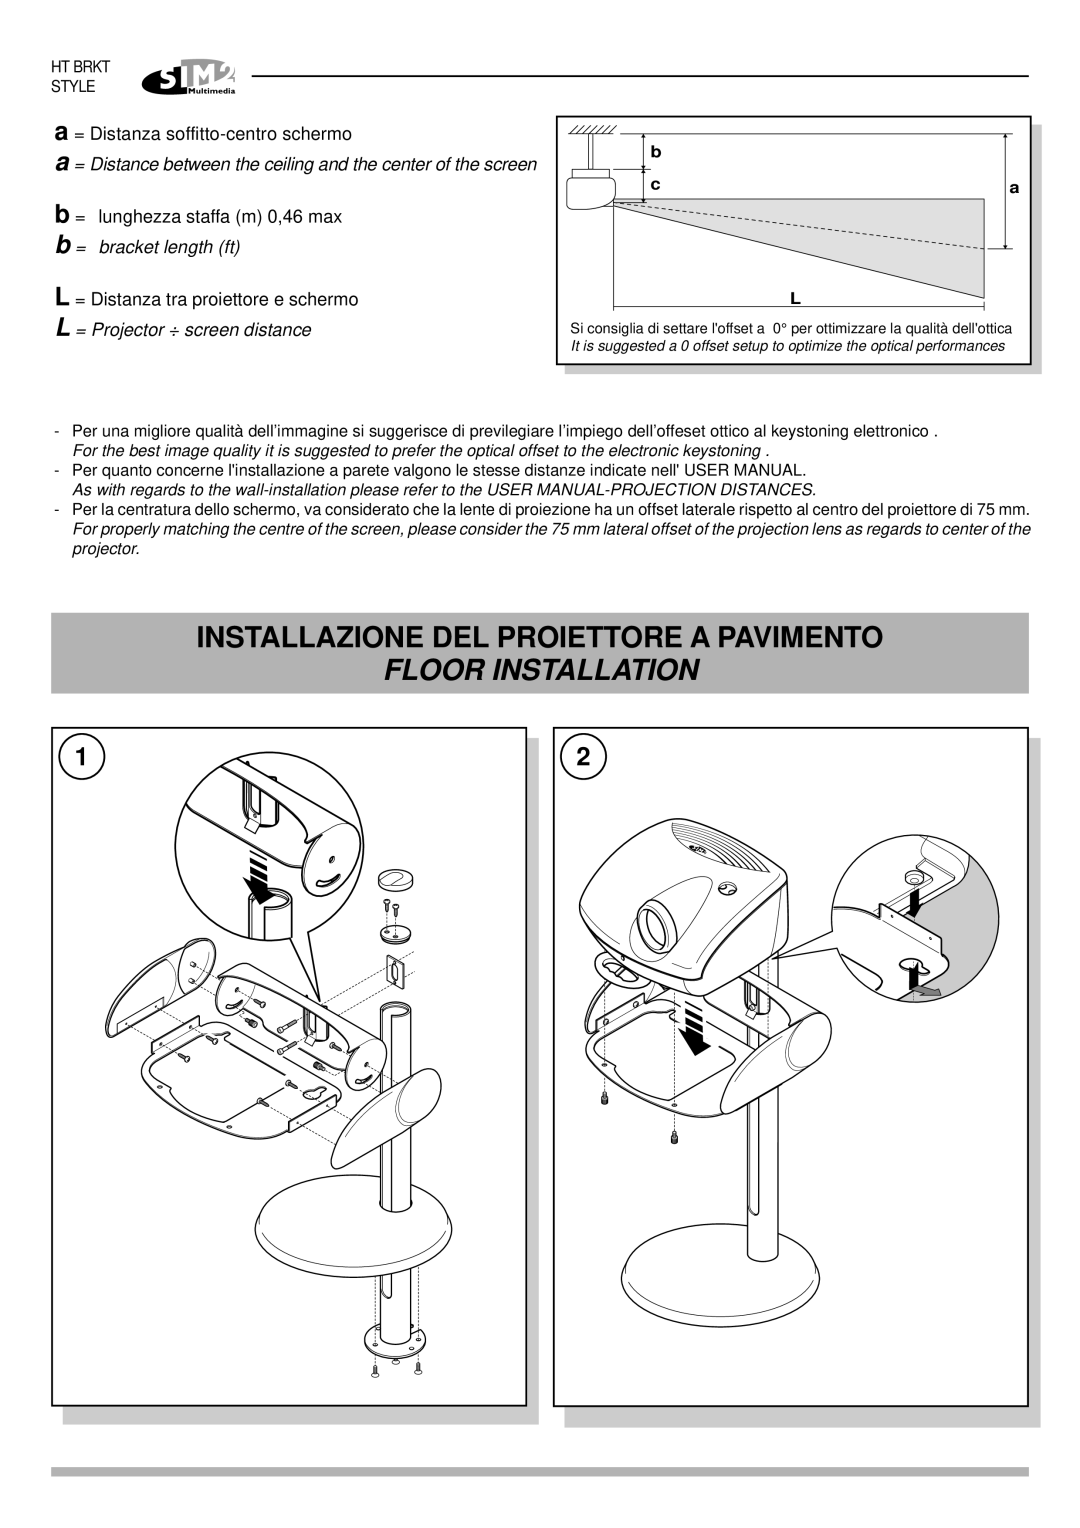
HT 200, HT 250 specifications
Sim2 Multimedia has established itself as a leader in the projector market, creating high-quality solutions for both home theater enthusiasts and professional environments. Two notable models in their line-up are the Sim2 HT 250 and HT 200 projectors. These devices exemplify cutting-edge technology, providing users with stunning visual experiences.The Sim2 HT 250 is a flagship model that showcases the brand's commitment to exceptional picture quality. It employs a full HD resolution, delivering sharp and immersive visuals, making it ideal for film enthusiasts who demand clarity and detail. Equipped with Sim2's proprietary Light Engine technology, the HT 250 generates a remarkable brightness level while ensuring vibrant colors. This technology allows the projector to perform well even in environments with ambient light, making it versatile for various settings.
On the other hand, the Sim2 HT 200 is slightly more compact but does not compromise on performance. It also supports full HD resolution and utilizes advanced imaging technologies that produce rich colors and enhanced contrast. This model is designed for users who seek a high-quality viewing experience without the need for a large, heavy device. The HT 200 is particularly effective in smaller home theaters, where space may be limited, yet the desire for a cinematic experience remains high.
Both projectors come equipped with advanced connectivity options, including HDMI ports, ensuring compatibility with a wide range of devices like Blu-ray players, gaming consoles, and streaming devices. This feature allows users to enjoy their favorite content in stunning quality without the hassle of complicated setups.
The design of the Sim2 HT 250 and HT 200 also reflects the company’s commitment to aesthetics and functionality. With sleek lines and a modern look, these projectors not only perform well but also complement contemporary home decor.
Additionally, both projectors feature a user-friendly interface and remote control, allowing for easy navigation of settings and options. With adjustments for color calibration and aspect ratio, users can tailor their viewing experience to their personal preferences.
In summary, the Sim2 Multimedia HT 250 and HT 200 projectors represent the pinnacle of home entertainment technology. With their exceptional image quality, advanced connectivity, and stylish designs, these models offer a cinematic experience that caters to the needs of all types of users. Whether for movie nights, gaming sessions, or professional presentations, both projectors deliver impressive performance and reliability.

