Motion Sensor

Model ID-318

1. INTRODUCTION

Thank you for your purchase of a SkylinkHomeTM Motion Sensor, Model ID-318. The Motion Sensor allows you to activate a receiver module to turn lights on automatically when movement is detected. A built-in count- down timer can turn lights off after a predefined time period. This is ideal for energy saving purpose where an area is not always occupied but lighting is needed when someone is present. A built-in light sensor can also be used so the lights will not be on when the monitored area is bright enough even if movement is detected there.

All wireless signal communications within the SkylinkHomeTM System are based on rolling code technology to ensure highest security is used.

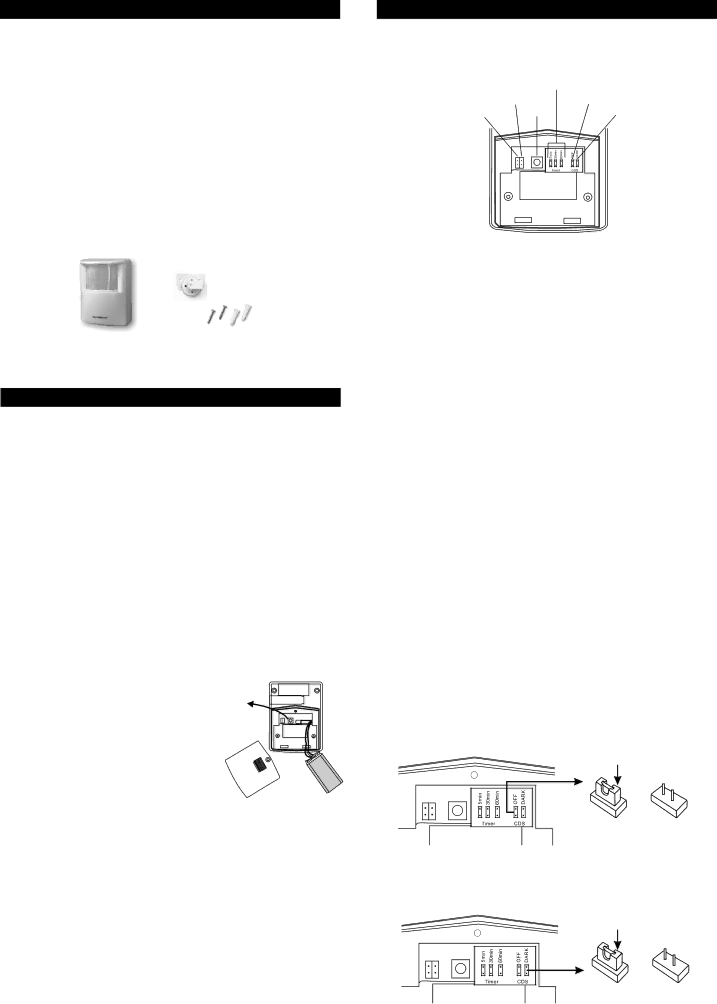
The following items are included in this package:

-Motion Sensor ID-318

-Ball Joint and Mounting Accessories

-User's Instructions

3. CUSTOMIZING THE MOTION SENSOR

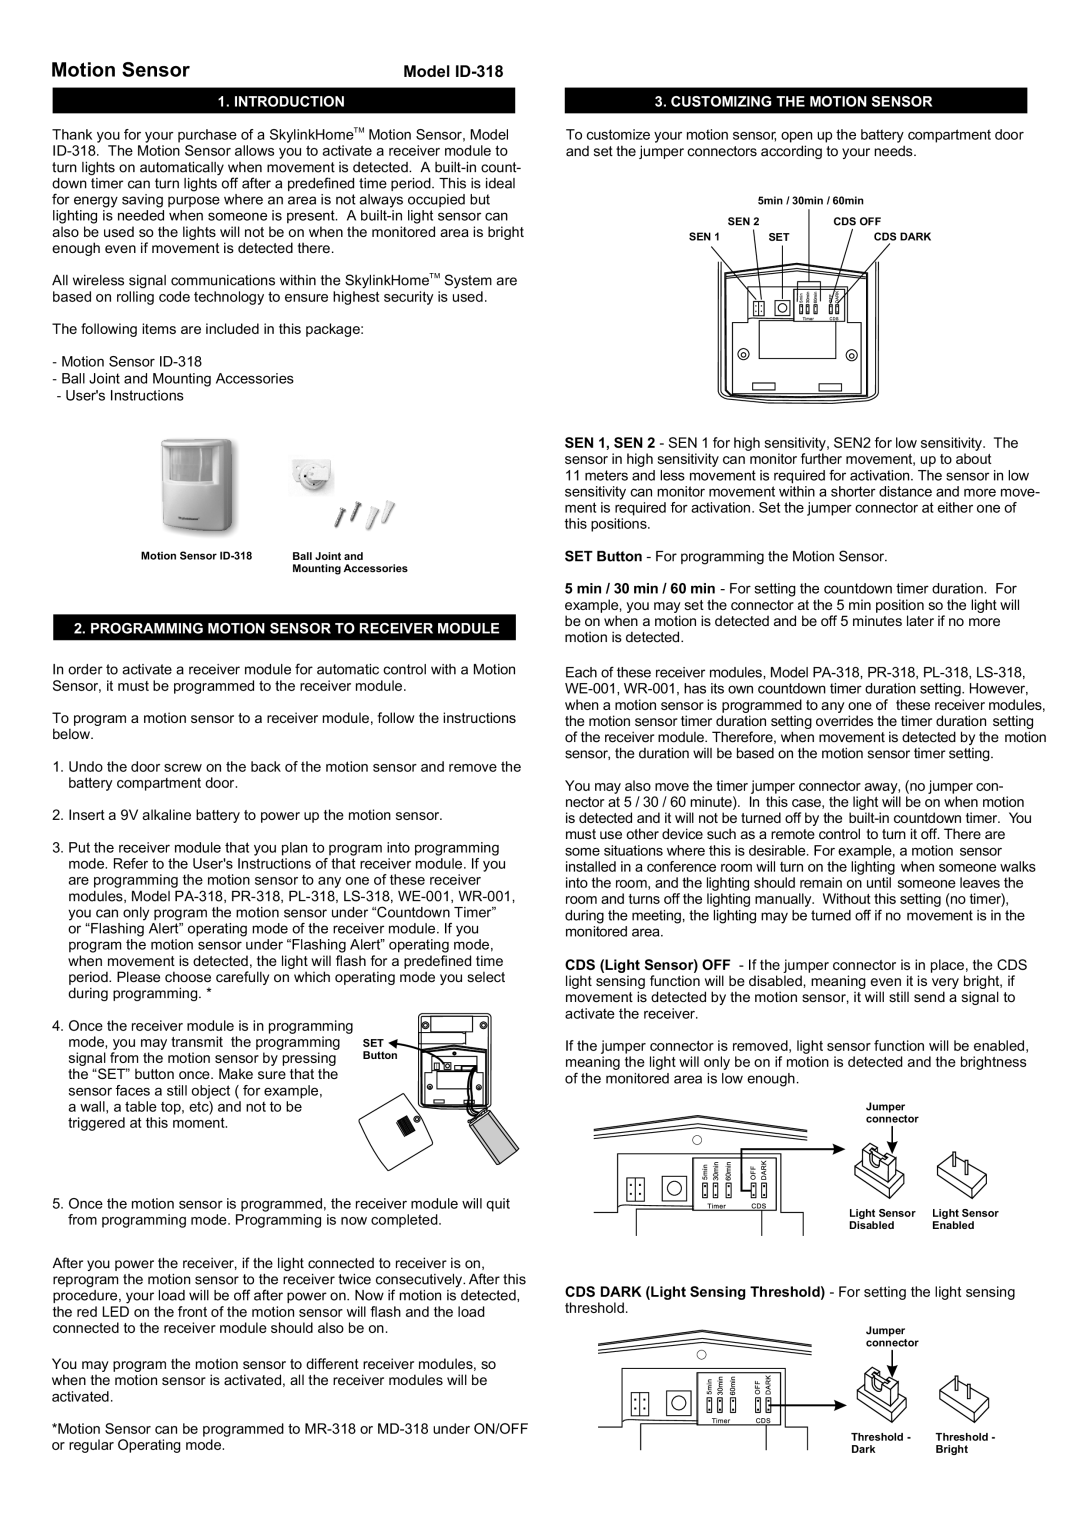
To customize your motion sensor, open up the battery compartment door and set the jumper connectors according to your needs.


5min / 30min / 60min


SEN 2

CDS OFF

SEN 1

SET

CDS DARK

Motion Sensor ID-318

Ball Joint and


Mounting Accessories

2. PROGRAMMING MOTION SENSOR TO RECEIVER MODULE

In order to activate a receiver module for automatic control with a Motion Sensor, it must be programmed to the receiver module.

To program a motion sensor to a receiver module, follow the instructions below.

1.Undo the door screw on the back of the motion sensor and remove the battery compartment door.

2.Insert a 9V alkaline battery to power up the motion sensor.

3.Put the receiver module that you plan to program into programming mode. Refer to the User's Instructions of that receiver module. If you are programming the motion sensor to any one of these receiver modules, Model PA-318, PR-318, PL-318, LS-318, WE-001, WR-001, you can only program the motion sensor under “Countdown Timer” or “Flashing Alert” operating mode of the receiver module. If you program the motion sensor under “Flashing Alert” operating mode, when movement is detected, the light will flash for a predefined time period. Please choose carefully on which operating mode you select during programming. *

4. Once the receiver module is in programming


mode, you may transmit the programming

SET

signal from the motion sensor by pressing

Button

the “SET” button once. Make sure that the


sensor faces a still object ( for example,


a wall, a table top, etc) and not to be


triggered at this moment.


5.Once the motion sensor is programmed, the receiver module will quit from programming mode. Programming is now completed.

After you power the receiver, if the light connected to receiver is on, reprogram the motion sensor to the receiver twice consecutively. After this procedure, your load will be off after power on. Now if motion is detected, the red LED on the front of the motion sensor will flash and the load connected to the receiver module should also be on.

You may program the motion sensor to different receiver modules, so when the motion sensor is activated, all the receiver modules will be activated.

*Motion Sensor can be programmed to MR-318 or MD-318 under ON/OFF or regular Operating mode.

SEN 1, SEN 2 - SEN 1 for high sensitivity, SEN2 for low sensitivity. The sensor in high sensitivity can monitor further movement, up to about

11 meters and less movement is required for activation. The sensor in low sensitivity can monitor movement within a shorter distance and more move- ment is required for activation. Set the jumper connector at either one of this positions.

SET Button - For programming the Motion Sensor.

5 min / 30 min / 60 min - For setting the countdown timer duration. For example, you may set the connector at the 5 min position so the light will be on when a motion is detected and be off 5 minutes later if no more motion is detected.

Each of these receiver modules, Model PA-318, PR-318, PL-318, LS-318, WE-001, WR-001, has its own countdown timer duration setting. However, when a motion sensor is programmed to any one of these receiver modules, the motion sensor timer duration setting overrides the timer duration setting of the receiver module. Therefore, when movement is detected by the motion sensor, the duration will be based on the motion sensor timer setting.

You may also move the timer jumper connector away, (no jumper con- nector at 5 / 30 / 60 minute). In this case, the light will be on when motion is detected and it will not be turned off by the built-in countdown timer. You must use other device such as a remote control to turn it off. There are some situations where this is desirable. For example, a motion sensor installed in a conference room will turn on the lighting when someone walks into the room, and the lighting should remain on until someone leaves the room and turns off the lighting manually. Without this setting (no timer), during the meeting, the lighting may be turned off if no movement is in the monitored area.

CDS (Light Sensor) OFF - If the jumper connector is in place, the CDS light sensing function will be disabled, meaning even it is very bright, if movement is detected by the motion sensor, it will still send a signal to activate the receiver.

If the jumper connector is removed, light sensor function will be enabled, meaning the light will only be on if motion is detected and the brightness of the monitored area is low enough.

Jumper connector

Light Sensor

Light Sensor

Disabled

Enabled

CDS DARK (Light Sensing Threshold) - For setting the light sensing

threshold.

Jumper connector

Threshold - Threshold -

DarkBright

Page 1
Image 1
SkyLink ID-318 manual Introduction, Customizing the Motion Sensor, Programming Motion Sensor to Receiver Module

ID-318 specifications

The SkyLink ID-318 is a cutting-edge wireless communication device designed to meet the evolving needs of modern connectivity. Its sleek, compact form factor allows it to fit seamlessly into various environments, including homes, offices, and industrial settings. One of the standout features of the ID-318 is its exceptional range, which enables reliable communication over distances typically unable to maintain connectivity with similar devices.

The ID-318 employs advanced technologies such as Long Range (LoRa) and Bluetooth Low Energy (BLE) to provide efficient data transmission. LoRa technology ensures that the device can operate effectively in low-power scenarios, making it perfect for battery-powered applications. The combination of these technologies allows the ID-318 to maintain a robust connection with minimal energy consumption, contributing to its extended battery life, which can last for months when fully charged.

In terms of characteristics, the SkyLink ID-318 boasts a user-friendly interface that facilitates easy configuration and operation. Its intuitive design allows users to set up the device quickly without needing extensive technical knowledge. Additionally, the device is equipped with multiple connectivity options, including Wi-Fi and cellular connections, making it versatile for various applications.

Another remarkable aspect of the ID-318 is its advanced security features. Utilizing end-to-end encryption, the device ensures that data transmitted between endpoints remains secure from potential threats. This level of security is crucial in today’s digital landscape, where data privacy is a paramount concern for individuals and businesses alike.

The SkyLink ID-318 is also compatible with a wide range of sensors and peripherals, enabling it to function as the central hub in a smart home or industrial automation system. From temperature and humidity sensors to motion detectors, the ID-318 can seamlessly integrate various IoT devices, enhancing overall efficiency and functionality.

Overall, the SkyLink ID-318 is a remarkable wireless communication device blending advanced technology, user-friendly design, and robust features. Its ability to provide reliable, secure, and versatile connectivity makes it an ideal choice for anyone looking to enhance their digital ecosystem in an increasingly connected world.