LORD USER INSTRUCTIONS
LORD Fusor® 117 Plastic to Metal Cross Bonding Adhesive (Slow)
LORD Fusor® 117 plastic to metal cross bonding adhe- sive is formulated to bond plastics such as SMC, carbon
fiber, Metton®, fi berglass, ABS, polycarbonate, acrylic, etc., to bare metal. It can also be used for
Usage
Metal Preparation
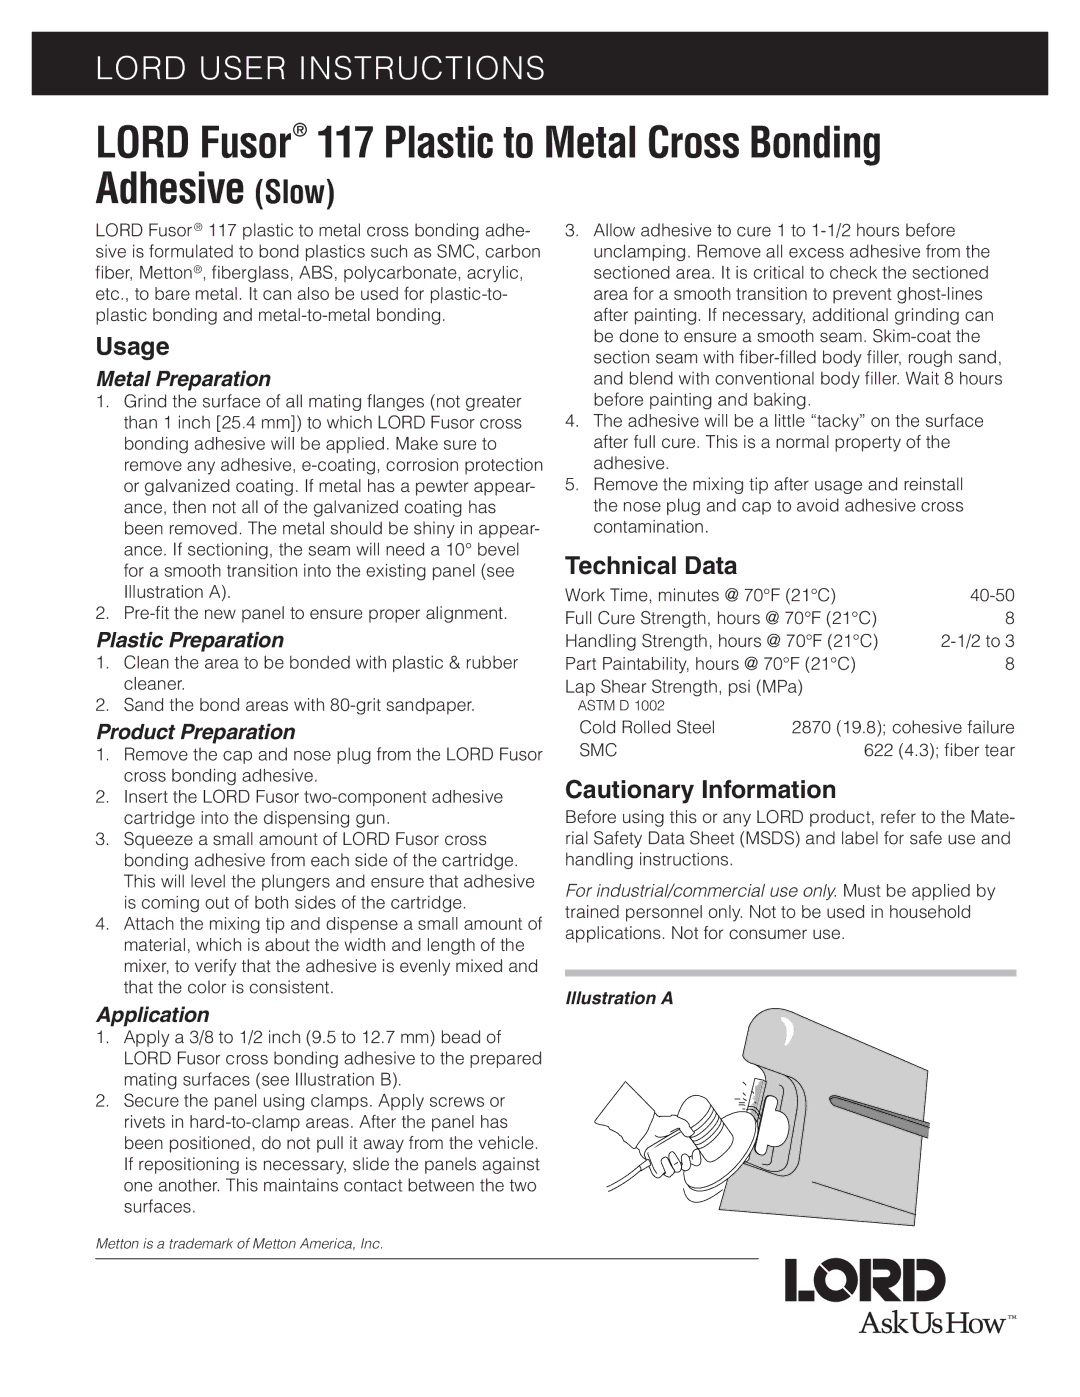
1.Grind the surface of all mating fl anges (not greater than 1 inch [25.4 mm]) to which LORD Fusor cross bonding adhesive will be applied. Make sure to remove any adhesive,
2.
Plastic Preparation
1.Clean the area to be bonded with plastic & rubber cleaner.
2.Sand the bond areas with
Product Preparation
1.Remove the cap and nose plug from the LORD Fusor cross bonding adhesive.
2.Insert the LORD Fusor
3.Squeeze a small amount of LORD Fusor cross bonding adhesive from each side of the cartridge. This will level the plungers and ensure that adhesive is coming out of both sides of the cartridge.
4.Attach the mixing tip and dispense a small amount of material, which is about the width and length of the mixer, to verify that the adhesive is evenly mixed and that the color is consistent.
Application
1.Apply a 3/8 to 1/2 inch (9.5 to 12.7 mm) bead of LORD Fusor cross bonding adhesive to the prepared mating surfaces (see Illustration B).
2.Secure the panel using clamps. Apply screws or rivets in
3.Allow adhesive to cure 1 to
4.The adhesive will be a little “tacky” on the surface after full cure. This is a normal property of the adhesive.
5.Remove the mixing tip after usage and reinstall the nose plug and cap to avoid adhesive cross contamination.
Technical Data
Work Time, minutes @ 70°F (21°C) | ||
Full Cure Strength, hours @ 70°F (21°C) | 8 | |
Handling Strength, hours @ 70°F (21°C) | ||
Part Paintability, hours @ 70°F (21°C) | 8 | |
Lap Shear Strength, psi (MPa) |
| |
ASTM D 1002 |
|
|
Cold Rolled Steel | 2870 (19.8); cohesive failure | |
SMC | 622 (4.3); fi ber tear | |
Cautionary Information
Before using this or any LORD product, refer to the Mate- rial Safety Data Sheet (MSDS) and label for safe use and handling instructions.
For industrial/commercial use only. Must be applied by trained personnel only. Not to be used in household applications. Not for consumer use.
Illustration A
Metton is a trademark of Metton America, Inc.