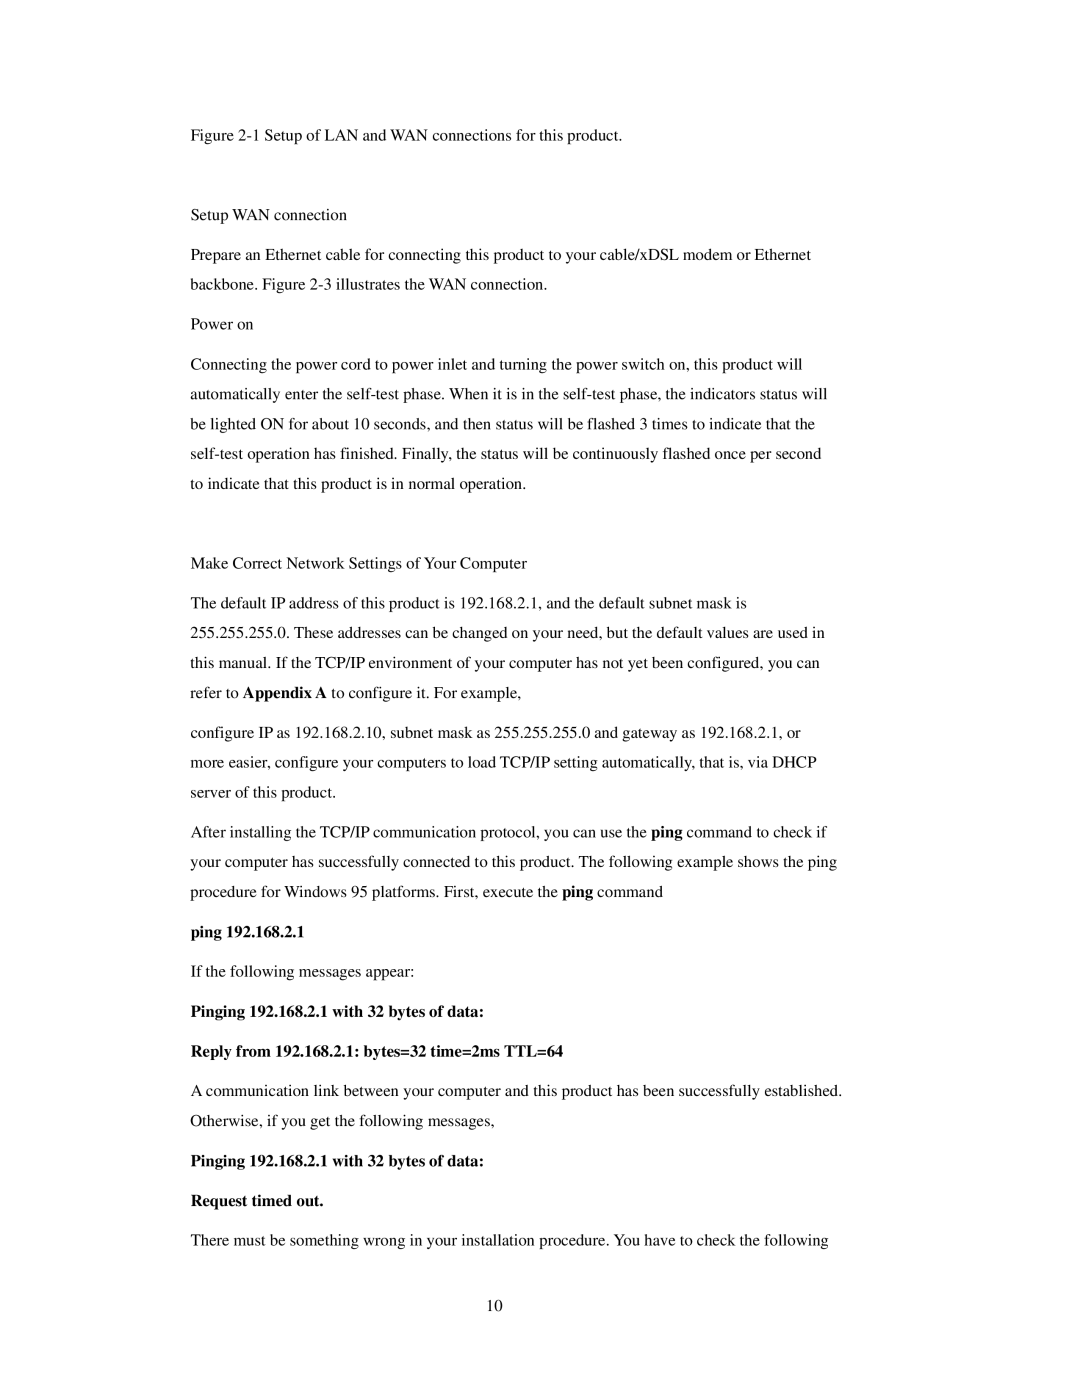
Figure 2-1 Setup of LAN and WAN connections for this product.
Setup WAN connection
Prepare an Ethernet cable for connecting this product to your cable/xDSL modem or Ethernet backbone. Figure 2-3 illustrates the WAN connection.
Power on
Connecting the power cord to power inlet and turning the power switch on, this product will automatically enter the self-test phase. When it is in the self-test phase, the indicators status will be lighted ON for about 10 seconds, and then status will be flashed 3 times to indicate that the self-test operation has finished. Finally, the status will be continuously flashed once per second to indicate that this product is in normal operation.
Make Correct Network Settings of Your Computer
The default IP address of this product is 192.168.2.1, and the default subnet mask is 255.255.255.0. These addresses can be changed on your need, but the default values are used in this manual. If the TCP/IP environment of your computer has not yet been configured, you can refer to Appendix A to configure it. For example,
configure IP as 192.168.2.10, subnet mask as 255.255.255.0 and gateway as 192.168.2.1, or more easier, configure your computers to load TCP/IP setting automatically, that is, via DHCP server of this product.
After installing the TCP/IP communication protocol, you can use the ping command to check if your computer has successfully connected to this product. The following example shows the ping procedure for Windows 95 platforms. First, execute the ping command
ping 192.168.2.1
If the following messages appear:
Pinging 192.168.2.1 with 32 bytes of data:
Reply from 192.168.2.1: bytes=32 time=2ms TTL=64
A communication link between your computer and this product has been successfully established. Otherwise, if you get the following messages,
Pinging 192.168.2.1 with 32 bytes of data:
Request timed out.
There must be something wrong in your installation procedure. You have to check the following
10