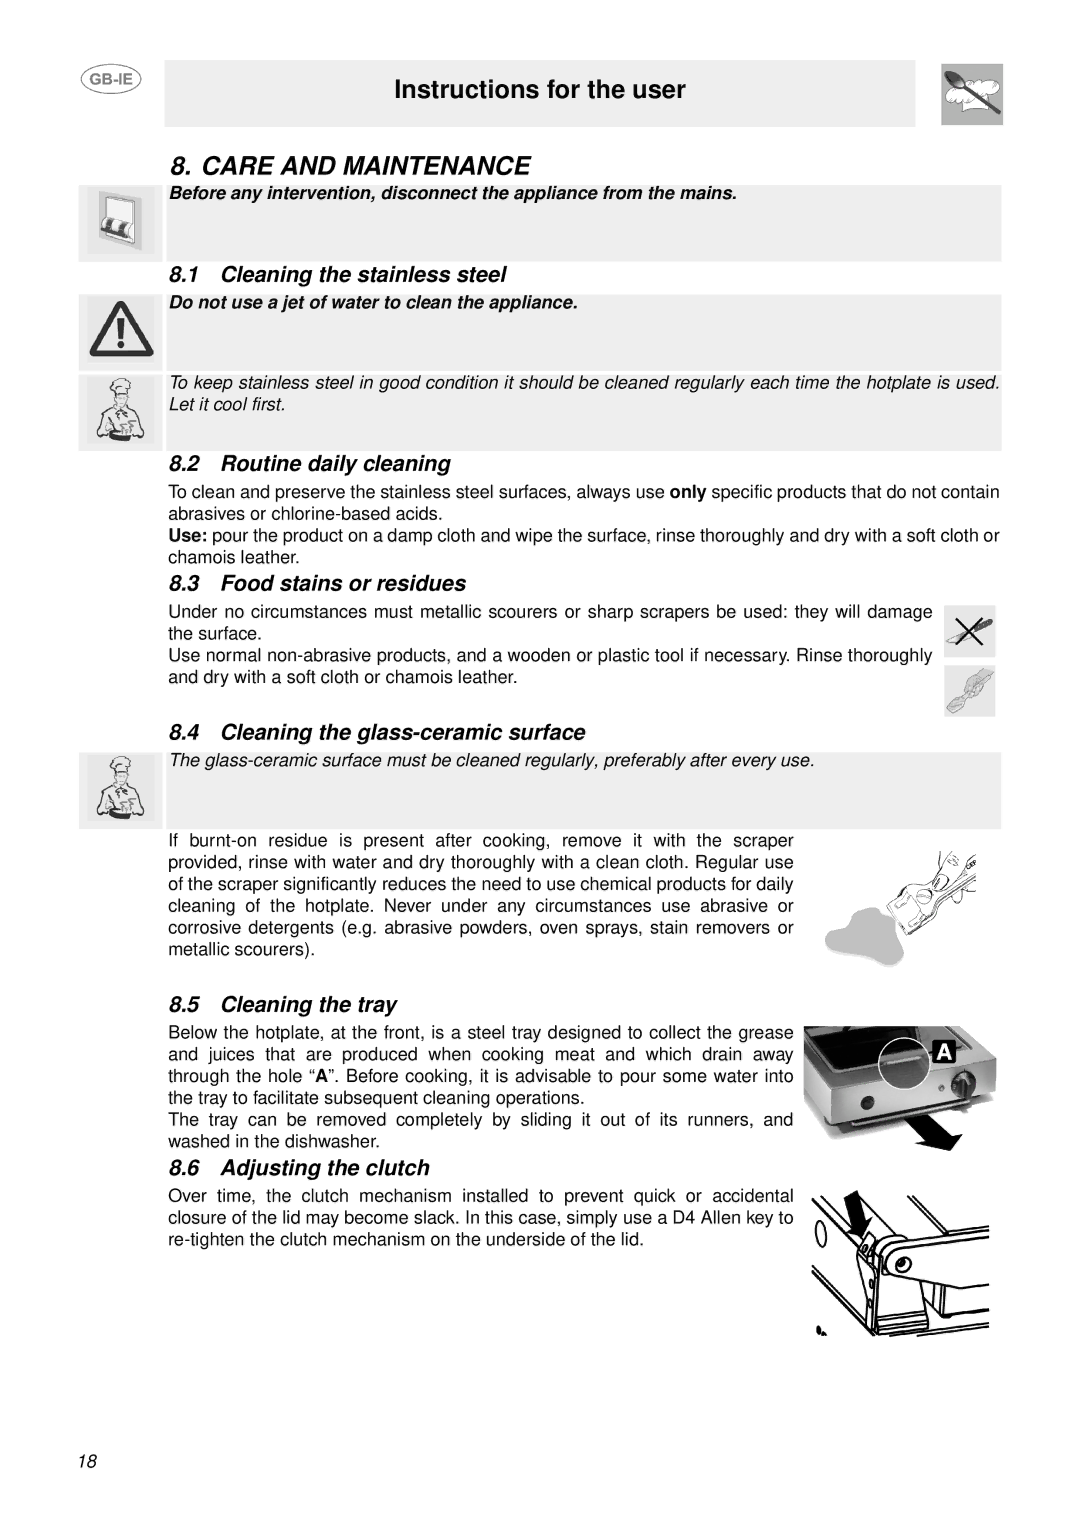
Instructions for the user
8. CARE AND MAINTENANCE
Before any intervention, disconnect the appliance from the mains.
8.1 Cleaning the stainless steel
Do not use a jet of water to clean the appliance.
To keep stainless steel in good condition it should be cleaned regularly each time the hotplate is used. Let it cool first.
8.2 Routine daily cleaning
To clean and preserve the stainless steel surfaces, always use only specific products that do not contain abrasives or
Use: pour the product on a damp cloth and wipe the surface, rinse thoroughly and dry with a soft cloth or chamois leather.
8.3 Food stains or residues
Under no circumstances must metallic scourers or sharp scrapers be used: they will damage the surface.
Use normal
8.4 Cleaning the glass-ceramic surface
The
If
8.5 Cleaning the tray
Below the hotplate, at the front, is a steel tray designed to collect the grease and juices that are produced when cooking meat and which drain away through the hole “A”. Before cooking, it is advisable to pour some water into the tray to facilitate subsequent cleaning operations.
The tray can be removed completely by sliding it out of its runners, and washed in the dishwasher.
8.6Adjusting the clutch
Over time, the clutch mechanism installed to prevent quick or accidental closure of the lid may become slack. In this case, simply use a D4 Allen key to
18
