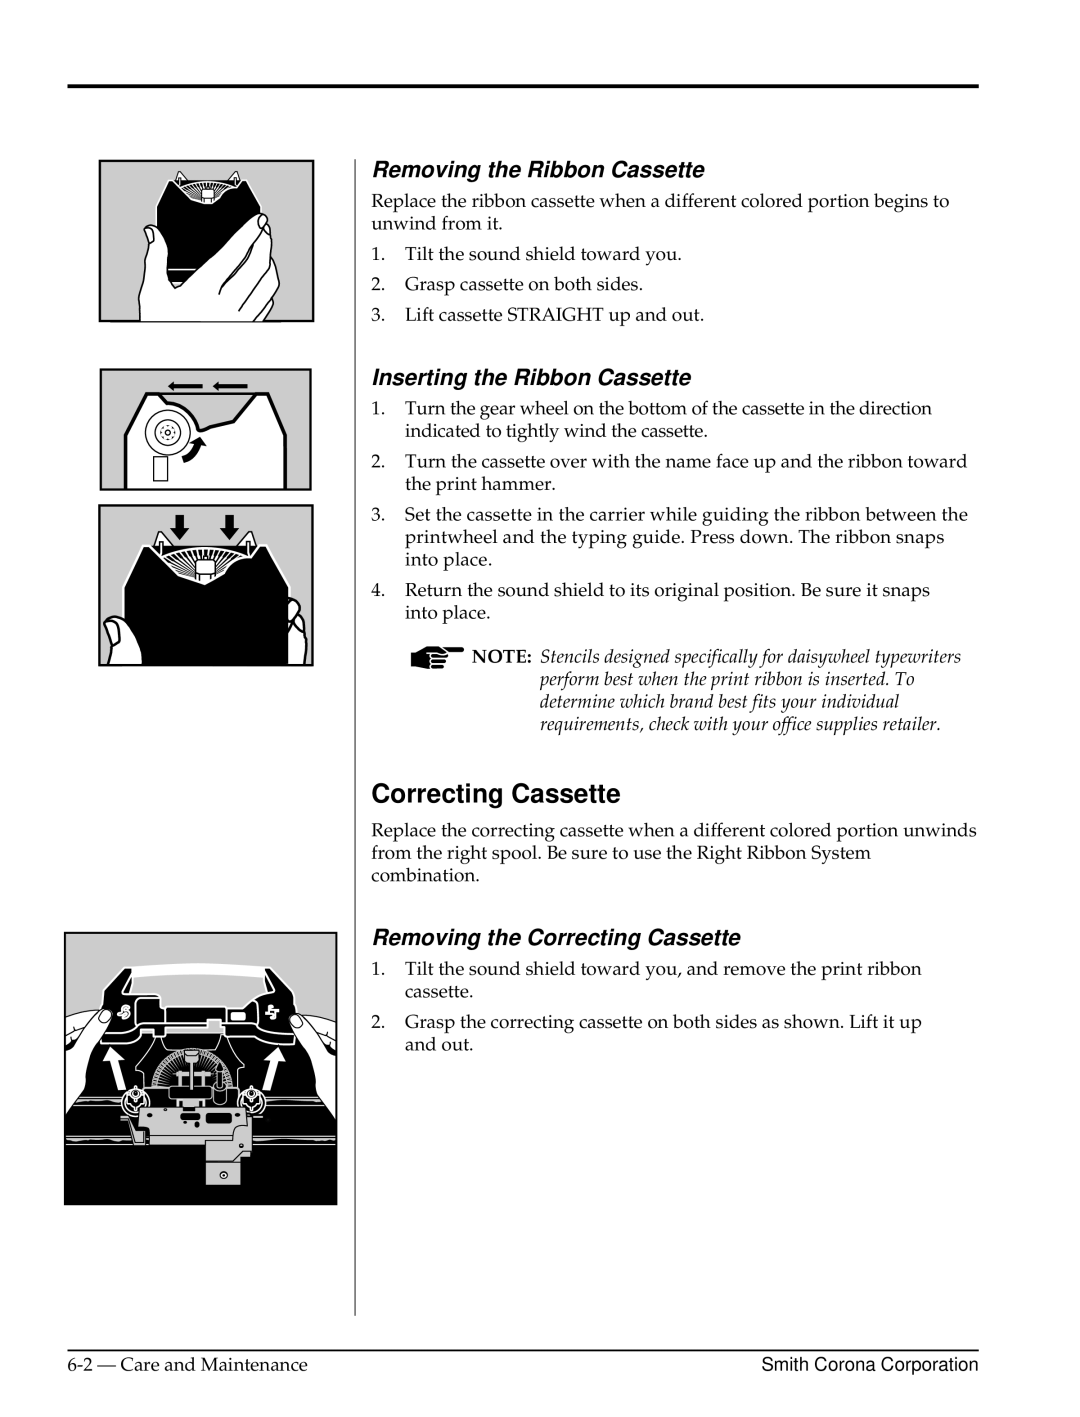
Removing the Ribbon Cassette
Replace the ribbon cassette when a different colored portion begins to unwind from it.
1.Tilt the sound shield toward you.
2.Grasp cassette on both sides.
3.Lift cassette STRAIGHT up and out.
Inserting the Ribbon Cassette
1.Turn the gear wheel on the bottom of the cassette in the direction indicated to tightly wind the cassette.
2.Turn the cassette over with the name face up and the ribbon toward the print hammer.
3.Set the cassette in the carrier while guiding the ribbon between the printwheel and the typing guide. Press down. The ribbon snaps into place.
4.Return the sound shield to its original position. Be sure it snaps into place.
![]() NOTE: Stencils designed specifically for daisywheel typewriters perform best when the print ribbon is inserted. To determine which brand best fits your individual requirements, check with your office supplies retailer.
NOTE: Stencils designed specifically for daisywheel typewriters perform best when the print ribbon is inserted. To determine which brand best fits your individual requirements, check with your office supplies retailer.
Correcting Cassette
Replace the correcting cassette when a different colored portion unwinds from the right spool. Be sure to use the Right Ribbon System combination.
Removing the Correcting Cassette
1.Tilt the sound shield toward you, and remove the print ribbon cassette.
2.Grasp the correcting cassette on both sides as shown. Lift it up and out.
Smith Corona Corporation |