24 HP specifications
The Snapper 24 HP is a powerful and reliable riding lawn mower designed to tackle large lawns and challenging terrains with ease. With its robust engine and advanced features, it offers a premium mowing experience for homeowners and professionals alike.At the heart of the Snapper 24 HP is a dependable 24 horsepower (HP) Briggs & Stratton engine. This high-performance engine provides ample power to efficiently cut through thick grass and maintain exhilarating speed while mowing. The engine is equipped with an overhead valve design, promoting better fuel efficiency and lower emissions, making it an environmentally friendly option.
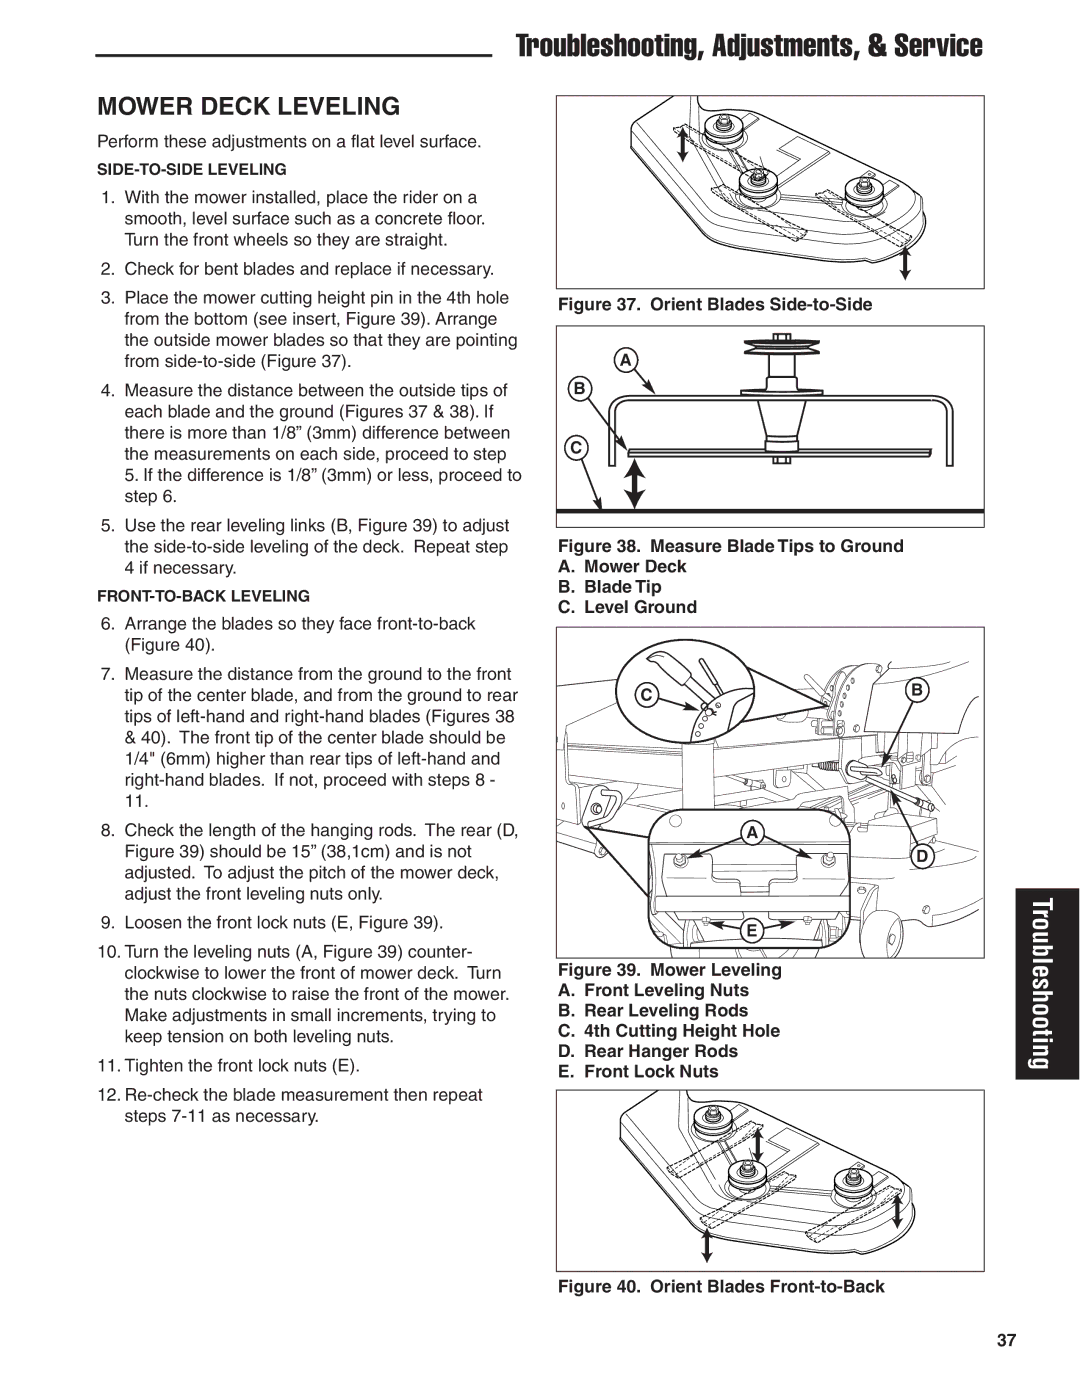
One of the standout features of the Snapper 24 HP is its 42-inch cutting deck, which provides a wide cutting path for improved mowing efficiency. The deck is made from durable steel, designed to withstand the rigors of regular use, while also ensuring a clean and precise cut. It offers multiple cutting height adjustments, allowing users to customize their lawn's height from 1.5 to 4 inches, catering to various grass types and seasonal needs.
Additionally, the Snapper 24 HP comes with a hydrostatic transmission system that allows for smooth forward and reverse operation. This technology not only enhances maneuverability but also makes it easier to navigate obstacles such as trees and garden beds without the need for constant gear shifting. As a result, users can enjoy a more efficient mowing experience while reducing fatigue.
Comfort is prioritized in the design of the Snapper 24 HP. It features an ergonomic seat and easy-to-reach controls, ensuring that users can mow their lawns for extended periods without discomfort. The removable engine cover allows for quick access to the engine for maintenance and repairs, enabling users to keep their equipment running in top condition.
Furthermore, the Snapper 24 HP is equipped with a warranty that underscores its durability and reliability. With its combination of power, versatility, and user-friendly features, the Snapper 24 HP stands out as an ideal choice for anyone looking to maintain an impeccably manicured lawn. Whether you are a seasoned lawn care professional or a homeowner who takes pride in their outdoor space, the Snapper 24 HP delivers performance and innovation you can trust.

