400 Series specifications
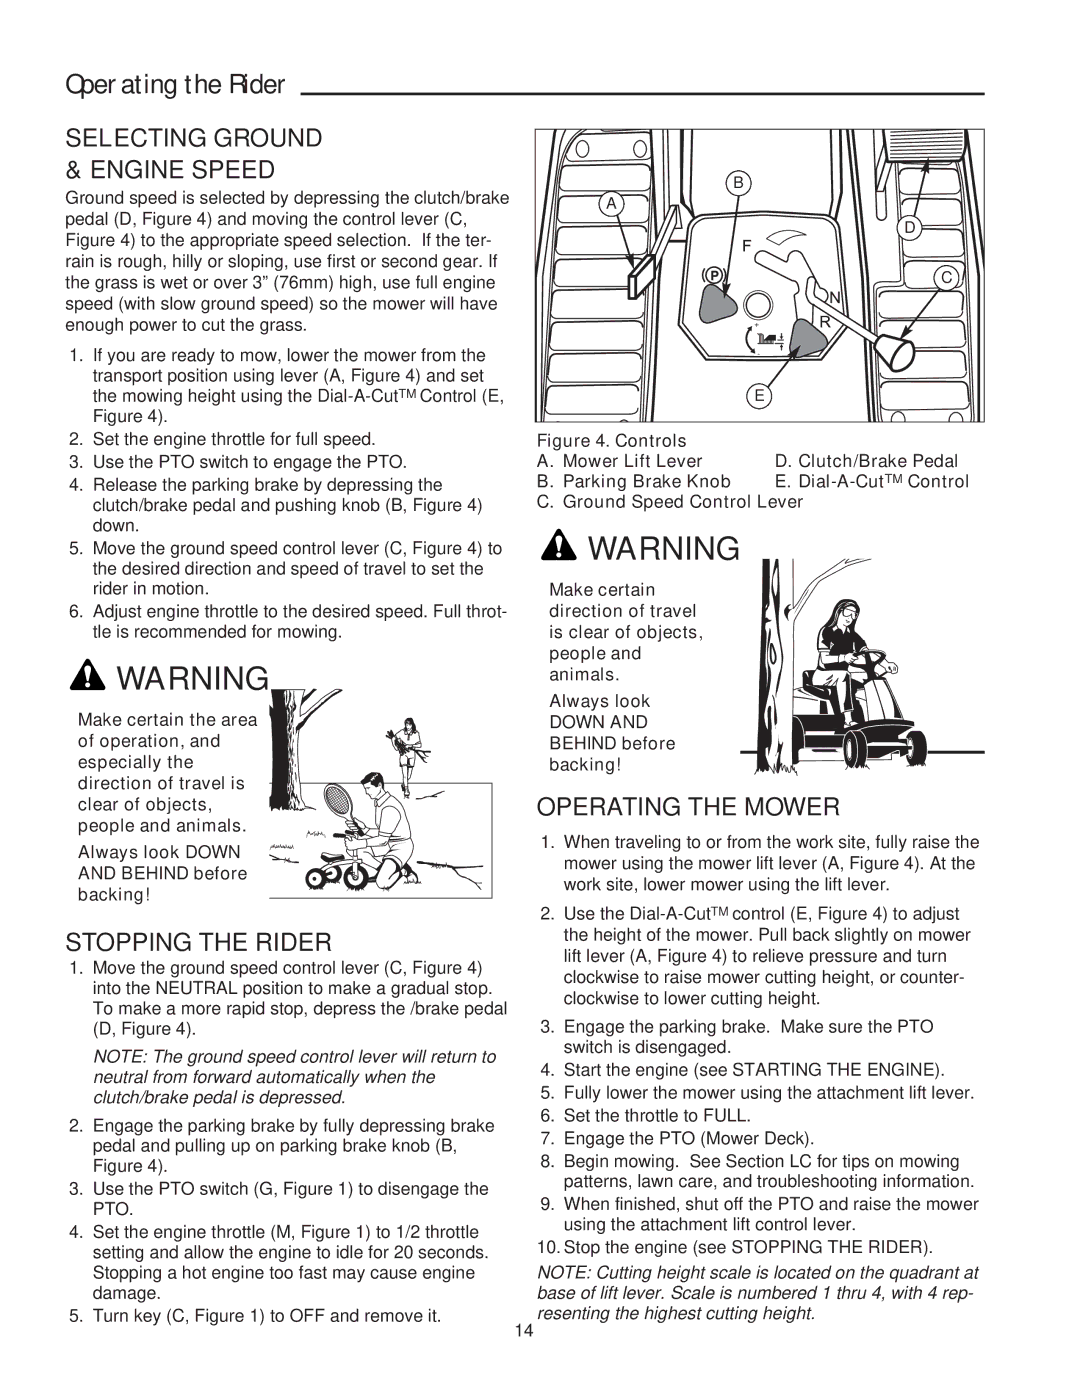
The Snapper 400 Series is a robust line of riding lawn mowers designed for homeowners looking for efficiency and power in lawn maintenance. This series is known for its reliable performance, user-friendly features, and innovative technology, making it a popular choice among homeowners and landscaping professionals alike.One of the standout features of the Snapper 400 Series is its powerful engine options. Equipped with a range of high-performance Briggs & Stratton engines, these mowers offer impressive torque and cutting capabilities. The series is designed to handle diverse lawn conditions, from flat terrains to steep inclines, providing a consistent cutting experience.
Ergonomics play a crucial role in the design of the Snapper 400 Series. The mowers come with an adjustable seat, allowing users to find their ideal position for comfort during longer mowing sessions. The intuitive dashboard features all necessary controls within easy reach, enabling users to operate the mower with minimal effort.
The cutting decks in the Snapper 400 Series are engineered for versatility. With options for both side discharge and mulching, users can choose the best approach for their lawn. The mowing heights are adjustable, allowing for a custom cut that suits individual preferences and grass types. Additionally, the steel cutting decks provide durability, ensuring that the mowers withstand frequent use without significant wear.
Another notable innovation within the Snapper 400 Series is the ReadyStart technology. This system ensures that the engine starts easily with just one pull, eliminating the frustration that comes with traditional pull-start engines. The use of a hydrostatic transmission offers smooth and precise control over speed and direction, further enhancing the mowing experience.
The Snapper 400 Series is also aesthetically designed, with a modern appearance that appeals to a wide range of consumers. Its compact size allows it to navigate through tighter spaces, making it practical for varied landscape designs.
Overall, the Snapper 400 Series combines power, comfort, and innovative features to deliver exceptional lawn care solutions. Whether you are an experienced landscaper or a first-time mower owner, the Snapper 400 Series provides the tools necessary for effective and enjoyable lawn maintenance. Its reputation for durability and performance makes it a top contender in the riding mower market.

