7-4172 specifications
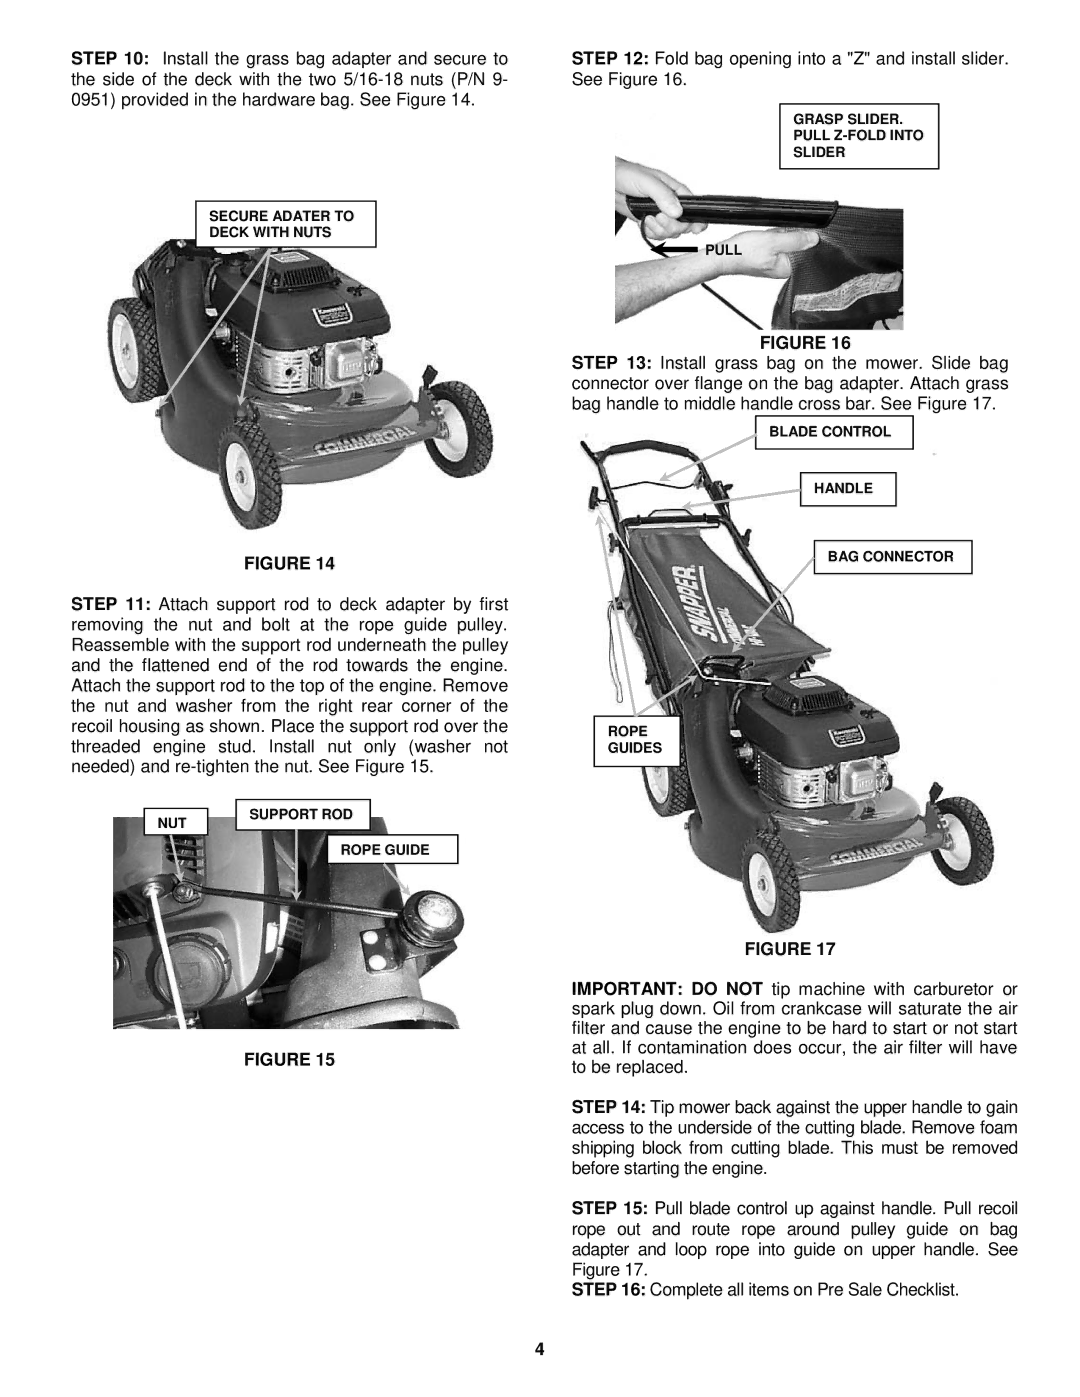
The Snapper 7-4172 is a versatile lawn mower that has earned a solid reputation among gardening enthusiasts and professional landscapers alike. It combines robust features with advanced technologies, making it a go-to choice for those seeking efficiency and precision in lawn maintenance.One of the key features of the Snapper 7-4172 is its powerful 7-horsepower engine, which delivers impressive cutting power while ensuring reliability. This engine enables the mower to tackle various types of grass and terrain, from flat lawns to uneven grounds, making it highly versatile for different landscaping needs.
The Snapper 7-4172 also boasts a durable steel deck that measures 21 inches in width. This size strikes an ideal balance between maneuverability and coverage, allowing users to navigate through tight spaces while effectively cutting larger areas in a single pass. The deck's construction ensures longevity and resistance to wear and tear, an essential characteristic for frequent use.
Another significant attribute of the Snapper 7-4172 is its self-propelled feature. The mower employs an innovative drive system that allows users to adjust the speed according to their preference and lawn conditions. This technology reduces the physical strain on the operator while providing ease of use, especially on slopes or dense grass.
The height adjustment mechanism of the Snapper 7-4172 is also noteworthy. With multiple cutting height settings, users can customize the grass length to their liking, accommodating various types of lawns and seasonal changes. This adaptability ensures that your lawn remains healthy and visually appealing throughout the year.
In addition to its core features, the Snapper 7-4172 incorporates enhanced user-centric technologies, such as an ergonomic handle design that minimizes fatigue during extended mowing sessions. The quick-release feature enables easy folding and storage, making it convenient for users with limited storage space.
In summary, the Snapper 7-4172 stands out due to its powerful engine, durable construction, self-propelled capability, customizable height adjustments, and user-friendly design. These characteristics collectively make it an excellent choice for maintaining a beautiful lawn with minimal effort, appealing to both casual homeowners and dedicated professionals. Whether tackling small patches or expansive yards, the Snapper 7-4172 provides reliable performance with every mow.

