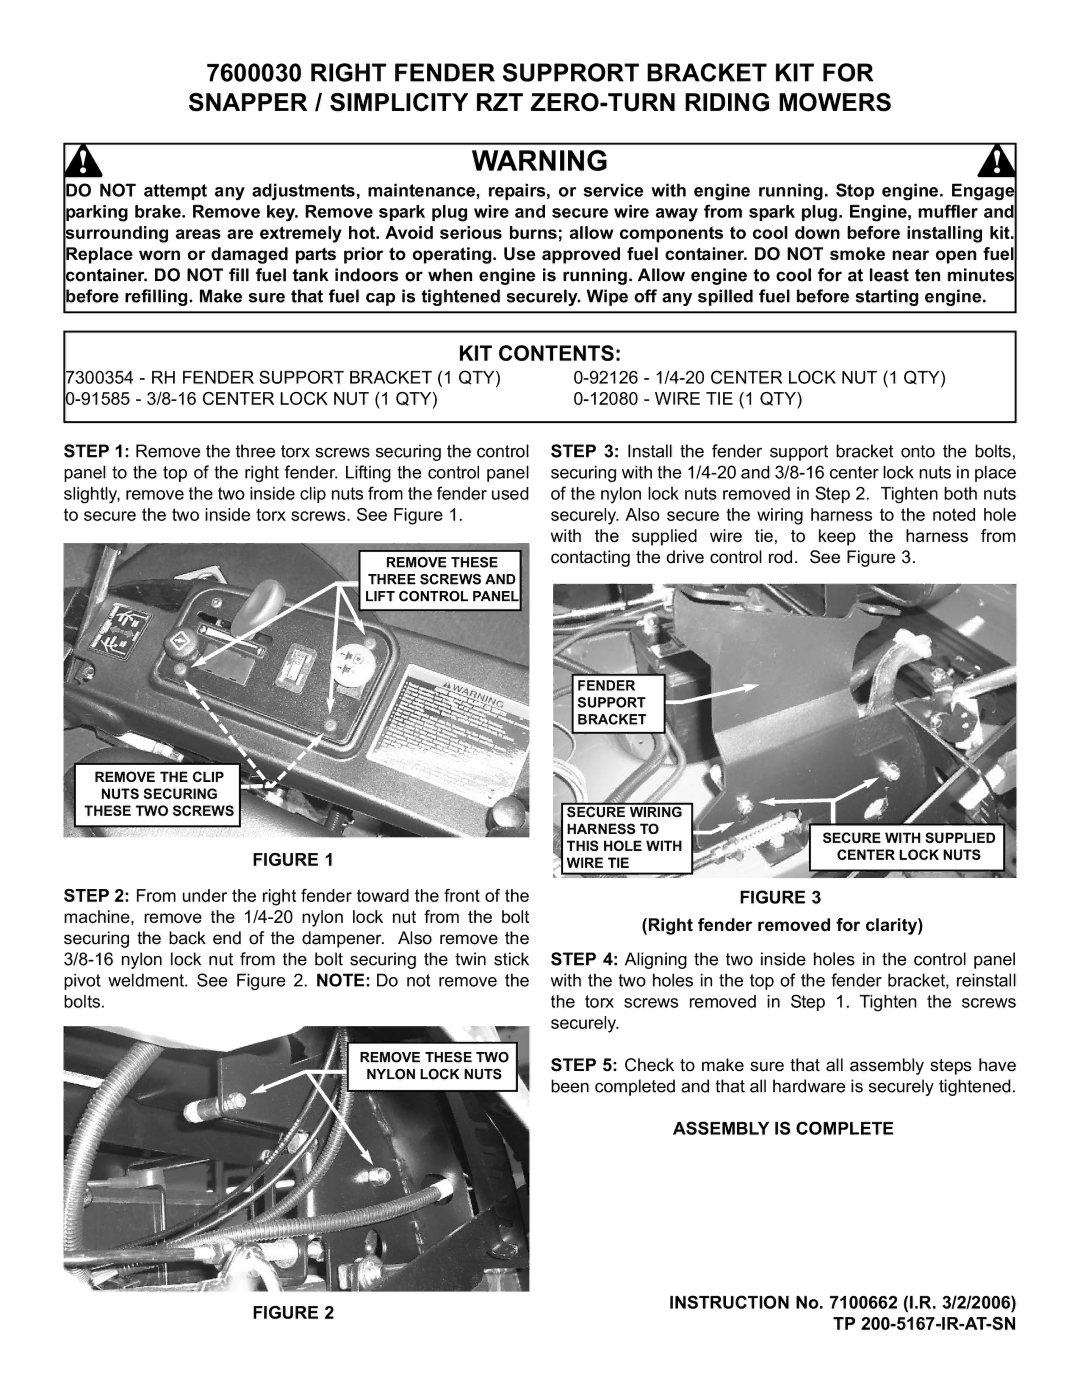
7600030 specifications
The Snapper 7600030 is a standout model in the realm of lawn care equipment, designed for homeowners seeking a reliable and efficient lawn mower that simplifies yard maintenance. This walk-behind mower seamlessly combines ease of use with robust performance, ensuring a well-manicured lawn with minimal effort.One of the primary features of the Snapper 7600030 is its powerful 190cc Briggs & Stratton engine. This engine offers high torque and efficient fuel consumption, ensuring that the mower delivers optimal power for cutting through thick grass and tackling uneven terrain. The engine is also conveniently easy to start, meaning you can get to work without the frustration often associated with traditional pull-start mechanisms.
The Snapper 7600030 boasts a 21-inch cutting deck, which strikes the perfect balance between maneuverability and performance. The deck is crafted from durable materials that resist rust and ensure longevity, allowing for years of reliable service. With a 7-position height adjustment system, users can easily customize the cutting height, ranging from 1 to 4 inches, to accommodate various types of lawns and personal preferences.
Incorporating innovative technologies, the Snapper 7600030 features a rear-wheel drive system that enhances traction, making it easier to navigate through tough spots and around obstacles. This feature allows for tighter turning capabilities, which is particularly beneficial in smaller yards or when navigating around flowerbeds and garden paths.
The mower also offers a 3-in-1 cutting system, enabling users to choose between mulching, bagging, or side discharge options. This versatility not only allows for efficient grass management but also contributes to healthier lawns by returning nutrients to the soil when using the mulching feature.
Additional characteristics include a durable foldable handle, which facilitates easy storage and transportation, and a compact frame that enhances maneuverability. The Snapper 7600030 also emphasizes user comfort with cushioned grips and ergonomic design, reducing strain during prolonged use.
In summary, the Snapper 7600030 is a highly functional and user-friendly lawn mower that combines power, versatility, and durability, making it an ideal choice for homeowners looking to keep their yards in pristine condition. Whether it's a small urban garden or a larger suburban lawn, this mower delivers consistent performance, ensuring a neatly trimmed lawn with every outing.

