Shear Bolts
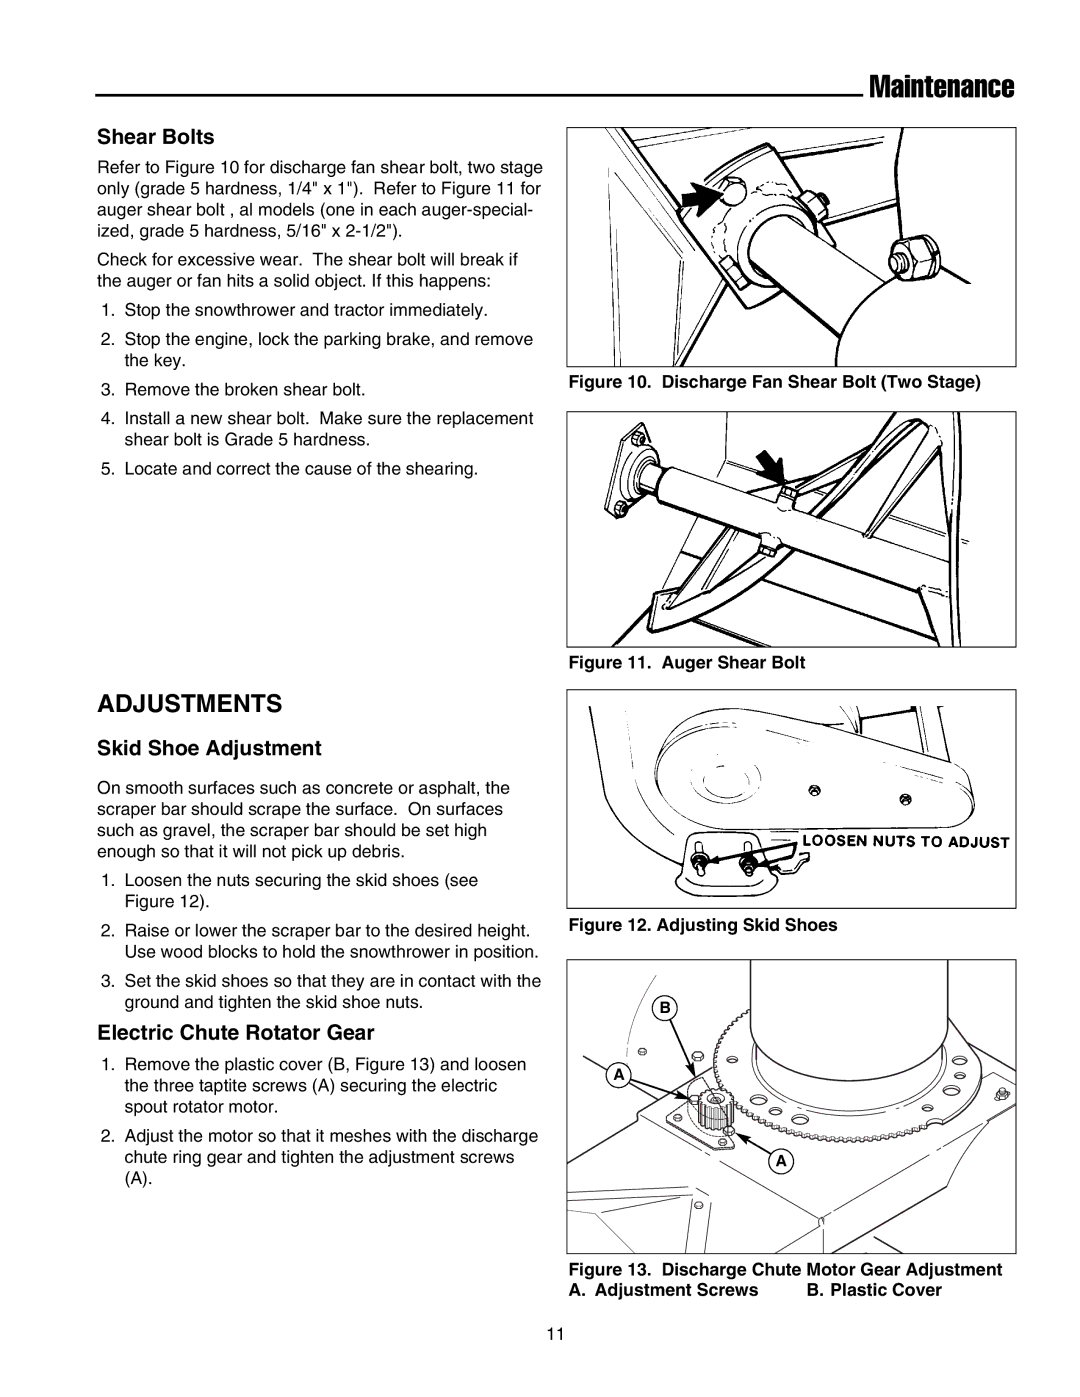
Refer to Figure 10 for discharge fan shear bolt, two stage only (grade 5 hardness, 1/4" x 1"). Refer to Figure 11 for auger shear bolt , al models (one in each
Check for excessive wear. The shear bolt will break if the auger or fan hits a solid object. If this happens:
1.Stop the snowthrower and tractor immediately.
2.Stop the engine, lock the parking brake, and remove the key.
3.Remove the broken shear bolt.
4.Install a new shear bolt. Make sure the replacement shear bolt is Grade 5 hardness.
5.Locate and correct the cause of the shearing.
Maintenance
Figure 10. Discharge Fan Shear Bolt (Two Stage)
Figure 11. Auger Shear Bolt
ADJUSTMENTS
Skid Shoe Adjustment
On smooth surfaces such as concrete or asphalt, the scraper bar should scrape the surface. On surfaces such as gravel, the scraper bar should be set high enough so that it will not pick up debris.
1.Loosen the nuts securing the skid shoes (see Figure 12).
2.Raise or lower the scraper bar to the desired height. Use wood blocks to hold the snowthrower in position.
3.Set the skid shoes so that they are in contact with the ground and tighten the skid shoe nuts.
Electric Chute Rotator Gear
1.Remove the plastic cover (B, Figure 13) and loosen the three taptite screws (A) securing the electric spout rotator motor.
2.Adjust the motor so that it meshes with the discharge chute ring gear and tighten the adjustment screws
(A).
Figure 12. Adjusting Skid Shoes
B |
A |
A |
Figure 13. Discharge Chute Motor Gear Adjustment | |
A. Adjustment Screws | B. Plastic Cover |
11