SG-WAC-12ESE-C, SG-WAC-10ESE-C specifications
The Soleus Air SG-WAC-10ESE-C and SG-WAC-12ESE-C are cutting-edge window air conditioning units designed to provide effective cooling solutions for homes and offices. These models stand out in the crowded air conditioning market due to their blend of innovative features, energy efficiency, and user-friendly operation.A hallmark of the SG-WAC-10ESE-C and SG-WAC-12ESE-C is their impressive cooling capacity. The SG-WAC-10ESE-C offers a cooling output of 10,000 BTU, making it ideal for spaces up to approximately 400 square feet. On the other hand, the SG-WAC-12ESE-C features a more powerful 12,000 BTU output, suitable for areas up to 550 square feet. This makes both units perfect for living rooms, bedrooms, or even small office spaces.
Energy efficiency is another key feature that sets these units apart. Both models are equipped with Energy Star ratings, ensuring they meet strict energy efficiency guidelines set by the U.S. Environmental Protection Agency. This not only helps users save on energy bills but also reduces their carbon footprint, making them environmentally friendly choices.
The units come with several operation modes, including cooling, dehumidifying, and fan modes. This versatility allows users to customize their comfort settings seasonally or according to specific needs. Additionally, the units are equipped with programmable timers and remote control options, allowing users to set their preferred operating schedules conveniently.
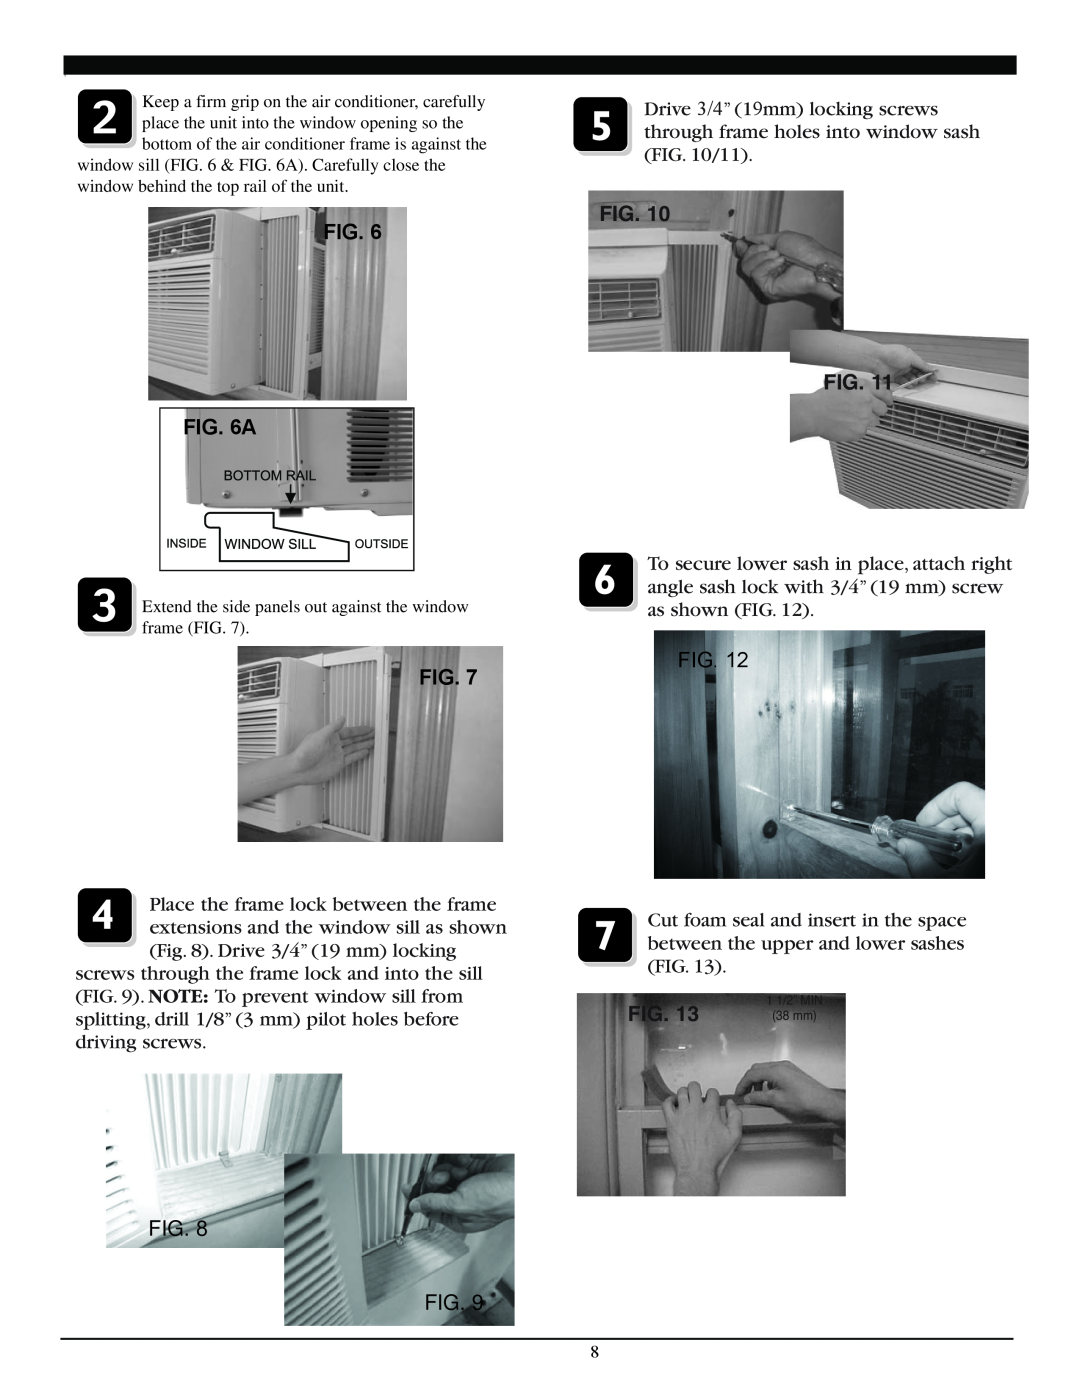
Installation is simplified with the included window mounting kits, making it easier for users to set them up without the need for professional assistance. The modern design of the units ensures they fit seamlessly into various home decors while providing powerful performance.
Another notable characteristic is the sound level; these units operate quietly, ensuring minimal disruption during use.
In terms of maintenance, the SG-WAC-10ESE-C and SG-WAC-12ESE-C boast easily removable and washable air filters, making it easy to maintain clean air quality in your indoor environment.
Overall, the Soleus Air SG-WAC-10ESE-C and SG-WAC-12ESE-C are exemplary choices for anyone looking for reliable and efficient cooling solutions. With a combination of robust performance, user-friendly features, and a focus on energy efficiency, these air conditioning units deliver a comfortable indoor climate all year round.

