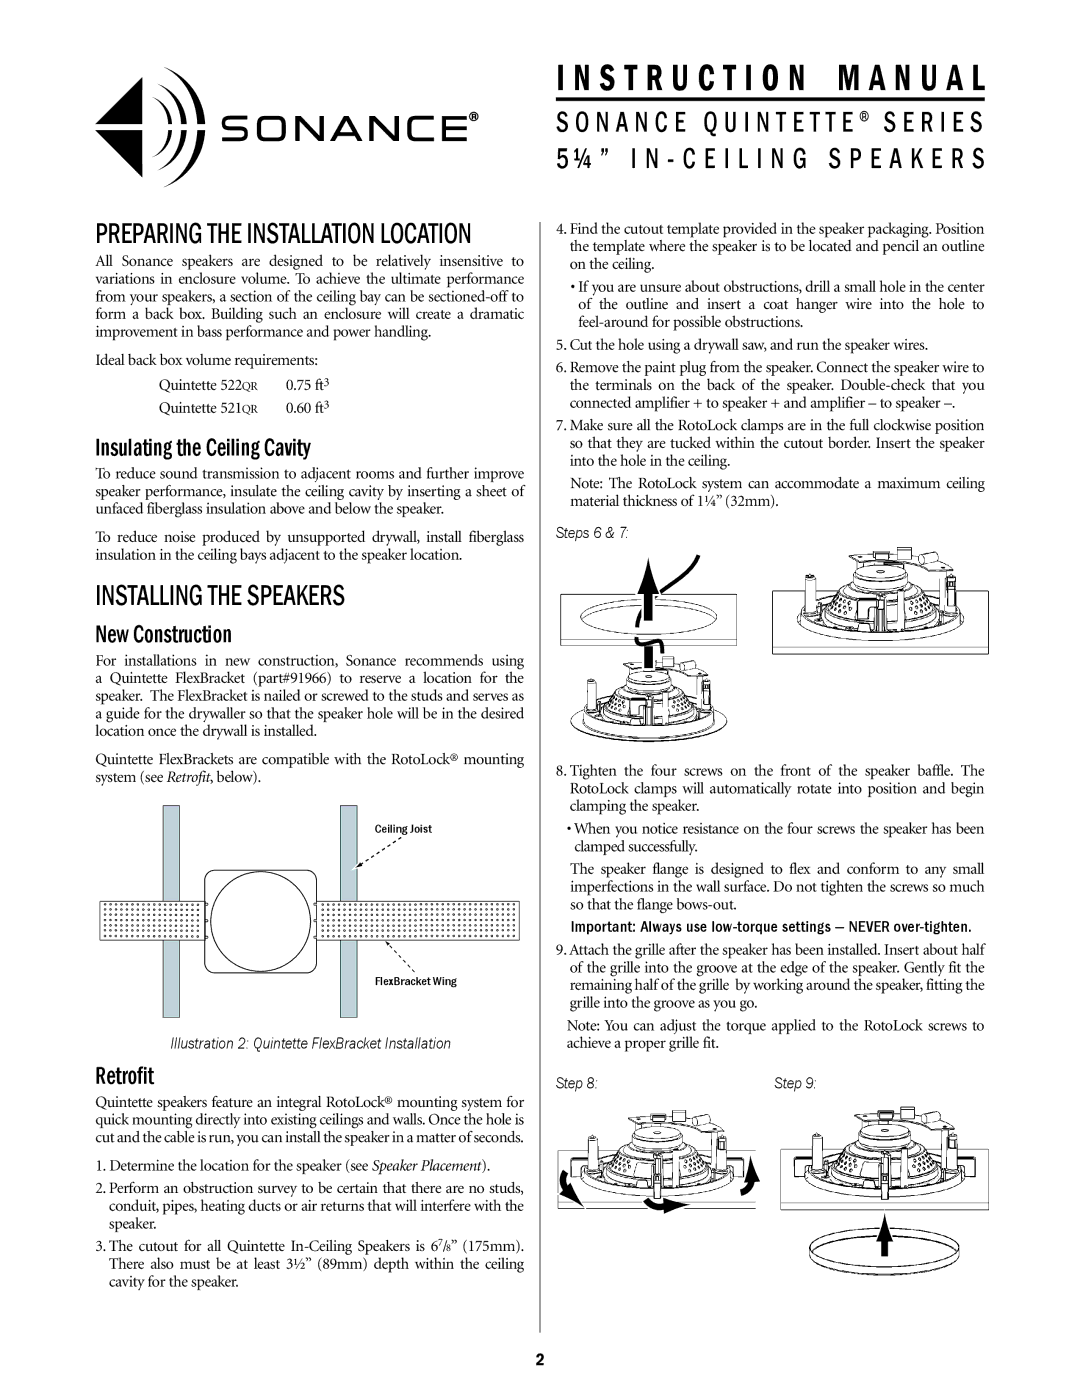
Quintette 521QR, Quintette 522QR specifications
The Sonance Quintette 522QR and Quintette 521QR are standout offerings from Sonance, a brand renowned for its commitment to high-quality audio solutions. Designed with both aesthetics and performance in mind, these speakers represent the pinnacle of architectural audio.The Quintette 522QR is a 2-way in-ceiling speaker that delivers an extraordinary auditory experience. One main feature of the 522QR is its pivoting 1-inch tweeter that allows for precise sound directionality. This helps to create an immersive listening experience, regardless of where you are in a room. The 6.5-inch polypropylene woofer adds depth and richness to the audio, ensuring that low frequencies are well-represented. The combination of these elements allows the 522QR to effectively handle a wide range of audio frequencies, making it ideal for both music and home theater applications.
The Quintette 521QR, while similar in design to the 522QR, offers a slightly more compact configuration. It features a 5.25-inch polypropylene woofer alongside the same 1-inch pivoting tweeter. The smaller woofer makes the 521QR ideal for spaces where a full-sized speaker might be too large, yet it still retains impressive sound quality and clarity. Both speakers are designed with Sonance's patented design elements, enabling them to blend seamlessly into any environment while delivering exceptional performance.
A key technological feature that both models boast is their quick-connect terminals and adjustable depth design. These characteristics ensure a hassle-free installation, allowing users to set up their audio systems with ease. Moreover, the speakers come equipped with a rear enclosure that enhances sound quality by minimizing resonance and improving bass response.
In terms of characteristics, both the 522QR and 521QR have a sleek, low-profile design that allows them to be flush-mounted, making them virtually invisible when installed. Their paintable grilles lend to customization, allowing users to match the speaker's appearance to their interior décor seamlessly.
The Quintette series from Sonance reflects a balance of innovation, design, and performance, providing audiophiles and casual listeners alike with a compelling listening experience. With impressive specifications, versatile applications, and aesthetic flexibility, the Sonance Quintette 522QR and 521QR speakers are ideal choices for music enthusiasts and home theater systems alike.

