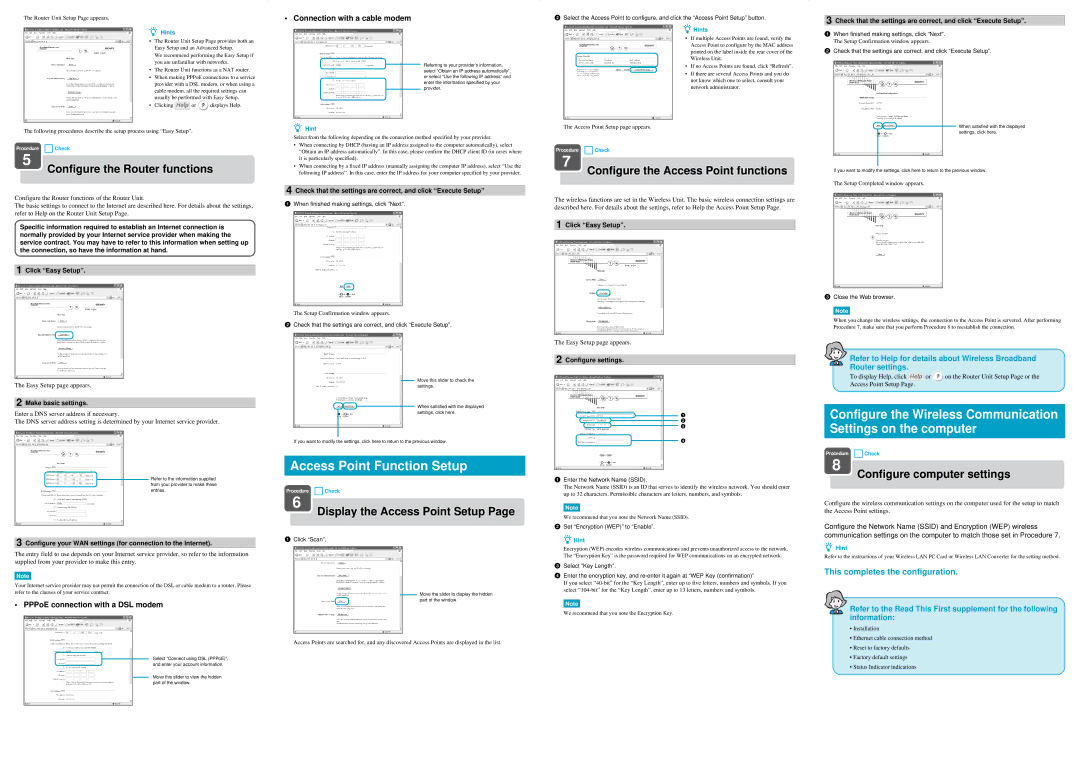
The Router Unit Setup Page appears.
z Hints
• The Router Unit Setup Page provides both an Easy Setup and an Advanced Setup.
We recommend performing the Easy Setup if you are unfamiliar with networks.
• The Router Unit functions as a NAT router.
• When making PPPoE connections to a service provider with a DSL modem, or when using a cable modem, all the required settings can usually be performed with Easy Setup.
• Clicking  or
or  displays Help.
The following procedures describe the setup process using “Easy Setup”.
5
Configure the Router functions
Configure the Router functions of the Router Unit.
The basic settings to connect to the Internet are described here. For details about the settings, refer to Help on the Router Unit Setup Page.
Specific information required to establish an Internet connection is normally provided by your Internet service provider when making the service contract. You may have to refer to this information when setting up the connection, so have the information at hand.
1 Click “Easy Setup”.
The Easy Setup page appears.
2 Make basic settings.
Enter a DNS server address if necessary.
The DNS server address setting is determined by your Internet service provider.
Refer to the information supplied from your provider to make these entries.
3 Configure your WAN settings (for connection to the Internet).
The entry field to use depends on your Internet service provider, so refer to the information supplied from your provider to make this entry.
Note
Your Internet service provider may not permit the connection of the DSL or cable modem to a router. Please refer to the clauses of your service contract.
• PPPoE connection with a DSL modem
Select “Connect using DSL (PPPoE)”, and enter your account information.
• Connection with a cable modem
Referring to your provider’s information, select “Obtain an IP address automatically”, or select “Use the following IP address” and enter the information specified by your provider.
zHint
Select from the following depending on the connection method specified by your provider.
•When connecting by DHCP (having an IP address assigned to the computer automatically), select “Obtain an IP address automatically”. In this case, please confirm the DHCP client ID (in cases where it is particularly specified).
•When connecting by a fixed IP address (manually assigning the computer IP address), select “Use the following IP address”. In this case, enter the IP address for your computer specified by your provider.
4 Check that the settings are correct, and click “Execute Setup”
1When finished making settings, click “Next”.
The Setup Confirmation window appears.
2Check that the settings are correct, and click “Execute Setup”.
Move this slider to check the settings.
When satisfied with the displayed settings, click here.
If you want to modify the settings, click here to return to the previous window.
Access Point Function Setup
Procedure 
 Check
Check
6
Display the Access Point Setup Page
1Click “Scan”.
Move the slider to display the hidden part of the window.
Access Points are searched for, and any discovered Access Points are displayed in the list.
2Select the Access Point to configure, and click the “Access Point Setup” button.
zHints
• If multiple Access Points are found, verify the Access Point to configure by the MAC address printed on the label inside the rear cover of the Wireless Unit.
• If no Access Points are found, click “Refresh”.
• If there are several Access Points and you do not know which one to select, consult your network administrator.
The Access Point Setup page appears.
7
Configure the Access Point functions
The wireless functions are set in the Wireless Unit. The basic wireless connection settings are described here. For details about the settings, refer to Help the Access Point Setup Page.
1 Click “Easy Setup”.
The Easy Setup page appears.
2 Configure settings.
1
2
3
4
1Enter the Network Name (SSID).
The Network Name (SSID) is an ID that serves to identify the wireless network. You should enter up to 32 characters. Permissible characters are letters, numbers, and symbols.
Note
We recommend that you note the Network Name (SSID).
2Set “Encryption (WEP)” to “Enable”.
zHint
Encryption (WEP) encodes wireless communications and prevents unauthorized access to the network. The “Encryption Key” is the password required for WEP communications on an encrypted network.
3Select “Key Length”.
4Enter the encryption key, and re-enter it again at “WEP Key (confirmation)”
If you select “40-bit” for the “Key Length”, enter up to five letters, numbers and symbols. If you select “104-bit” for the “Key Length”, enter up to 13 letters, numbers and symbols.
Note
We recommend that you note the Encryption Key.
3 Check that the settings are correct, and click “Execute Setup”.
1When finished making settings, click “Next”.
The Setup Confirmation window appears.
2Check that the settings are correct, and click “Execute Setup”.
When satisfied with the displayed settings, click here.
If you want to modify the settings, click here to return to the previous window.
The Setup Completed window appears.
3Close the Web browser.
Note
When you change the wireless settings, the connection to the Access Point is servered. After performing Procedure 7, make sure that you perform Procedure 8 to reestablish the connection.
Refer to Help for details about Wireless Broadband Router settings.
To display Help, click  or
or  on the Router Unit Setup Page or the Access Point Setup Page.
Configure the Wireless Communication
Settings on the computer
Procedure 
 Check
Check
8
Configure computer settings
Configure the wireless communication settings on the computer used for the setup to match the Access Point settings.
Configure the Network Name (SSID) and Encryption (WEP) wireless communication settings on the computer to match those set in Procedure 7.
zHint
Refer to the instructions of your Wireless LAN PC Card or Wireless LAN Converter for the setting method.
This completes the configuration.
Refer to the Read This First supplement for the following information:
•Installation
•Ethernet cable connection method
•Reset to factory defaults
•Factory default settings
•Status Indicator indications