Din
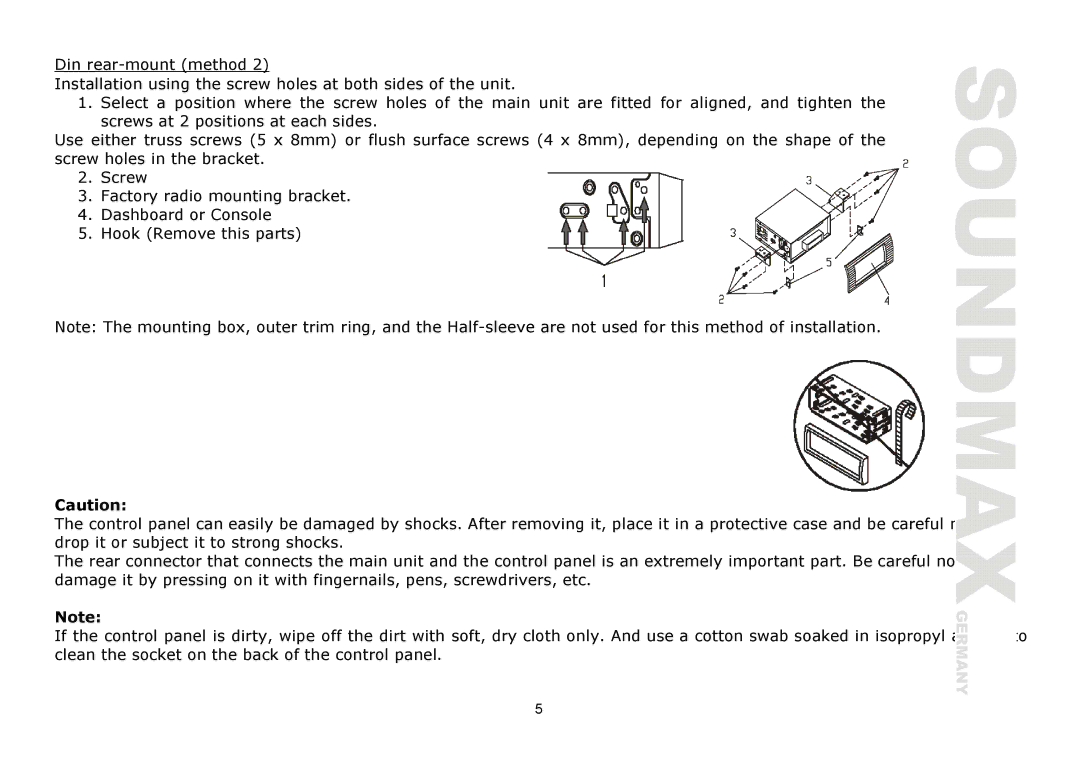
Installation using the screw holes at both sides of the unit.
1.Select a position where the screw holes of the main unit are fitted for aligned, and tighten the screws at 2 positions at each sides.
Use either truss screws (5 x 8mm) or flush surface screws (4 x 8mm), depending on the shape of the screw holes in the bracket.
2.Screw
3.Factory radio mounting bracket.
4.Dashboard or Console
5.Hook (Remove this parts)
Note: The mounting box, outer trim ring, and the
Caution:
The control panel can easily be damaged by shocks. After removing it, place it in a protective case and be careful not to drop it or subject it to strong shocks.
The rear connector that connects the main unit and the control panel is an extremely important part. Be careful not to damage it by pressing on it with fingernails, pens, screwdrivers, etc.
Note:
If the control panel is dirty, wipe off the dirt with soft, dry cloth only. And use a cotton swab soaked in isopropyl alcohol to clean the socket on the back of the control panel.
5