XT175, XT2751 specifications
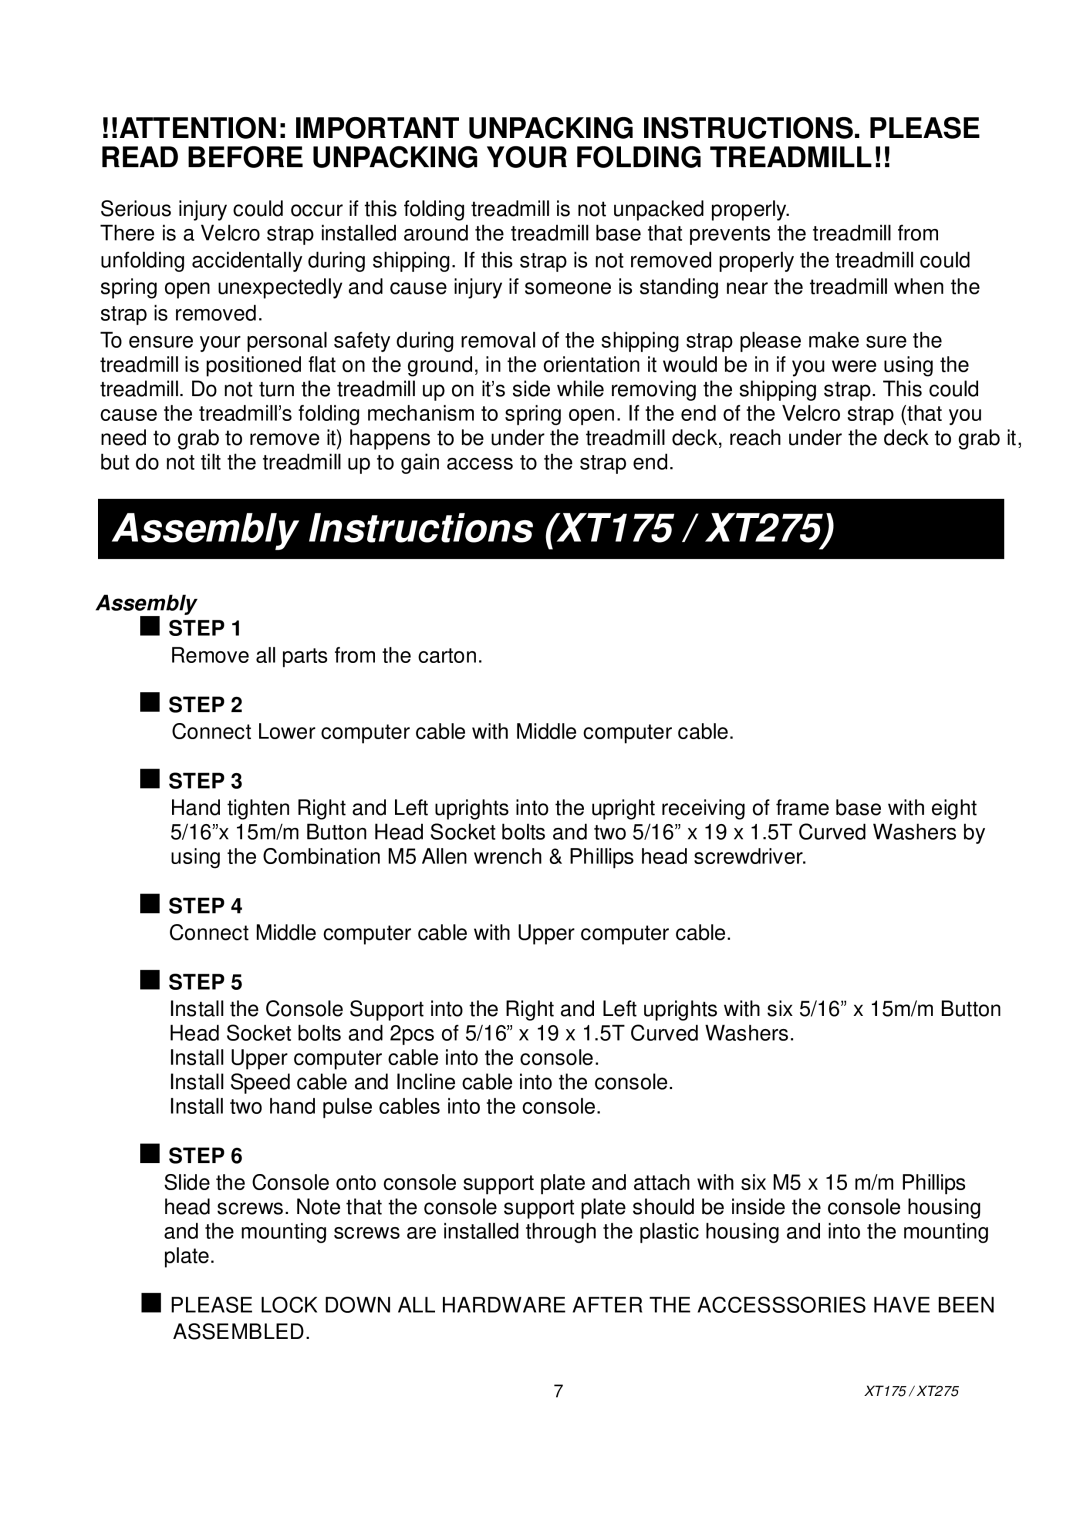
The Spirit XT275 and XT175 treadmills stand out in the fitness equipment market, offering a blend of advanced technology, user-friendly features, and robust construction. Both models are designed to cater to a wide range of fitness enthusiasts, whether you are a beginner or an experienced athlete looking to enhance your training routine.The Spirit XT275 treadmill is equipped with a powerful 3.0 HP motor, providing smooth and consistent performance. It features an oversized running surface, measuring 20 x 60 inches, ensuring ample space for users of all sizes to run comfortably. The XT275 also includes a 10.1-inch color LCD display, which provides clear feedback on essential metrics such as speed, time, distance, calories burned, and incline level. Users can easily track their progress and stay motivated during their workouts.
Incorporating advanced technology, the XT275 offers Bluetooth connectivity, allowing users to sync their devices and access a variety of fitness apps. The built-in speakers enhance the workout experience, enabling users to listen to their favorite music or podcasts. Additionally, the XT275 features a unique folding design, making storage convenient without compromising durability.
On the other hand, the Spirit XT175 treadmill is designed for those looking for a high-quality machine without breaking the bank. It is equipped with a 2.5 HP motor, which delivers reliable performance for walking, jogging, and light running. The XT175 offers a slightly smaller running surface of 20 x 55 inches, making it a suitable option for users with limited space.
The XT175 also boasts a user-friendly console with an easy-to-read LED display, showcasing essential workout metrics. One of its appealing features is the variety of preset workout programs, which cater to different fitness goals, ensuring a focused and effective workout experience.
Both models share essential safety features, including an integrated safety key that stops the machine in case of emergency. These treadmills are built to be sturdy and durable, designed to withstand regular use. In summary, the Spirit XT275 and XT175 treadmills deliver excellent performance, advanced features, and ease of use, making them top choices for home fitness enthusiasts.