Instruction Manual
3.Using a USB Type A to Type B cable, connect the “A” (flat) end to an available USB port on the computer. Connect the opposite end to the “B”
4.Optional: You can use 3.5mm
Using the KVM Switch
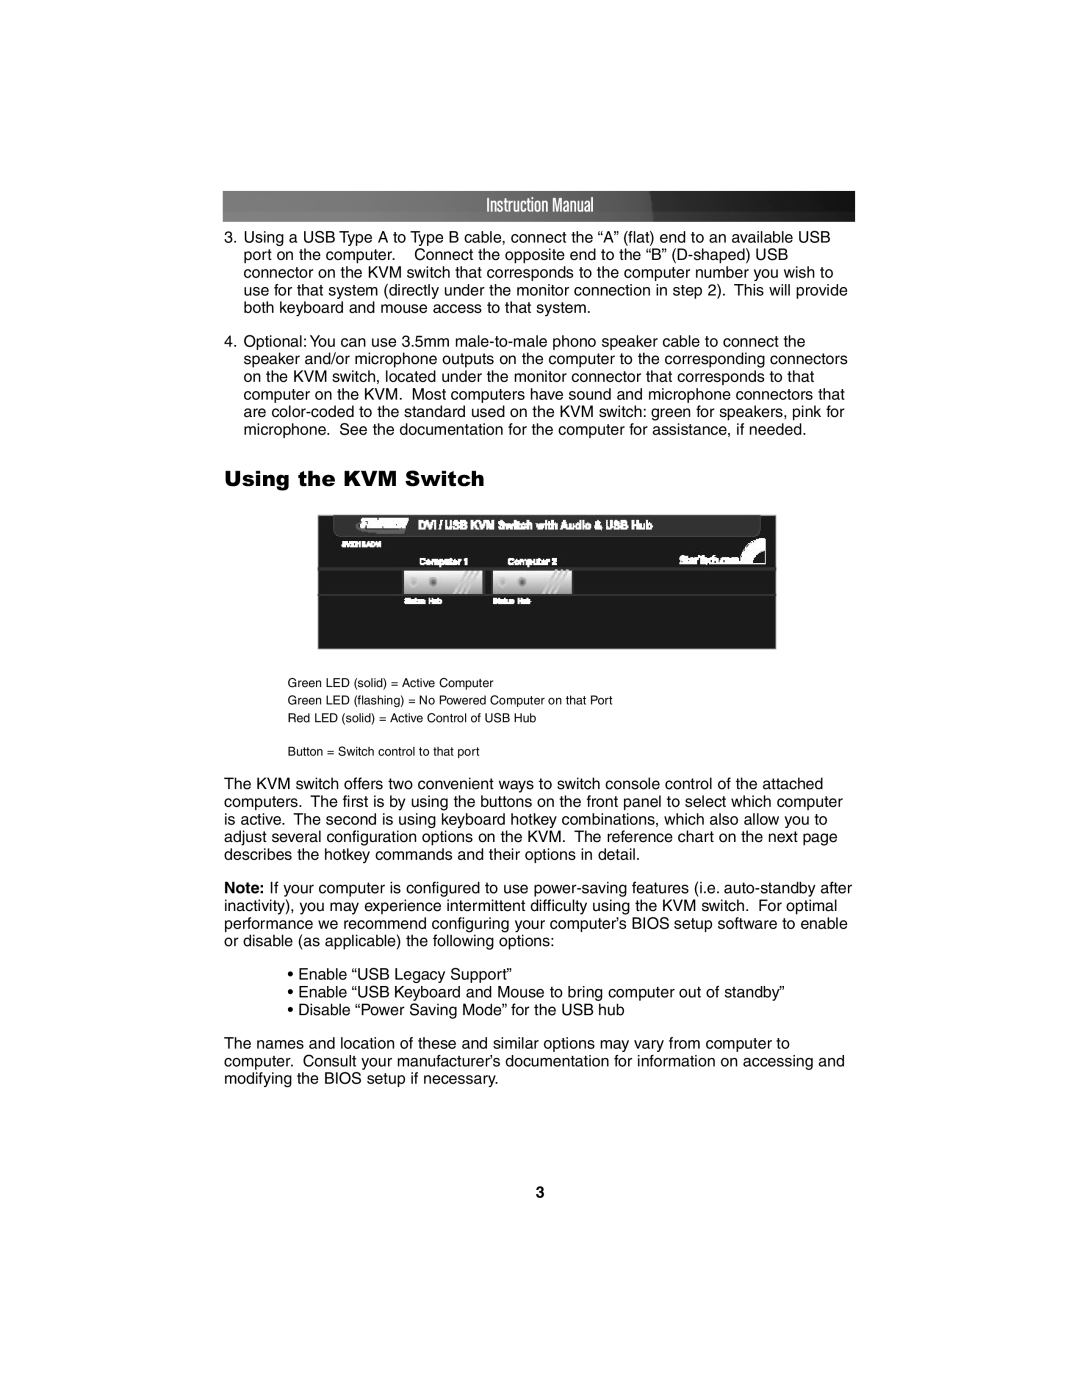
Green LED (solid) = Active Computer
Green LED (flashing) = No Powered Computer on that Port
Red LED (solid) = Active Control of USB Hub
Button = Switch control to that port
The KVM switch offers two convenient ways to switch console control of the attached computers. The first is by using the buttons on the front panel to select which computer is active. The second is using keyboard hotkey combinations, which also allow you to adjust several configuration options on the KVM. The reference chart on the next page describes the hotkey commands and their options in detail.
Note: If your computer is configured to use
•Enable “USB Legacy Support”
•Enable “USB Keyboard and Mouse to bring computer out of standby”
•Disable “Power Saving Mode” for the USB hub
The names and location of these and similar options may vary from computer to computer. Consult your manufacturer’s documentation for information on accessing and modifying the BIOS setup if necessary.
3