English
Refrigerator Features And Use
General Features
Adjustable temperature dial:
Your refrigerator will automatically maintain the temperature level you select. The temperature control dial has 7 settings plus off. 1 is the warmest. 7 is the coldest. Turning the dial to OFF stops cooling in both the refrigeration and freezer sections. At first, set the dial to 4 and allow 24 hours to pass before adjusting the temperature to your needs.
To adjust the temperature range in the cold setting, turn the temperature dial in a clockwise direction. For normal operating conditions, keep the dial halfway between cold and coldest. For your convenience, the factory presets the control at normal operating conditions.
(Note: If the refrigerator has been placed in a horizontal or tilted position for any period of time wait 24 hours before plugging the unit in.)
Refrigerator Section
Interior Light:
Your refrigerator is equipped with an interior light in the fresh food section for you to easily locate your food.
Your freezer compartment is equipped with adjustable airflow control. For your convenience, airflow is preset by the factory to the colder setting. There is also an option to adjust the settings, either to cold or to coldest.
Your refrigerator may be equipped with slide control to raise or lower the humidity levels or your crispers. This feature will increase the storage life of your fruits and vegetables. Simply adjust the controls to the appropriate setting for setting for items you are storing in the crispers. Low settings allow moist air to exit the crisper, for optimum storage of fruit and/or vegetables that have skins. High settings retains moist air in the crisper, for optimum storage of fresh vegetables.
Refrigerator Interior Shelves
(Shelves May vary by Model)
The refrigerator shelves of your refrigerator were designed with you in mind. Their varied adjustability allows you to satisfy your personal storage needs.
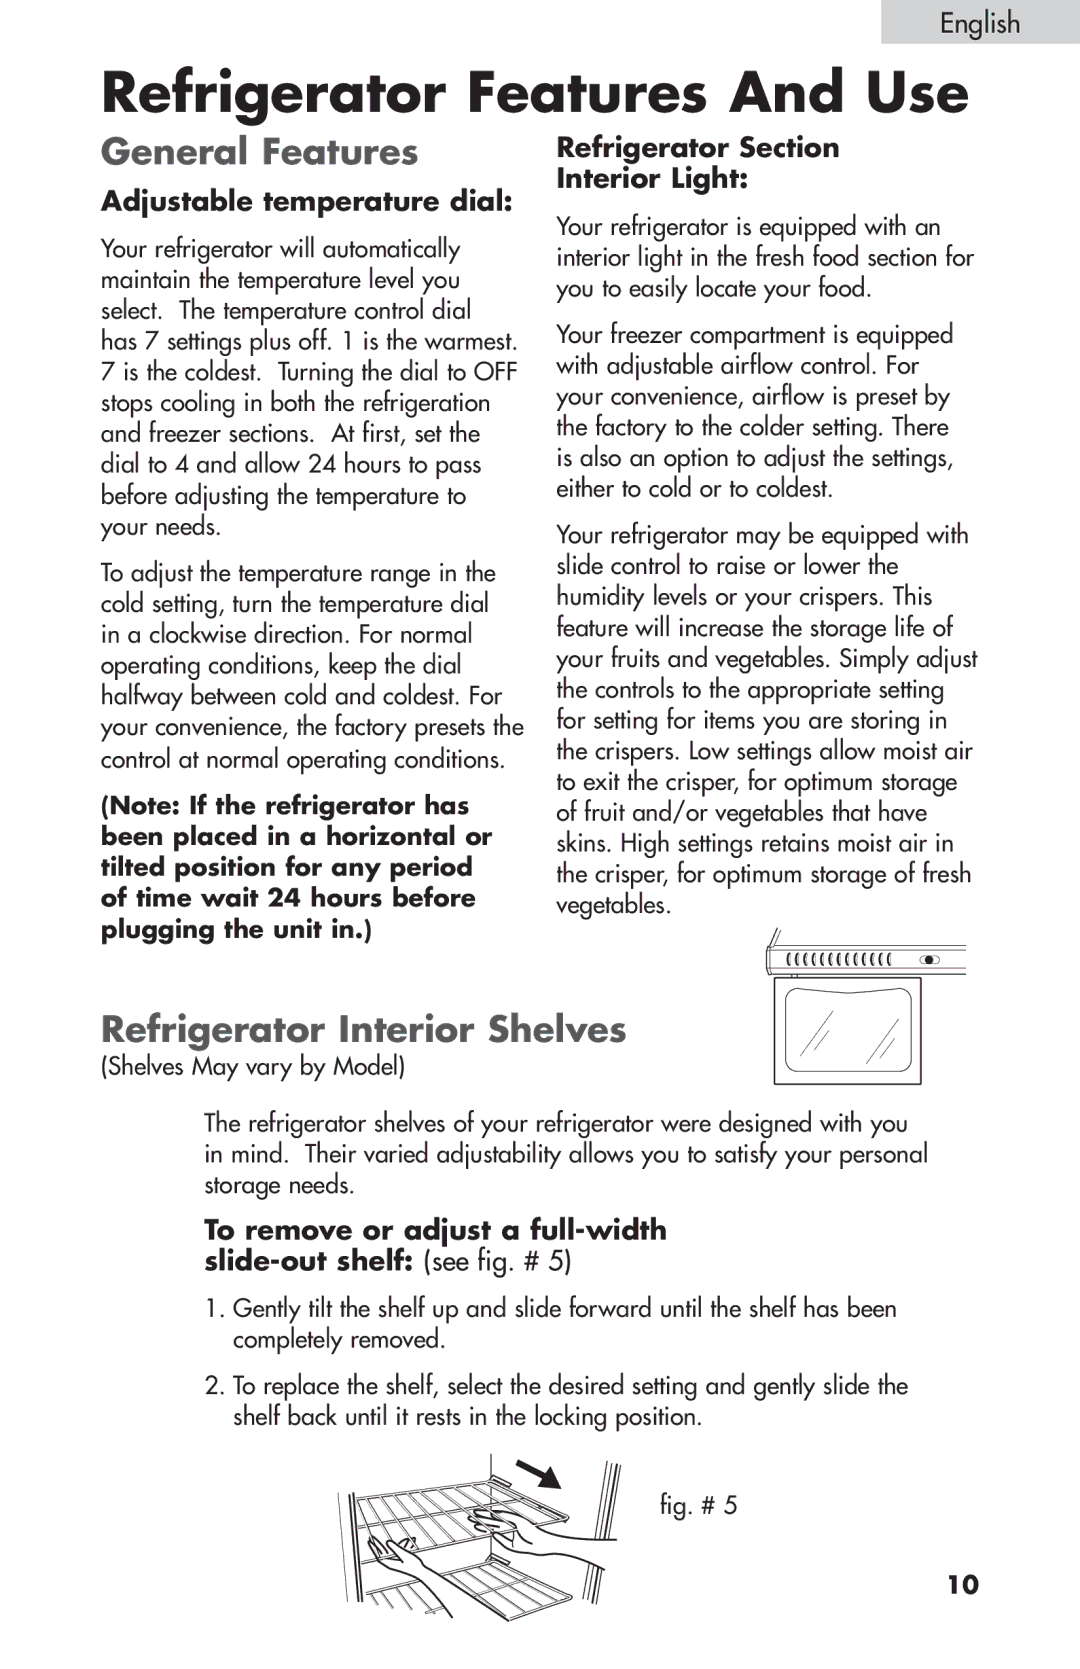
To remove or adjust a full-width slide-out shelf: (see fig. # 5)
1.Gently tilt the shelf up and slide forward until the shelf has been completely removed.
2.To replace the shelf, select the desired setting and gently slide the shelf back until it rests in the locking position.
fig. # 5
10
